Create a Database
In this lesson you’ll be introduced to Couchbase Lite, our embedded NoSQL database. You’ll learn how to create a new embedded database and optionally use databases pre-packaged in your application.
Requirements
-
Android Studio 2.2
-
Android SDK 24
-
Android Build Tools 24.0.3
-
JDK 8
-
⚠️ Docker and x86 Android emulators are not compatible (i.e cannot run simultaneously on the same machine). Make sure Docker isn’t running in the background when deploying the application to an x86 Android emulator.
Getting Started
Download the Android Studio project.
Create a new database
The entrypoint in the Couchbase Lite SDK is the Manager class. There is no limit to how many databases can be created or opened on the device. You can think of a database as a namespace for documents and several databases can be used in the same app (one database per user of the app is a common pattern). The code below creates an empty database.
// This code can be found in Application.java
// in the openDatabase(username, key, newKey) method
String dbname = username;
DatabaseOptions options = new DatabaseOptions();
options.setCreate(true);

if (mEncryptionEnabled) {
    options.setEncryptionKey(key);
}

Manager manager = null;
try {
    manager = new Manager(new AndroidContext(getApplicationContext()), Manager.DEFAULT_OPTIONS);
} catch (IOException e) {
    e.printStackTrace();
}
try {
    database = manager.openDatabase(dbname, options);
} catch (CouchbaseLiteException e) {
    e.printStackTrace();
}
Here you’re using the openDatabaseNamed method where the database is the user currently logged in and options.create is set to true.
| You can ignore the encryption flag. Database encryption will be covered in the Adding Security lesson. |
Using the pre-built database
In this section, you will learn how to bundle a pre-built Couchbase Lite database in an application. It can be a lot more efficient to bundle a database in your application and install it on the first launch. Even if some of the content changes on the server after you create the app, the app’s first pull replication will bring the database up to date. Here, you will use a pre-built database that contains a list of groceries. The code below moves the pre-built database from the bundled location to the application directory.
// This code can be found in AppDelegate.swift
// in the installPrebuiltDb() method
guard kUsePrebuiltDb else {
    return
}

let db = CBLManager.sharedInstance().databaseExistsNamed(todo)

if (!db) {
    let dbPath = Bundle.main.path(forResource: todo, ofType: cblite2)
    do {
        try CBLManager.sharedInstance().replaceDatabaseNamed(todo, withDatabaseDir: dbPath!)
    } catch let error as NSError {
        NSLog(Cannot replace the database %@, error)
    }
}
// This code can be found in CoreApp.cs
// in the InstallPrebuildDB() method
var db = AppWideManager.GetExistingDatabase(todo);
if(db == null) {
try {
using(var asset = typeof(CoreApp).Assembly.GetManifestResourceStream(todo.zip)) {
AppWideManager.ReplaceDatabase(todo, asset, false);
}
} catch(Exception e) {
Debug.WriteLine($Cannot replicate the database: {e});
}
}// This code can be found in Application.java
// in the installPrebuiltDb() method
if (!mUsePrebuiltDb) {
return;
}
try {
manager = new Manager(new AndroidContext(getApplicationContext()), Manager.DEFAULT_OPTIONS);
} catch (IOException e) {
e.printStackTrace();
}
try {
database = manager.getExistingDatabase(todo);
} catch (CouchbaseLiteException e) {
e.printStackTrace();
}
if (database == null) {
try {
ZipUtils.unzip(getAssets().open(todo.zip), manager.getContext().getFilesDir());
} catch (IOException e) {
e.printStackTrace();
}
}The prebuilt database is installed using the database replacement API only if there isn’t any existing database called 'todo'. Since you created an empty database called 'todo' in the previous step you must first remove the existing database.
Try it out
-
Open AppDelegate.swift and set the
kUsePrebuiltDbconstant totrue.let kUsePrebuiltDb = true -
Build and run (⚠️ don’t forget to delete the app first).
-
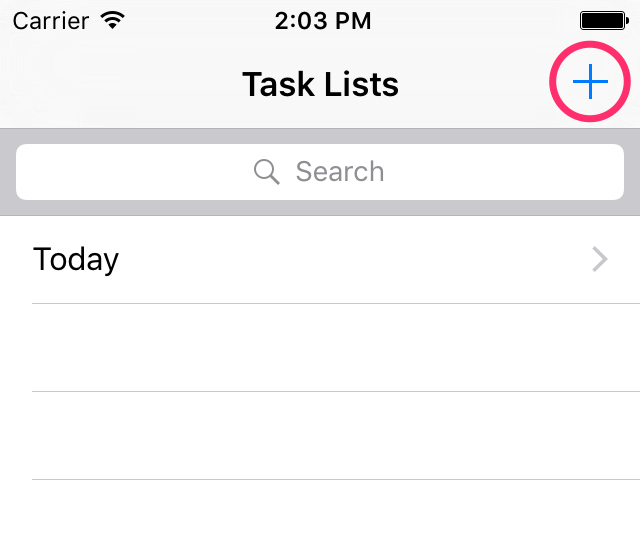
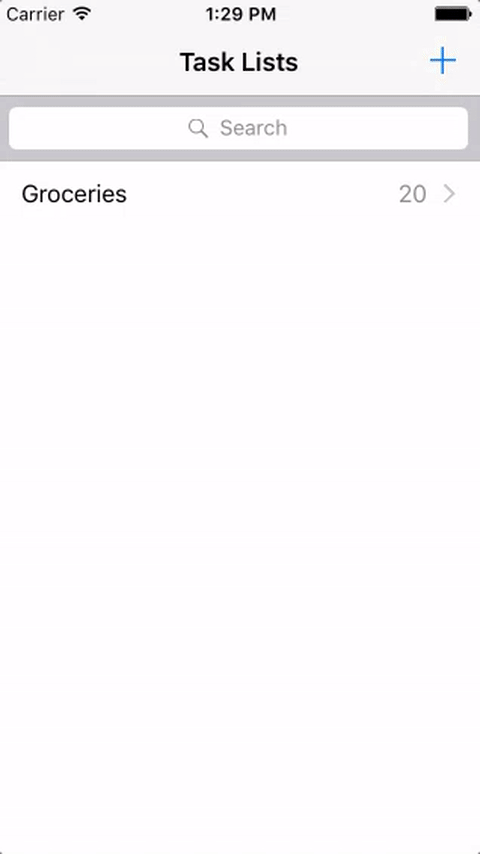
A Groceries list will now be visible on the Lists screen. Click on it to see the tasks.
-
Open CoreApp.cs and navigate to the
CoreAppStart.CreateHint()method. -
Change the
usePrebuiltDBon the return value of the function totrue.retVal.usePrebuiltDB = true; -
Build and run (⚠️ don’t forget to delete the app first).
-
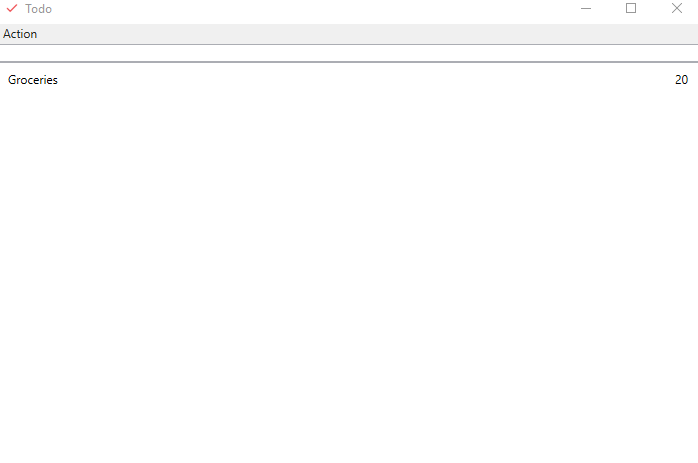
A Groceries list will now be visible on the Lists screen. Click on it to see the tasks.
iOS Android
-
Open Application.java and set the
mUsePrebuiltDbconstant to true. -
Build and run (⚠️ don’t forget to delete the app first).
-
A Groceries list will now be visible on the Lists screen. Click on it to see the tasks.
| Refer to the Database guide to learn how to create pre-built databases. |