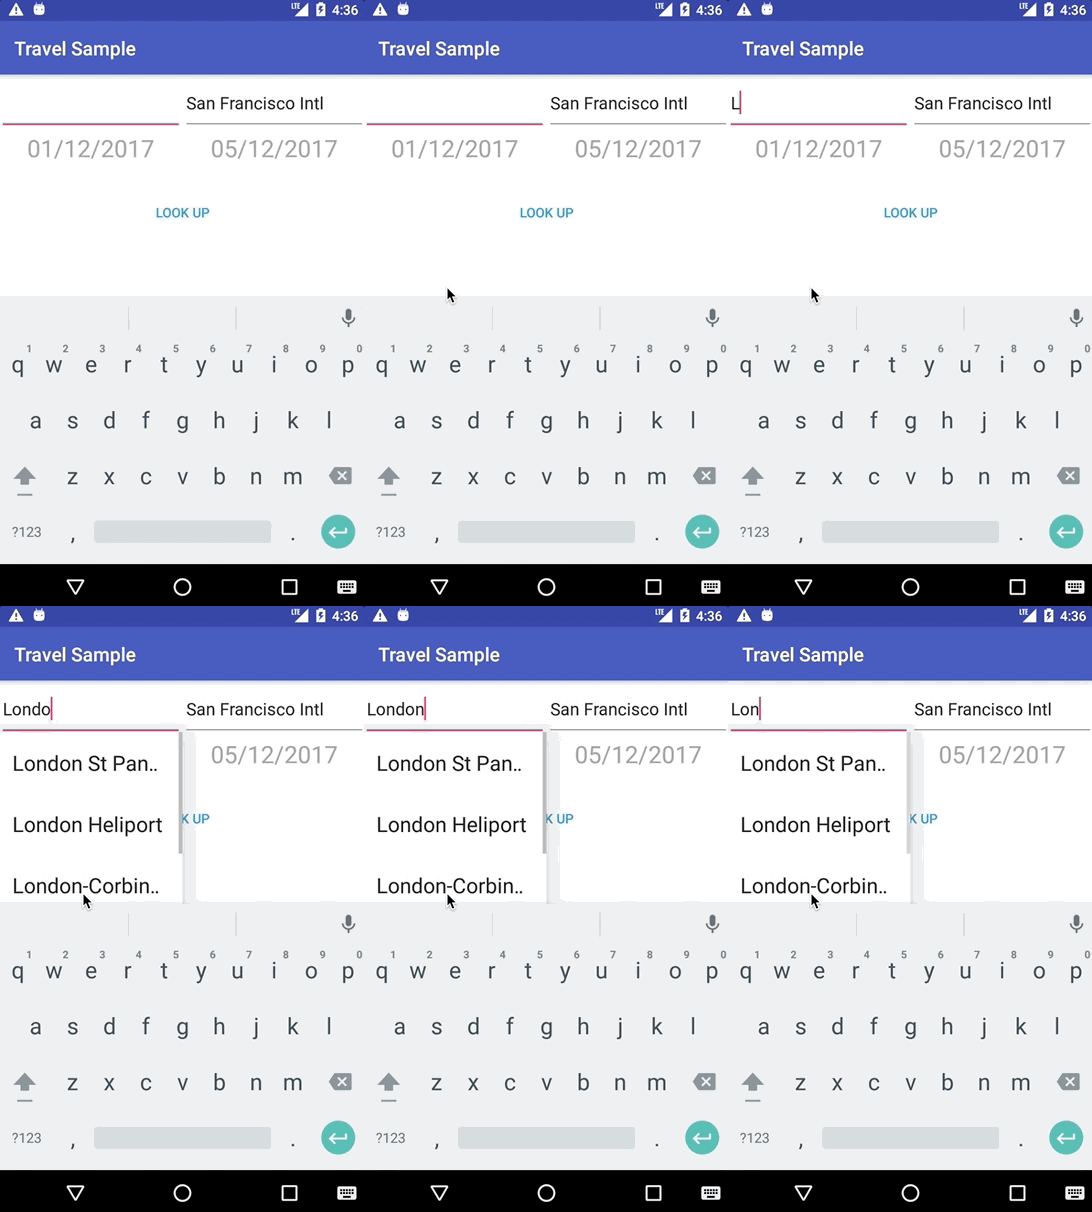
Pre-built database
Starting with Prebuilt Database
In this section, you will learn how to bundle a pre-built Couchbase Lite database in an application. It can be a lot more efficient to bundle static or semi-static content database in your application and install it on the first launch. Even if some of the content changes on the server after you create the app, the app’s first pull replication will bring the database up to date.
Here, you will use a pre-built database that contains only airport and hotel documents. The code below moves the pre-built database from the bundled location to the Application Support directory.
Open the file app/src/android/java/…/util/DatabaseManager.java and navigate to the database constructor.
This method first checks if a database file already exists for specific user. If it doesn’t exist it loads the database from the assets directory, unzips and copies it over to a folder created for ths user.
    public void OpenDatabaseForUser(String username) {
        File dbFile = new File(appContext.getFilesDir()+"/"+ username, "travel-sample.cblite2");
        DatabaseConfiguration config = new DatabaseConfiguration();
        config.setDirectory(String.format("%s/%s", appContext.getFilesDir(),username));
        currentUser = username;

        if (!dbFile.exists()) {
            AssetManager assetManager = appContext.getAssets();
            try {
                File path = new File(appContext.getFilesDir()+"");
                unzip(assetManager.open("travel-sample.cblite2.zip"),path);
                Database.copy(new File(appContext.getFilesDir(),"travel-sample.cblite2"), "travel-sample", config);

            }
            catch (IOException e) {
                e.printStackTrace();
            }
            catch (CouchbaseLiteException e) {
                e.printStackTrace();
            }

        }
        try {
            database = new Database("travel-sample", config);
            createFTSQueryIndex();
        } catch (CouchbaseLiteException e) {
            e.printStackTrace();
        }
    }