Docker (Local)
Prerequisites
|
Windows Users
If you are developing on Windows, we recommend that you use a Windows 10 machine. |
-
Docker: downloadable from docker.com. Community edition would suffice.
Windows Users : If you are developing on Windows, you will likely need to install Docker as Admin user.
-
Microsoft Visual Studio 2019 (only Windows Users)
-
Git: Downloadable from git-scm.org.
Workshop Repo
-
Clone the "master" branch of the workshop source from GitHub. We are doing a shallow pull with
depthas 1 to speed the cloning process.git clone -b master --depth 1 https://github.com/couchbaselabs/mobile-travel-sample.git
Couchbase Server
-
Create a local docker network named "workshop" if one does not exist already. Open a terminal window and run the following command.
docker network ls docker network create -d bridge workshop -
To run the application in a container, you will first get the docker image from Docker Hub. Open a new terminal window and run the following.
docker pull couchbase/server-sandbox:7.1.1 -
Once the command has completed you can start the application with the following.
docker run -d --name cb-server --network workshop -p 8091-8094:8091-8094 -p 11210:11210 couchbase/server-sandbox:7.1.1 -
You can view the logs at any time by running the following command.
docker logs cb-server -
It may take a few seconds for the server to startup. Verify that the docker image is running with following command.
docker ps
Sync Gateway
| If you are running the Sync Gateway in a docker container, please make sure that you have the Couchbase Server running in a container as well. If not, please follow the instructions in Couchbase Server (above) to install the server container. |
-
Create a local docker network named "workshop" if one does not exist already. This should not be the case if you had followed the instructions to deploy Couchbase server using docker Open a terminal window and run the following command.
docker network ls docker network create -d bridge workshop -
To run the application in a container, you will first get the docker image from Docker Cloud.
docker pull couchbase/sync-gateway:3.0.4-enterprise -
The Sync Gateway will have to be launched with the config file named
sync-gateway-config-travelsample-docker.jsonthat you should have downloaded as part of the Workshop Repo step. The config file is located in the root folder of/path/to/mobile-travel-sample. -
Open the
sync-gateway-config-travelsample-docker.jsonfile using any text editor of choice -
For the app to connect to the Couchbase Server, the address of the the server needs to be specified. Note that when you launched the Couchbase Server docker container, you gave it the
nameof "cb-server"."server": "couchbase://cb-server" -
Launch the Sync Gateway with the
sync-gateway-config-travelsample-docker.jsonfile. You must run the command below from the folder that contains thesync-gateway-config-travelsample-docker.jsonfile.
-
Windows
-
Non-Windows platform
cd /path/to/mobile-travel-sample/
docker run -p 4984-4986:4984-4986 --network workshop --name sync-gateway -d -v %cd%/sync-gateway-config-travelsample-docker.json:/etc/sync_gateway/config.json couchbase/sync-gateway:3.0.4-enterprise -adminInterface :4985 /etc/sync_gateway/config.json
cd c:\path\to\mobile-travel-sample\
docker run -p 4984-4986:4984-4986 --network workshop --name sync-gateway -d -v `pwd`/sync-gateway-config-travelsample-docker.json:/etc/sync_gateway/config.json couchbase/sync-gateway:3.0.4-enterprise -adminInterface :4985 /etc/sync_gateway/config.json-
You can view the logs at any time by running the following command.
docker logs sync-gateway -
Verify that the docker container named "sync-gateway" is running with the following command in the terminal window.
docker ps
Python Travel Sample Web Backend
| If you are running the Web App in a docker container, please make sure that you have the Couchbase Server and Sync Gateway running in the same docker network as well. If not, please follow instructions in the Couchbase Server section to install the server container using docker and instructions in the Sync Gateway section to install sync gateway container. |
-
Create a local docker network named "workshop" if one does not exist already. Open a terminal window and run the following command.
docker network ls docker network create -d bridge workshop -
To run the application in a container, you will first get the docker image from Docker Cloud. Open a terminal window and run the following.
docker pull connectsv/try-cb-python:7.1.1-server -
Once the command has completed you can start the application with the following.
docker run -dip 8080:8080 --network workshop --name cb-backend-py connectsv/try-cb-python:7.1.1-server -
You can view the logs at any time by running the following command.
docker logs cb-backend-pyYou should then see the following in the console output.
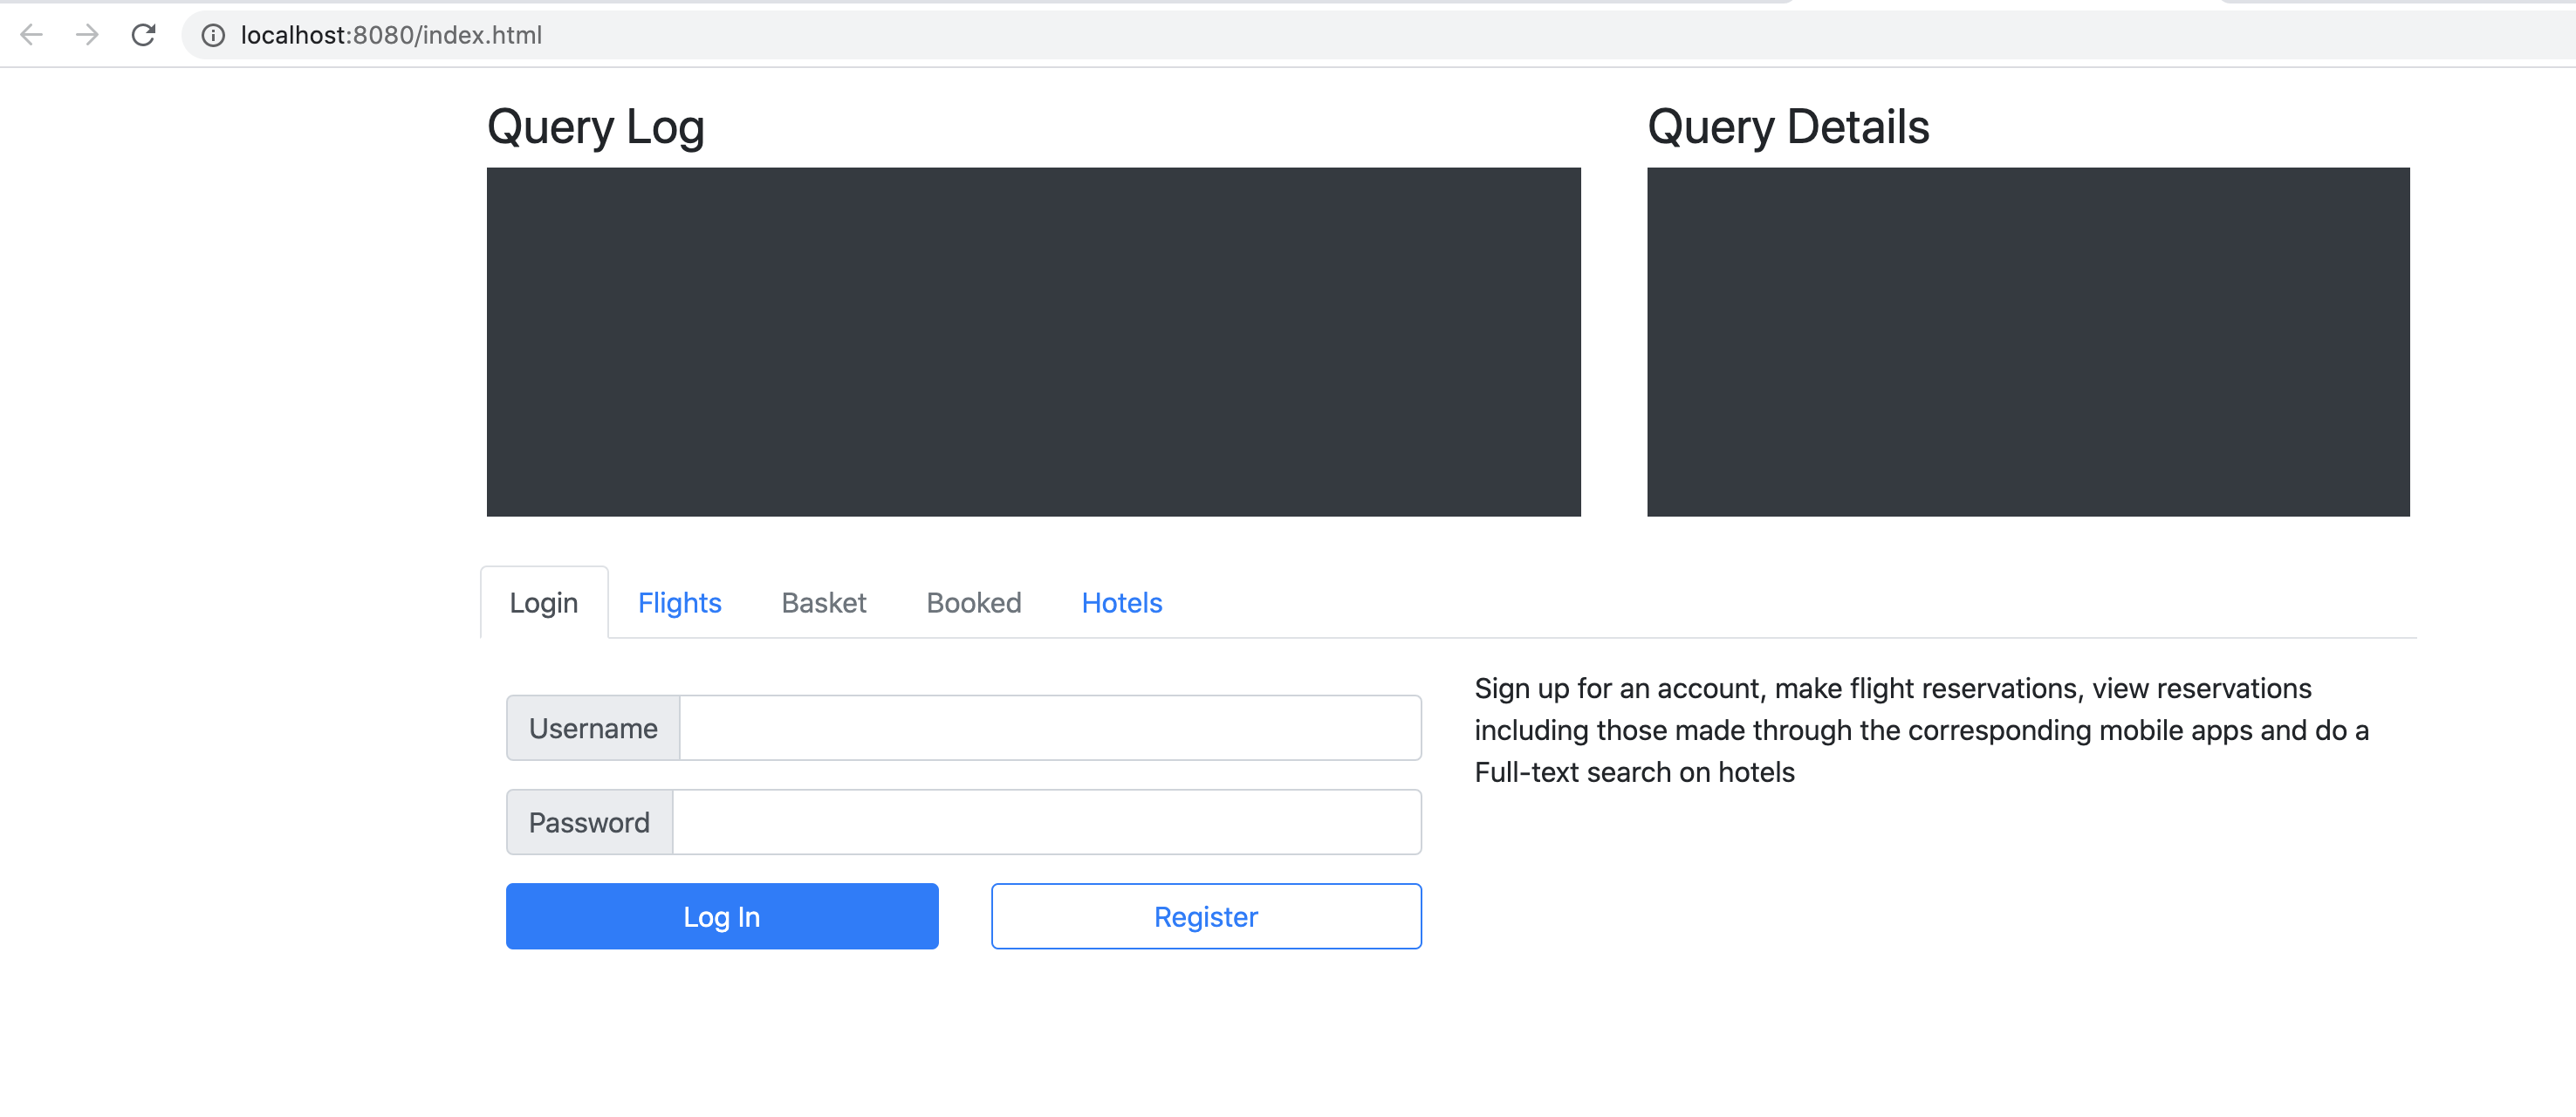
Running on http://127.0.0.1:8080/ (Press CTRL+C to quit) -
Verify that the docker container named "cb-backend-py" is running with the following command in the terminal window.
docker ps