Manage Indexes
Indexes provided by the Index Service can be managed with Couchbase Web Console, with the CLI, and with the REST API.
Defining, Editing, and Managing Indexes
Indexes provided by the Index Service facilitate and enhance use of the Query Service; which reads information from and writes information to documents, provided by the Data Service. These indexes are administered by means of two facilities:
-
The SQL++ language, which is provided by the Query Service as a means of querying data within documents; and of defining and editing indexes. See the SQL++ Language Reference for information.
-
Couchbase Web Console, which provides a user interface for the management of indexes.
This page describes how to use Couchbase Web Console to manage indexes. It also shows how to use the console’s Query Editor, provided on the Query screen, to define and edit indexes by means of SQL++.
Access the Indexes Screen
The user interface for index management is provided on the Indexes screen. Access this by left-clicking on the tab in the left-hand navigation bar:
An index list, showing a summary of all currently-defined indexes, is displayed in table format.
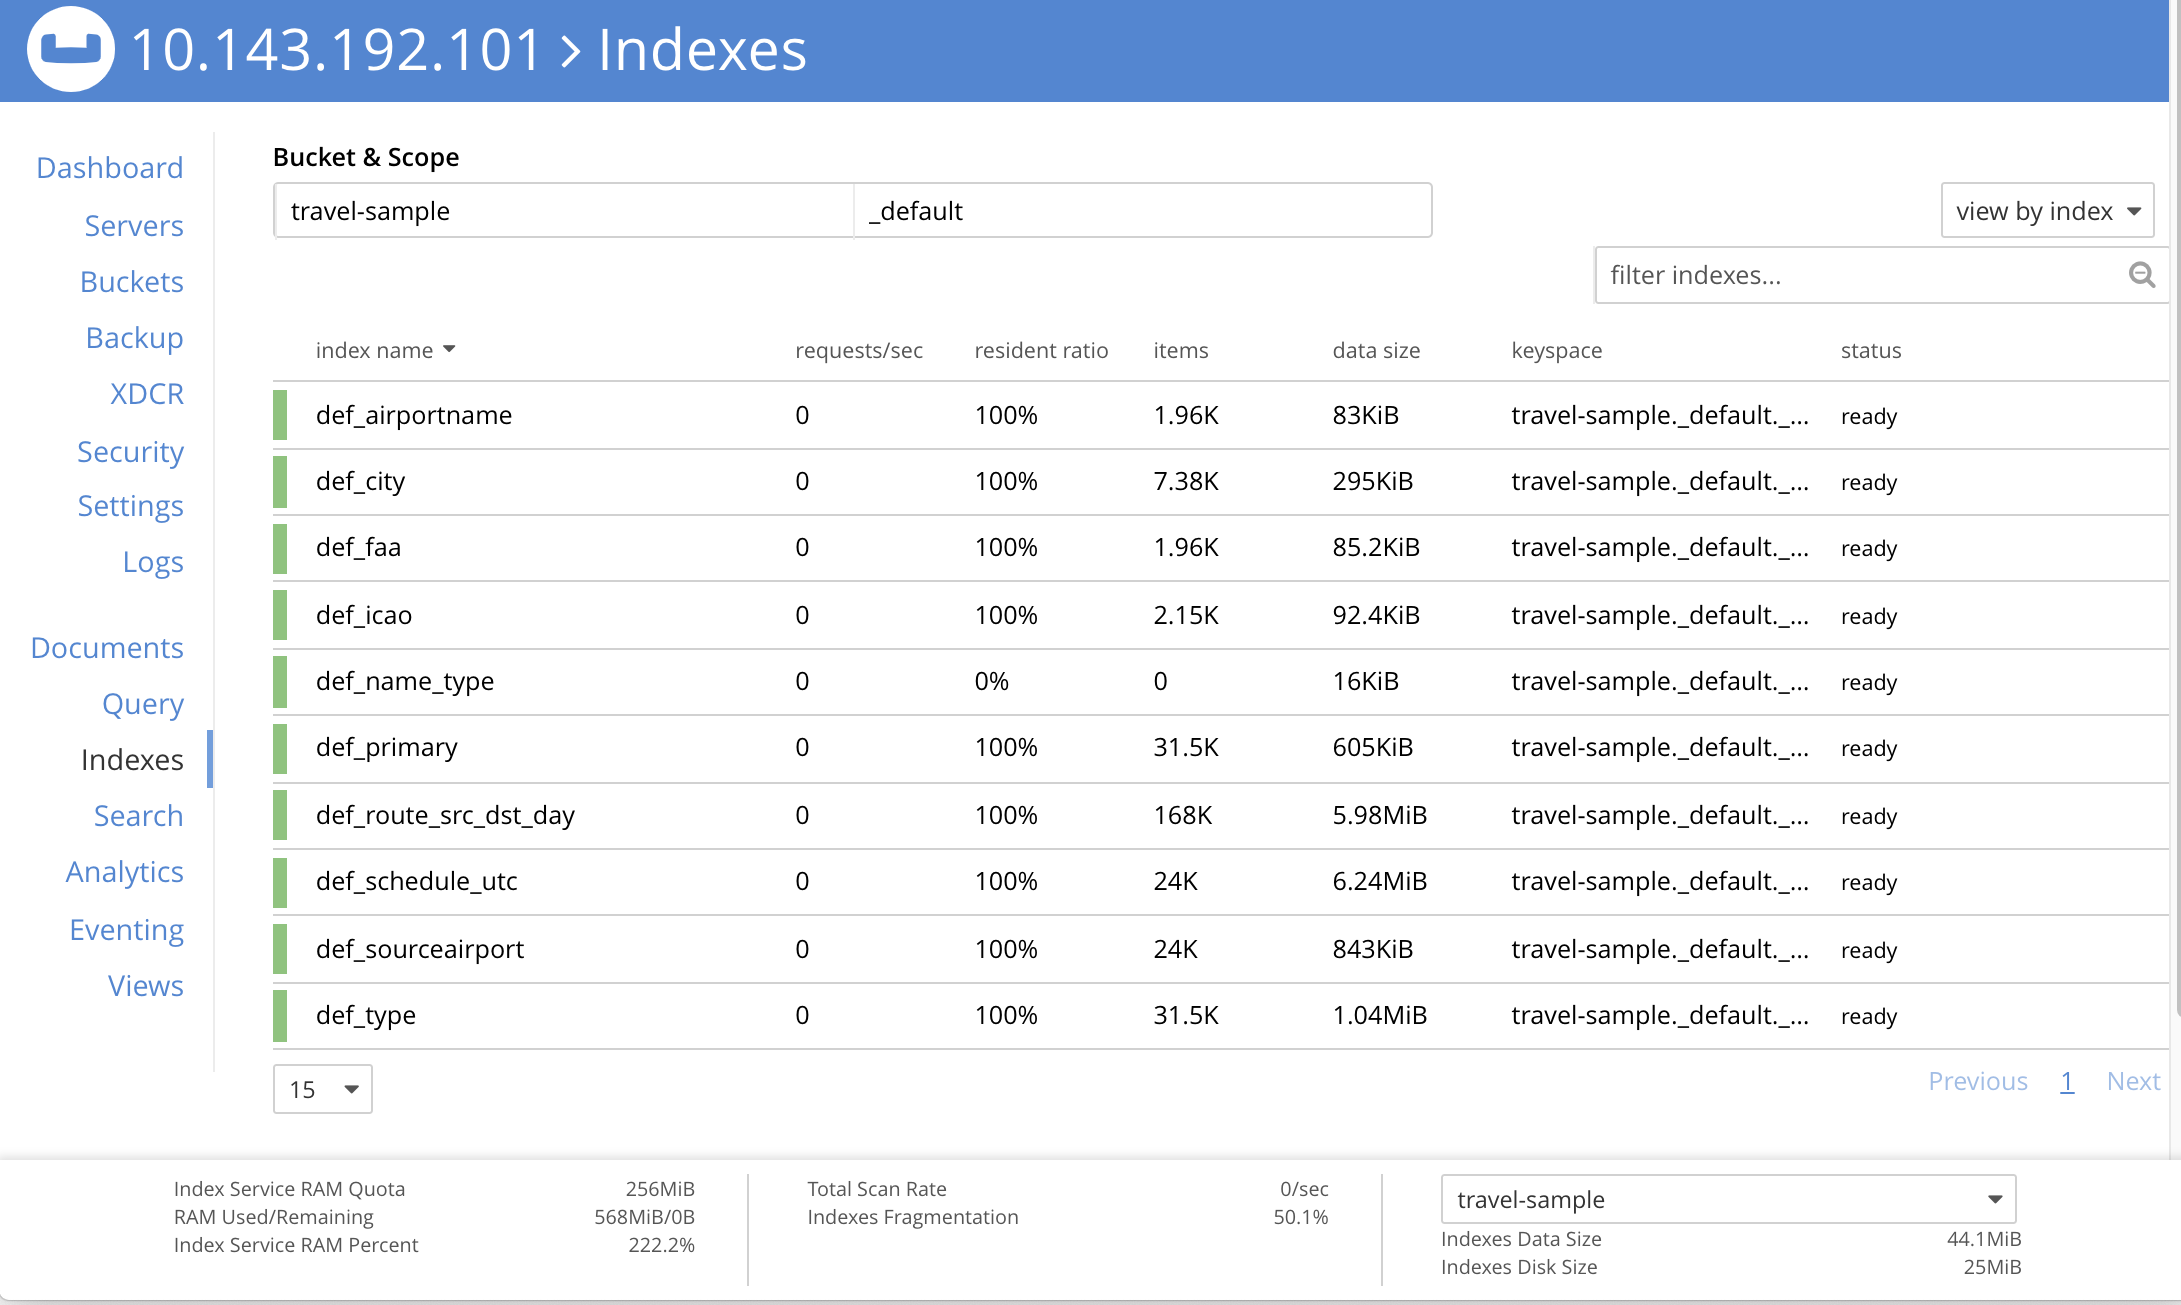
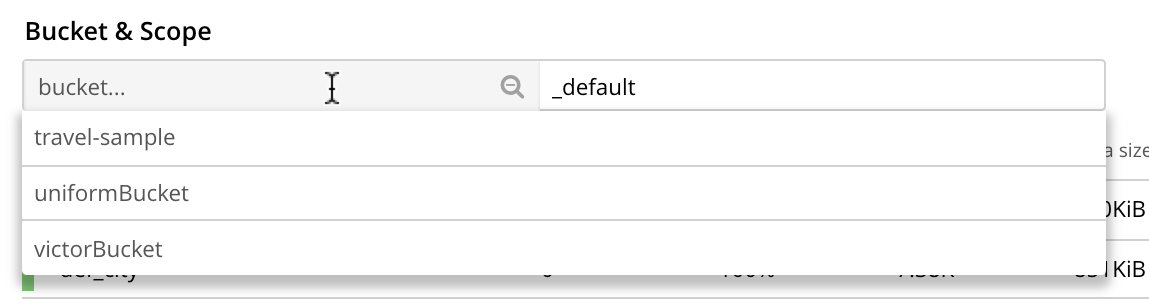
The Bucket & Scope fields allow selection of a bucket from those defined on the cluster; and of a scope from those defined within the bucket. Left-click on the left-hand field, to display a pull-down menu of available buckets:
Likewise, left-click on the right-hand field, to display a pull-down menu of scopes within the selected bucket:

Each time a selection is made, the list of indexes in the lower panel is redisplayed; so as to show the indexes that are defined on data within the selected scope and bucket.
Note that towards the right, an additional control provides a pull-down menu whereby indexes can be viewed either for all Index-Service nodes on the cluster, or by node. Additionally, an interactive field is provided, to allow the displayed content to be filtered; by entering either all or part of an index-name.
Index Summary
The index list displays the following information about each index:
-
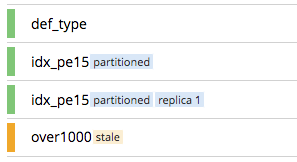
index name. The name of the index. There may also be one or more indicators after the index name, giving further information:
-
partitionedindicates that the index is partitioned. An overview of partitioning is provided in Index Partitioning. Examples of creating partitioned indexes are provided in Partition Keys. -
replica nindicates that this is an index replica, wherenis the replica ID. An overview of index replication, and examples of creating index replicas, are provided in Index Replication. -
staleindicates that the node on which the index or partition is stored is not available.
-
-
requests/sec. The number of requests per second.
-
resident ratio. The percentage of the data held in memory.
-
items. The number of items currently indexed.
-
data size. The size of indexable data that is maintained for the index or replica.
-
keyspace. The keyspace for which the index or replica was created.
-
status. The current state of the Index Service on the node on which this index is stored. The state can be expressed as ready, pause, warmup, or n mutations remaining (where n is an integer).
The color of the left margin of the index row also reflects the current state of the index. For example, the color is green when the index is ready; and orange when the index is in warmup.
Index Administration
To administer an index, left-click on a specific index row in the indexes list, to expand the row. (Subsequently, whenever appropriate, left-click on the row again, to collapse it.) When the row is expanded, it appears as follows:
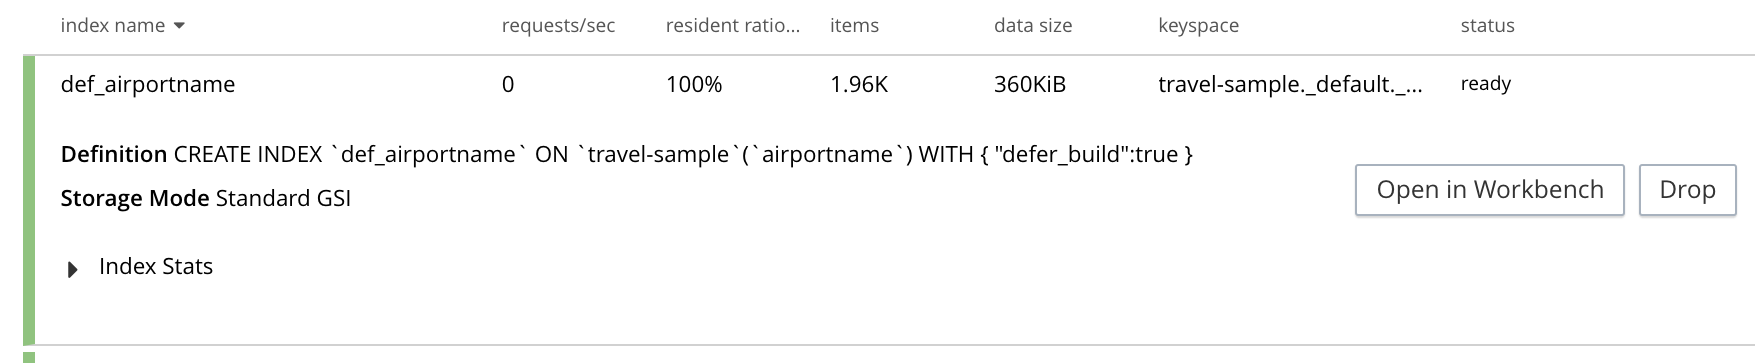
The following information is thus provided:
-
Definition. The SQL++ statement used to define the index.
-
Storage Mode. The storage mode used by the Index Service on the node on which this index is stored.
-
Nodes. (Only displayed for partitioned indexes.) The nodes on which the index partitions are stored, and the number of partitions stored on each node.
In addition, when the index row is expanded, the Index Stats control is displayed, along with the Open in Workbench and Drop buttons. These controls are described below.
Show the Index Statistics
To see statistics for the index, left-click on the Index Stats control in the expanded index row. The panel expands vertically, and provides the following display of interactive charts:
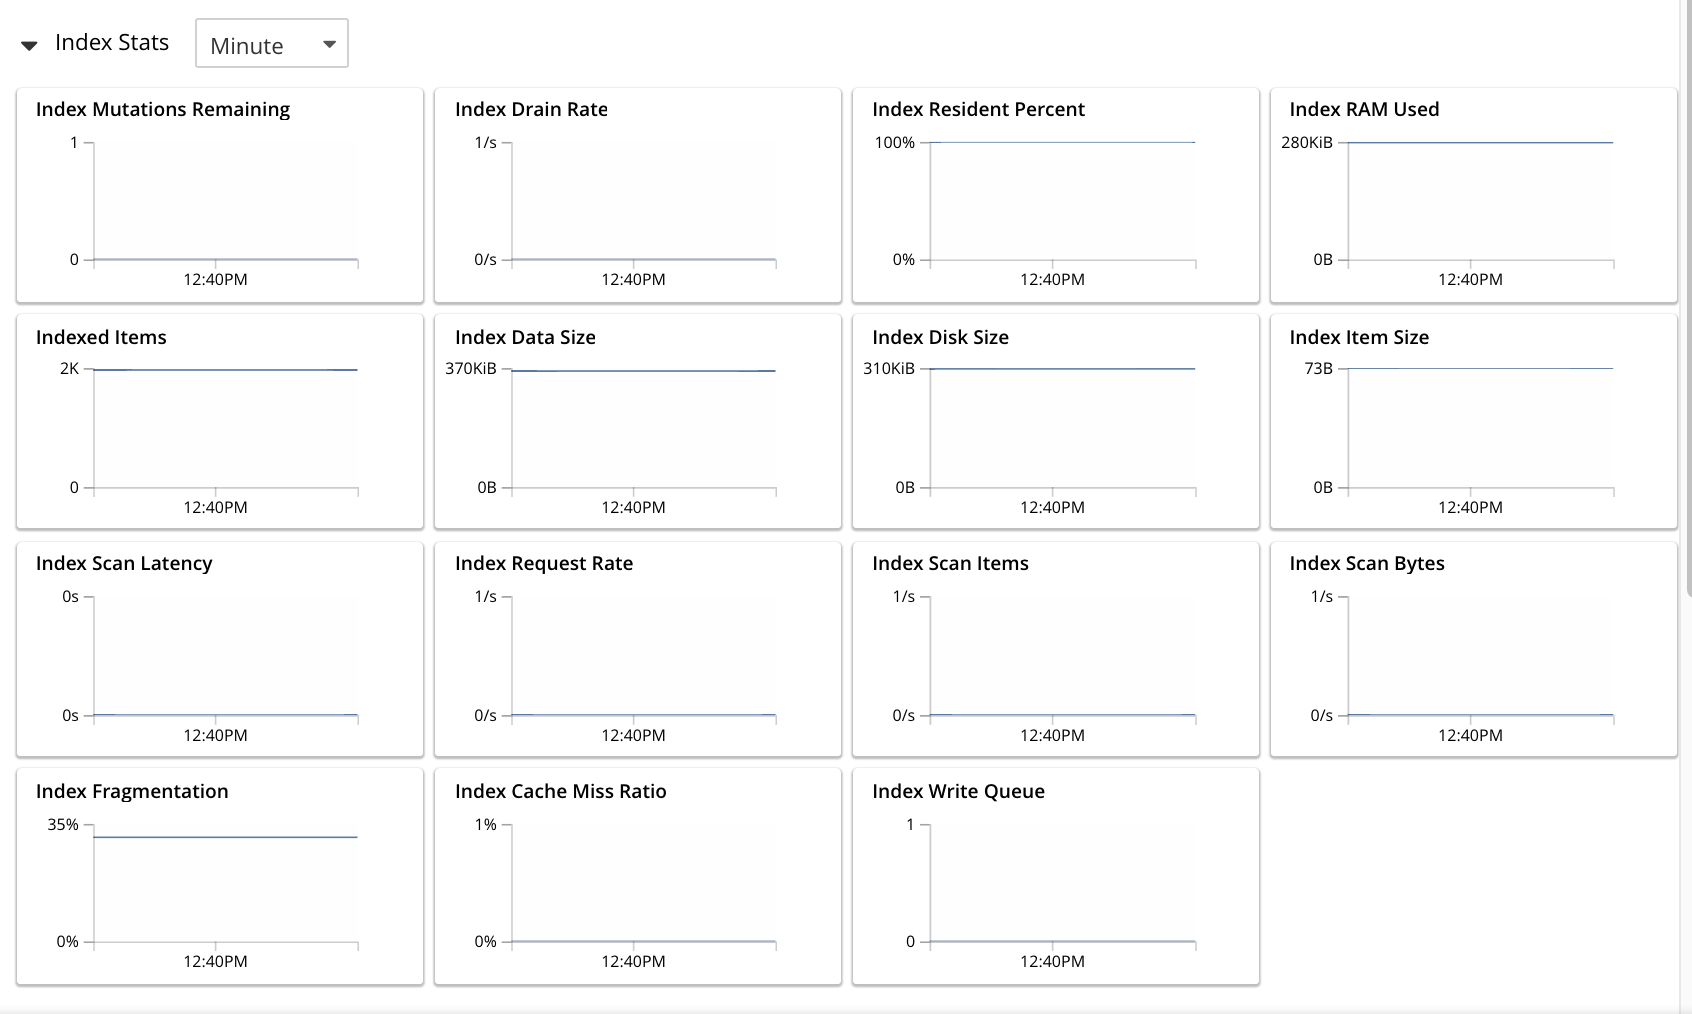
For more information on these charts, see Index Statistics.
Open the Index in the Query Workbench
If an index is opened in the Query Workbench, its definition can be inspected and modified.
Proceed as follows:
-
From the Indexes screen, left-click the Open in Workbench button, in the expanded index row. The index definition is displayed in the Query Workbench:
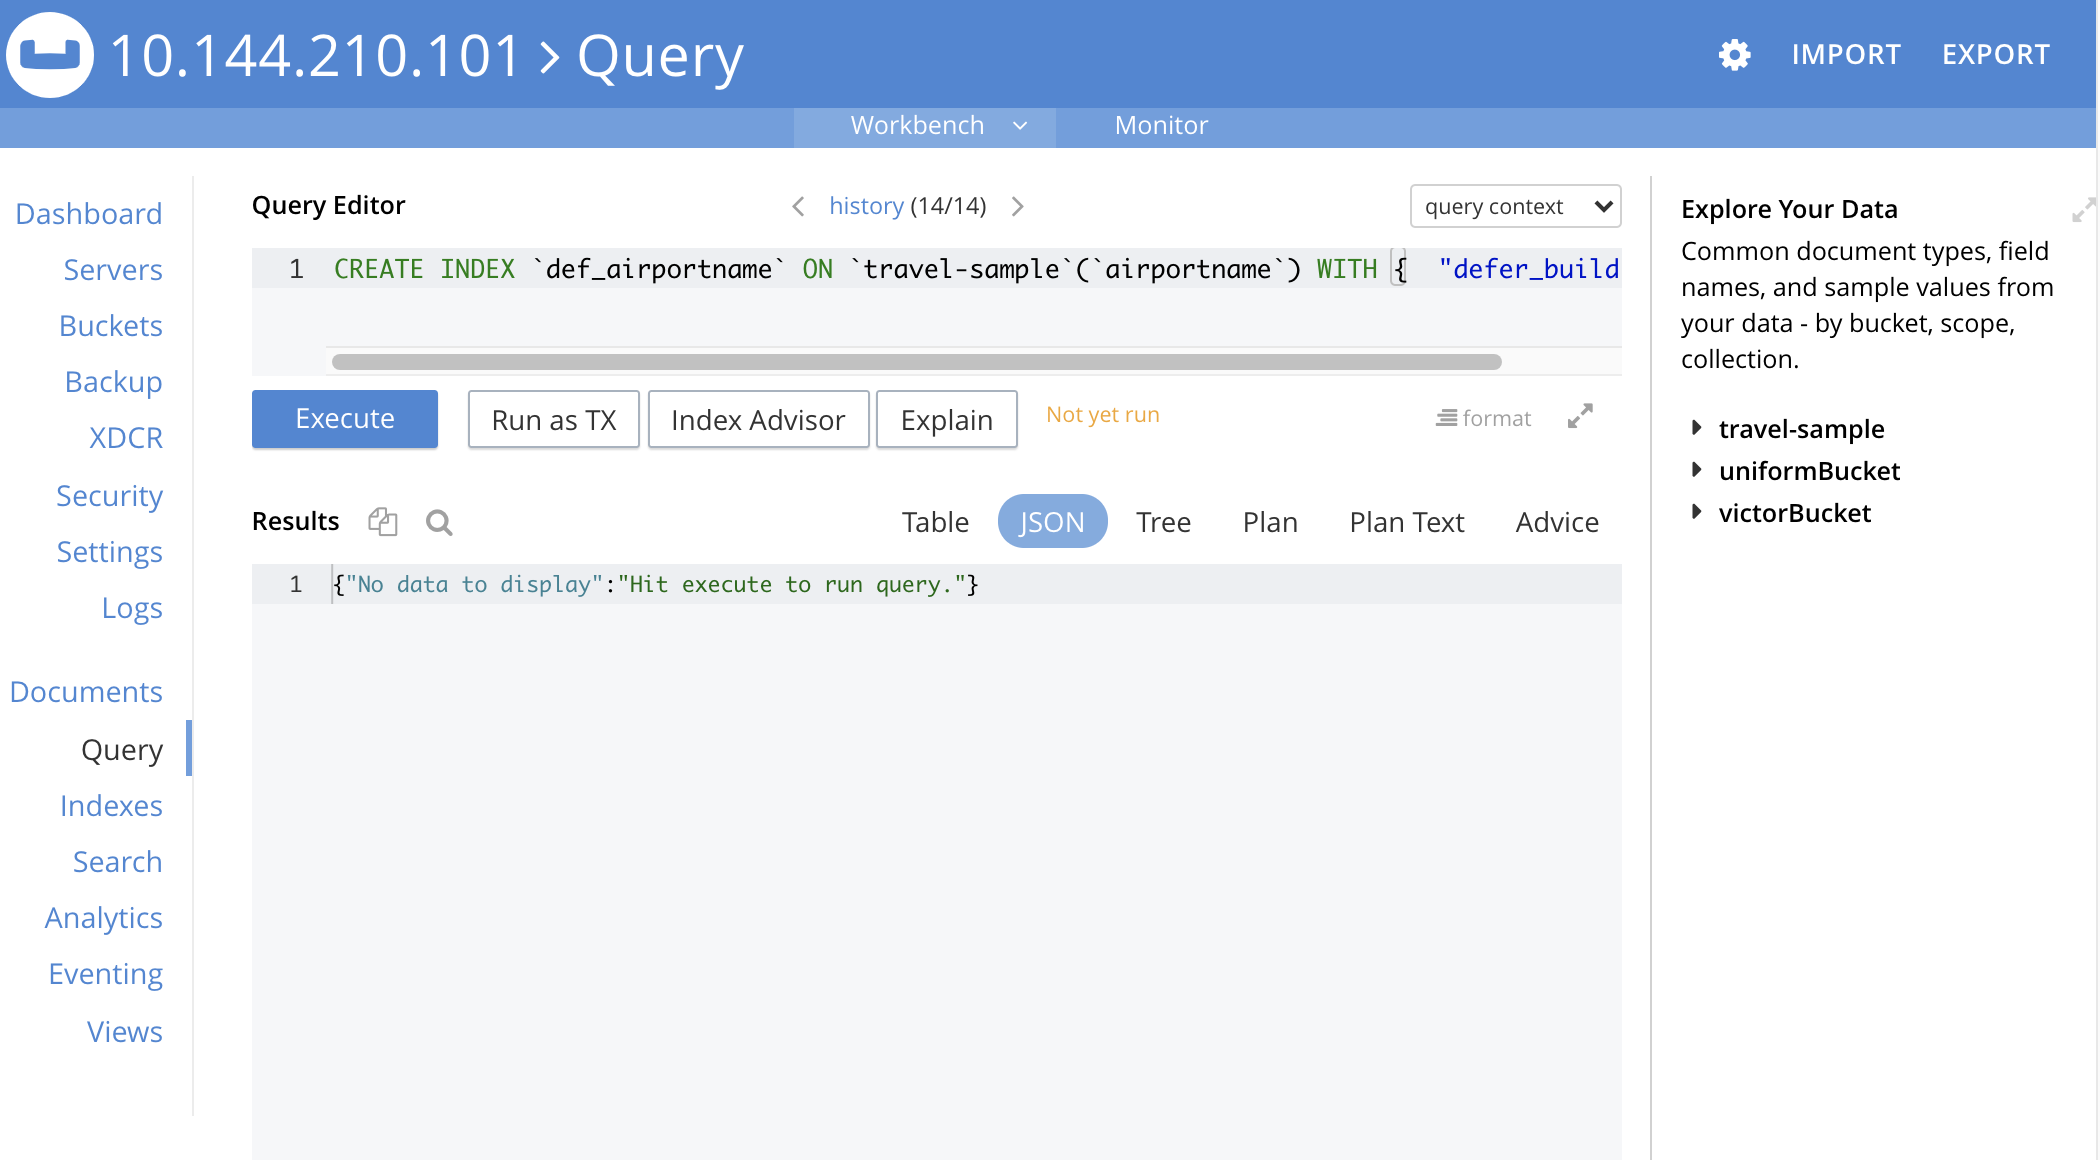
-
Modify the SQL++ index-definition, as required. (Note that you cannot change the definition of the existing index, but you can create a new index with the modified definition.)
For more information on using the Query Workbench, see Query Workbench.
Drop the Index
To drop the index from the bucket:
-
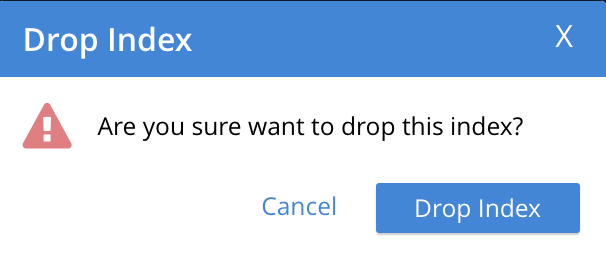
Left-click the Drop button in the expanded index row.
A pop-up message appears, asking if you are sure you want to drop the index.
-
Left-click on the Drop Index button, to drop the index. Alternatively, left-click on the Cancel button, to cancel.
Note that you can also drop an index by means of the SQL++ DROP INDEX and DROP PRIMARY INDEX commands.
Index Summary Statistics
Summary statistics for the Index Service are displayed in the footer of the Indexes screen.

For details of the index summary statistics, refer to Index Service Statistics.
Index Storage Mode and Other Settings
You can change the storage mode that all indexes use using the COuchbase Server Web Console’s Settings page. This page also has other advanced options for indexes. See Index Storage Mode.
Manage Indexes with the CLI
You can manage some Index-Service settings using the CLI. Refer to Index Storage Settings via CLI.
Note that there is no CLI support for the administration of specific indexes. However, you can get index information from the system catalog. Refer to Querying Indexes.
You can also edit or remove indexes using SQL++. Refer to SQL++ Language Reference for more details.
Manage Indexes with the REST API
You can manage some Index-Service settings using the REST API. Refer to Index Settings via REST.
Note that there is no REST API support for the administration of specific indexes.
See Also
Information on index statistics is provided in Monitor Indexes.