Travel Mobile App
Pre-requisites
-
Latest version of Android Studio downloadable from Google Developer site
-
Android device or emulator running API level 22 or above
-
Android SDK 29
-
Android Build Tools 29+
-
JDK 8
Windows Users: If you are developing on Windows, you must use a Windows 10 machine. Also, note that if you choose the Manual or Docker installation mode, you must also have administrative privileges on the Windows box so you can authorize the installation and running of the required executables.
Travel Sample Mobile App
-
Clone the "master" branch of the Travel Sample app from GitHub. We are doing a shallow pull with
depthas 1 to speed the cloning process.git clone -b master --depth 1 https://github.com/couchbaselabs/mobile-travel-sample.git -
Open the project using Android Studio. The build.gradle is located in /path/to/mobile-travel-sample/android/TravelSample/ folder/directory.
Configure App to connect to Backend
You will have to update the URLs specified in the app to connect to the backend If you haven’t done so already, complete the steps outlined in the "Backend Installation" to install your Couchbase Server, Sync Gateway and Python web backend app.
Updating the web backend URL
Open the file DatabaseManager.java in util folder.
You must update the APPLICATION_ENDPOINT constant which points to the Python Web Server.
Now, the URLs that you specify will vary depending on the installation option that you chose for deploying your backend
-
Manual
-
Docker
public static String APPLICATION_ENDPOINT = "http://10.0.2.2:8080/api/";public static String APPLICATION_ENDPOINT = "http://10.0.2.2:8080/api/";Updating the Sync Gateway URL
Next, you will update the Sync Gateway endpoint.
Open the file DatabaseManager.java in util folder
You must update the SGW_ENDPOINT constant.
Now, the URLs that you specify will vary depending on the installation option that you chose for deploying your backend
-
Manual
-
Docker
public static String SGW_ENDPOINT = "ws://10.0.2.2:4984/travel-sample"; public static String SGW_ENDPOINT = "ws://10.0.2.2:4984/travel-sample";-
Build and run the project using Android emulator.
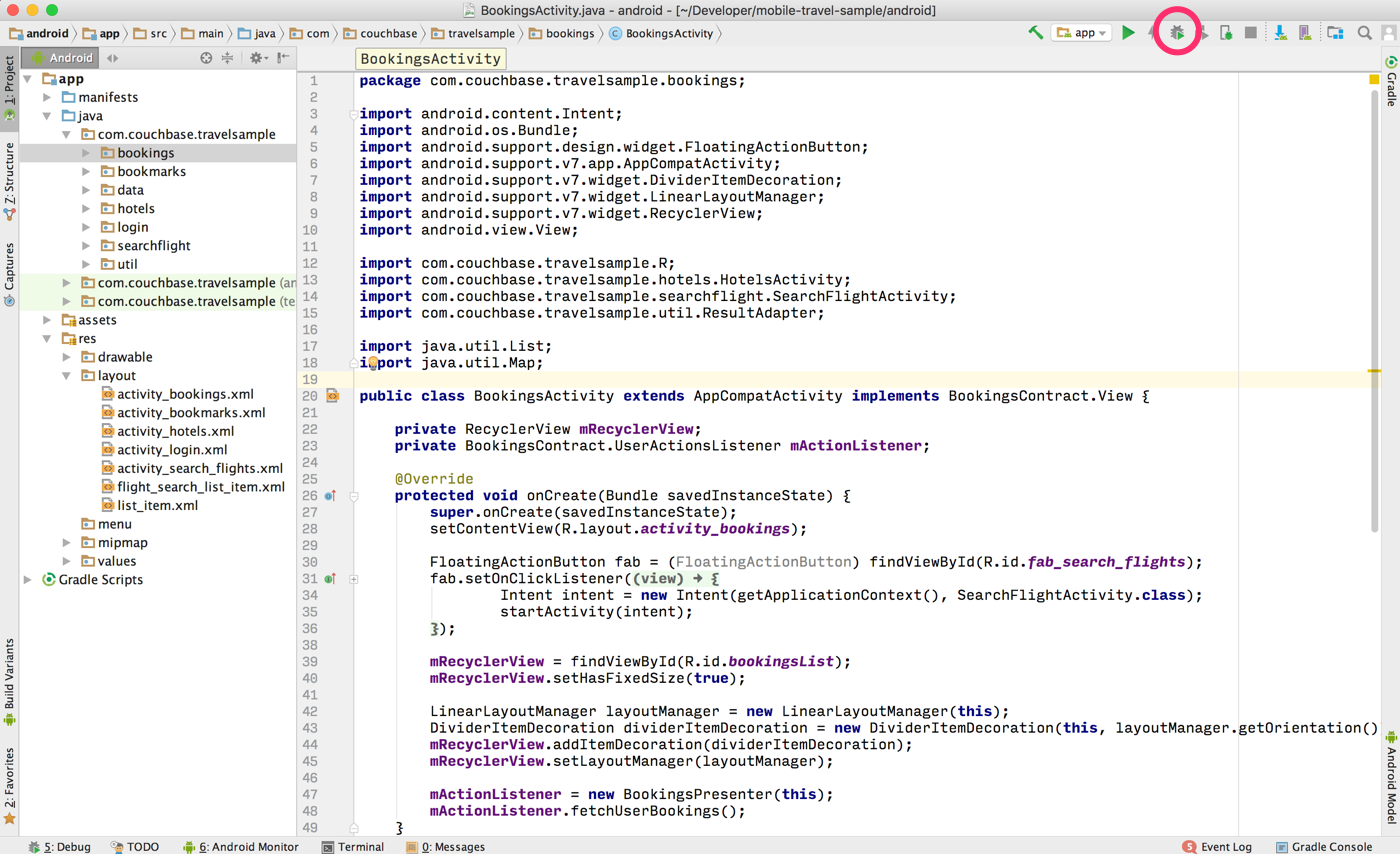
-
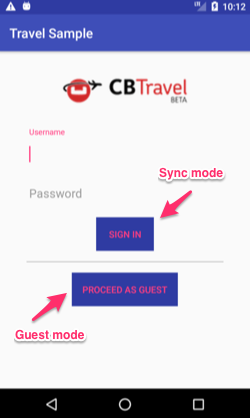
Verify that the login screen appears in the emulator.