Quickstart in Couchbase with Spring Boot and Java
Quickstart app to build a REST API using Couchbase Capella in Java using Spring Boot. Discover how to program interactions with Couchbase via the Data, Query, and Search services.
After you have navigated through signing up to Capella, if Java is entered as your chosen language, you will be pointed to a clonable quickstart app on GitHub. If you were not, you can still find it here.
Often, the first step developers take after creating their database is to create a REST API that can perform Create, Read, Update, and Delete (CRUD) operations for that database. The quickstart project is designed to teach you and give you a starter project (in Java using Spring Boot) to generate such a REST API. After you have loaded the travel-sample bucket in your database, you can run this application which is a REST API with Swagger documentation so that you can learn:
-
How to create, read, update, and delete documents using Key-Value operations. KV operations are unique to Couchbase and provide super fast (under millisecond) operations.
-
How to write simple parametrized SQL++ queries using the built-in travel-sample bucket.
This documentation — and a number of other useful developer tutorials — can be found on the Couchbase Developer Portal.
Prerequisites
To run this prebuilt project, you will need:
-
A Couchbase Capella cluster with the travel-sample bucket loaded.
To run this tutorial using a self-managed Couchbase cluster, please refer to the Running Self-Managed Couchbase Cluster section.
-
Java SDK 17+ — see the compatibility guide.
The application is tested with Java 17 and 21. If you are using a different version of Java, please update the
pom.xmlfile accordingly. -
The Travel Sample Bucket — pre-loaded in Capella Free Tier, or see cloud:clusters:data-service/import-data-documents.adoc#import-sample-data.
App Setup
We will walk through the different steps required to get the application running:
-
Cloning Repo
$ git clone https://github.com/couchbase-examples/java-springboot-quickstart.git -
Navigate to the Project Directory
$ cd java-springboot-quickstart -
Install Dependencies
The dependencies for the application are specified in the
pom.xmlfile in the root folder. Dependencies can be installed throughmvnthe default package manager for Java.$ mvn clean install -DskipTests=trueNote, the
-DskipTests=trueoption is used to skip the tests. The tests require the application to be running.
Setup Database Configuration
To learn more about connecting to your Capella cluster, please follow the instructions. Specifically, you need to do the following:
-
Create the database credentials to access the travel-sample bucket (Read and Write) used in the application.
-
Allow access to the Cluster from the IP on which the application is running.
All configuration for communication with the database is read from the application properties.
We have provided a convenience feature in this quickstart to read the properties from a local file,
application.properties in the src/main/resources folder.
spring.mvc.pathmatch.matching-strategy=ANT_PATH_MATCHER
spring.couchbase.bucket.name=travel-sample
spring.couchbase.bootstrap-hosts=DB_CONN_STR
spring.couchbase.bucket.user=DB_USERNAME
spring.couchbase.bucket.password=DB_PASSWORD
Instead of the DB_CONN_STR, DB_USERNAME, and DB_PASSWORD, you need to add the values for the Couchbase connection.
The connection string expects the couchbases:// part.
You can also use your system environment variables to set the properties.The properties are read from the environment variables if they are set.
The properties are read from the application.properties file if the environment variables are not set.
Running The Application
You can add environment variables DB_CONN_STR, DB_USERNAME, and DB_PASSWORD to your system environment variables or you can update the application.properties file in the src/main/resources folder.
|
Running from a Development Machine
Couchbase — including Capella — is designed to run in a LAN-like environment. For development, connecting to a remote cloud instance from a local laptop instead of an application server in the same region, may require you to adjust some timeouts. If you have problems, refer to the constrained network environments section of the docs. |
Directly on Your Local Machine
At this point, we have installed the dependencies, loaded the travel-sample data and configured the application with the credentials. The application is now ready and you can run it.
$ mvn spring-boot:runUsing Docker
Build the Docker image
$ docker build -t java-springboot-quickstart .Run the Docker image
$ docker run -d --name springboot-container -p 9440:8080 java-springboot-quickstart -e DB_CONN_STR=<connection_string> -e DB_USERNAME=<username> -e DB_PASSWORD=<password>|
The |
Verifying the Application
Once the application starts, you can see the details of the application on the logs.
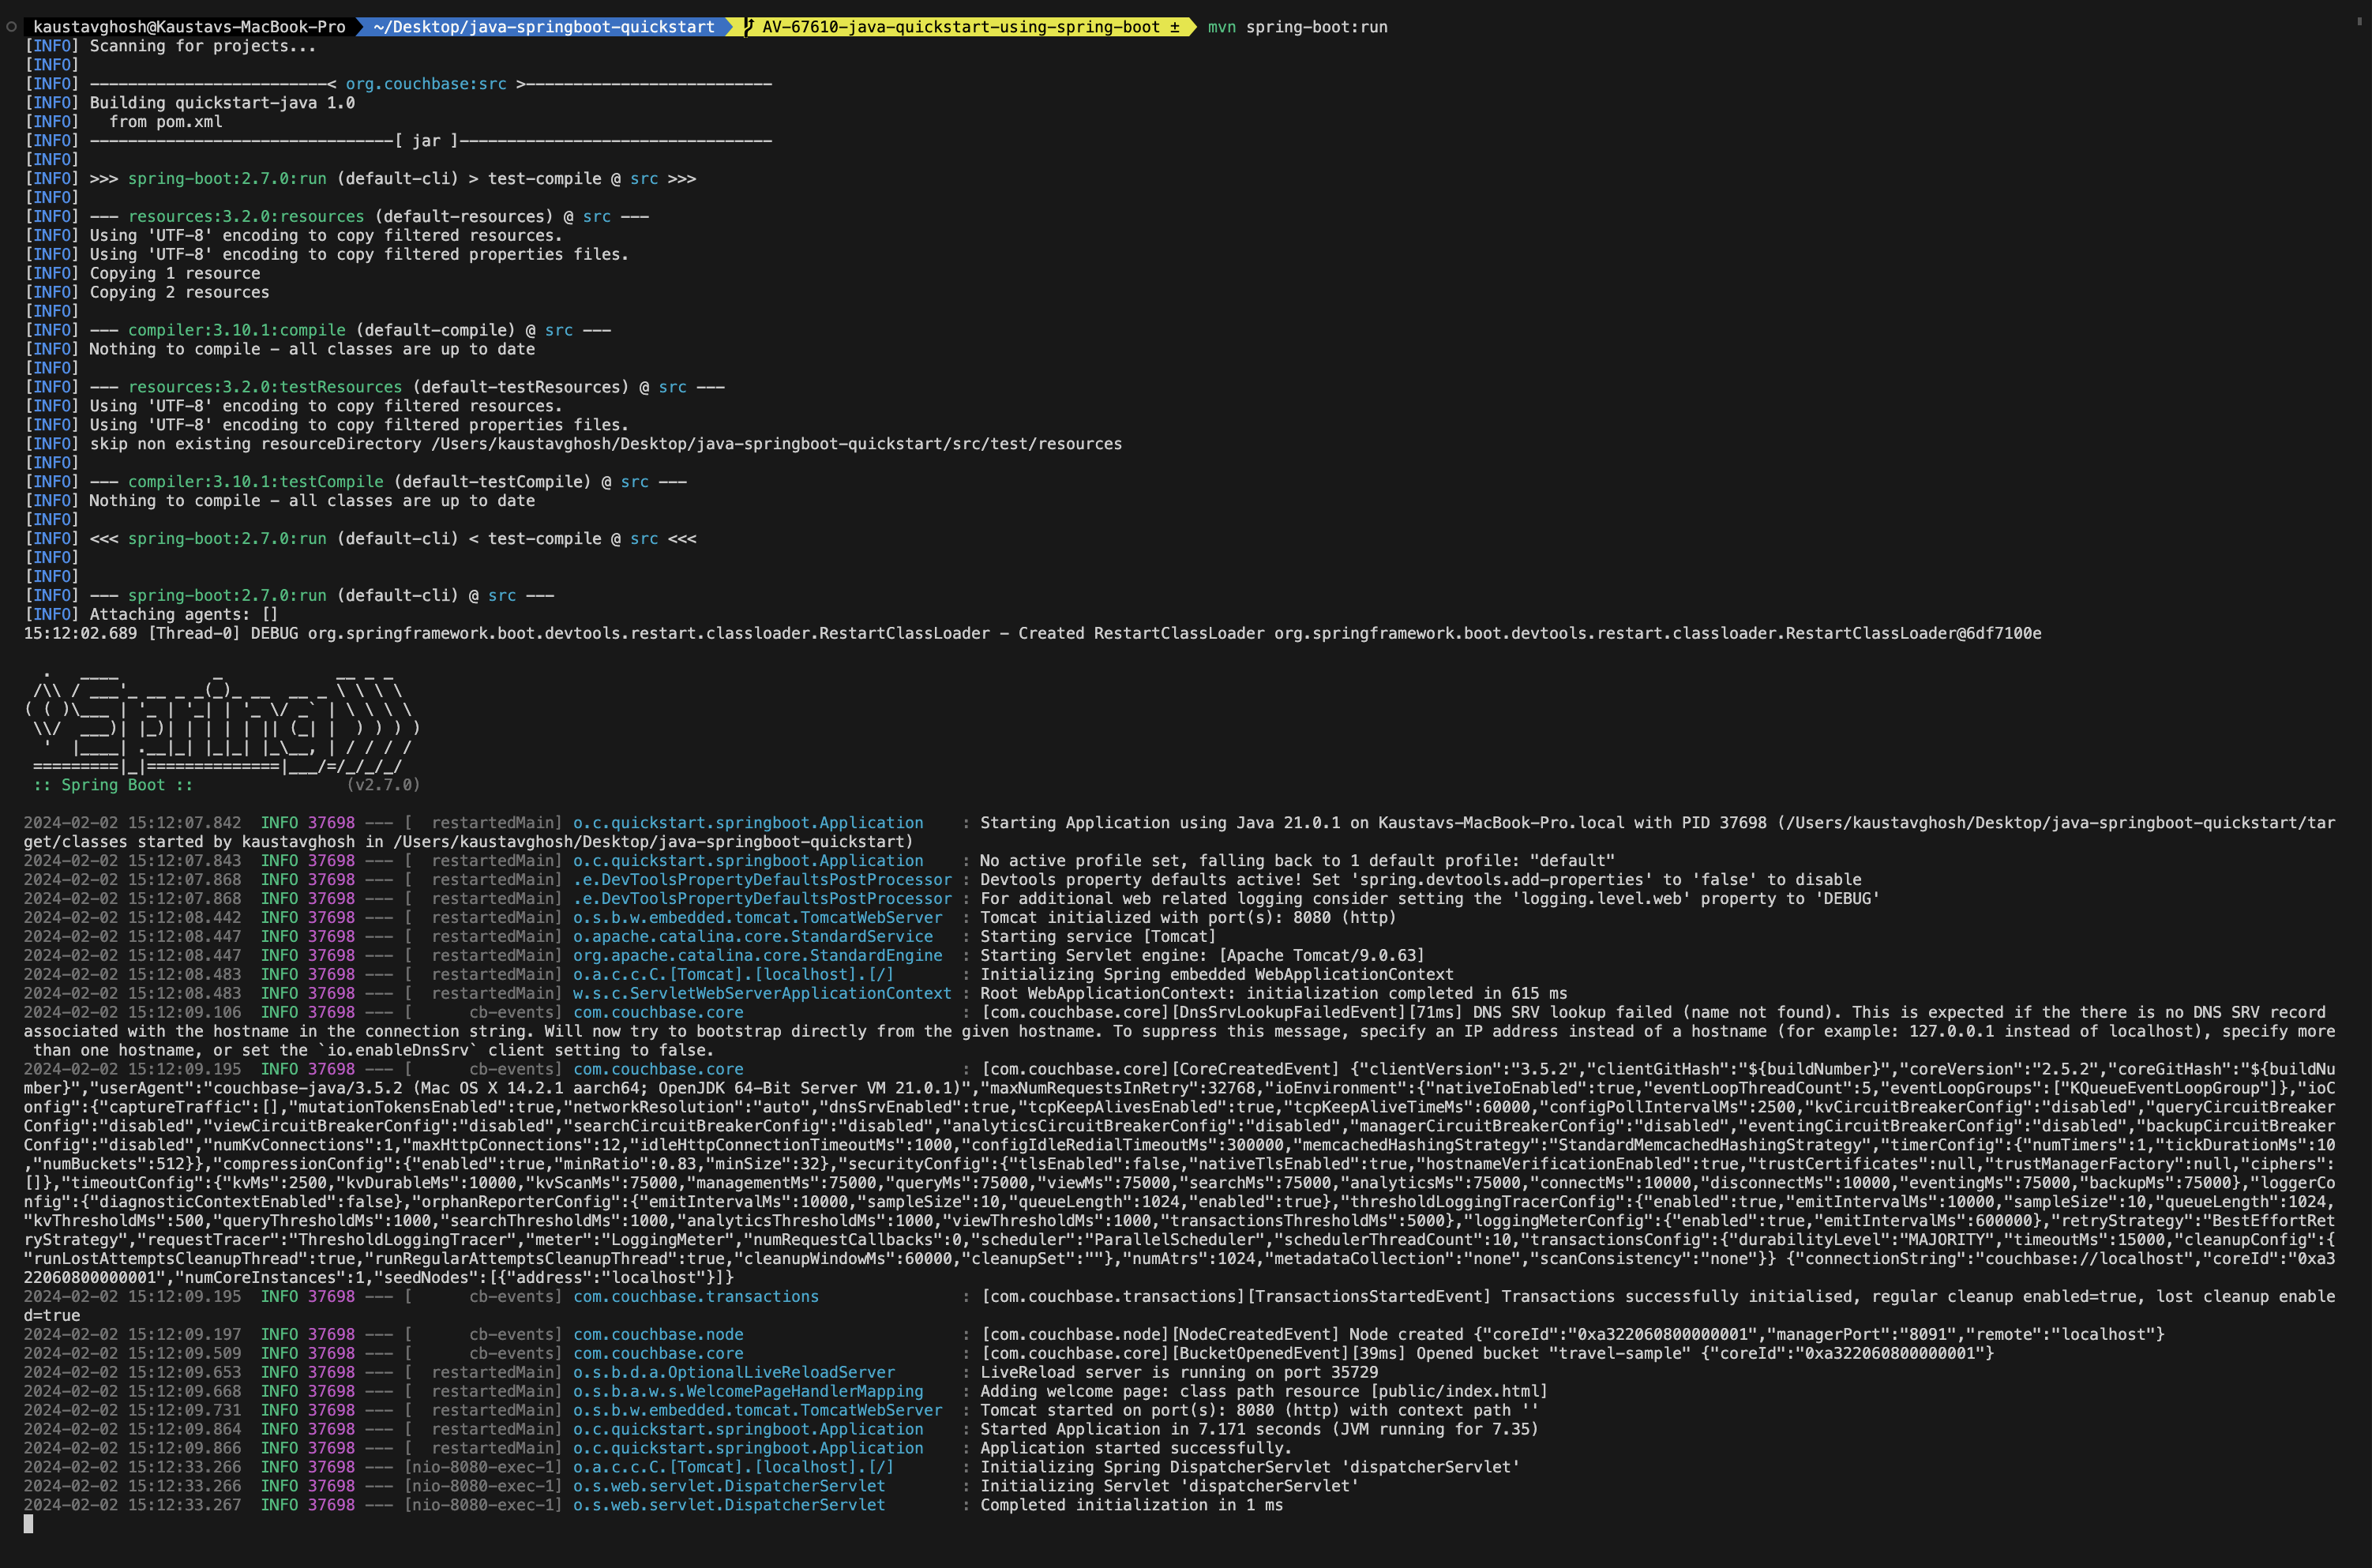
The application will run on port 8080 of your local machine — http://localhost:8080.
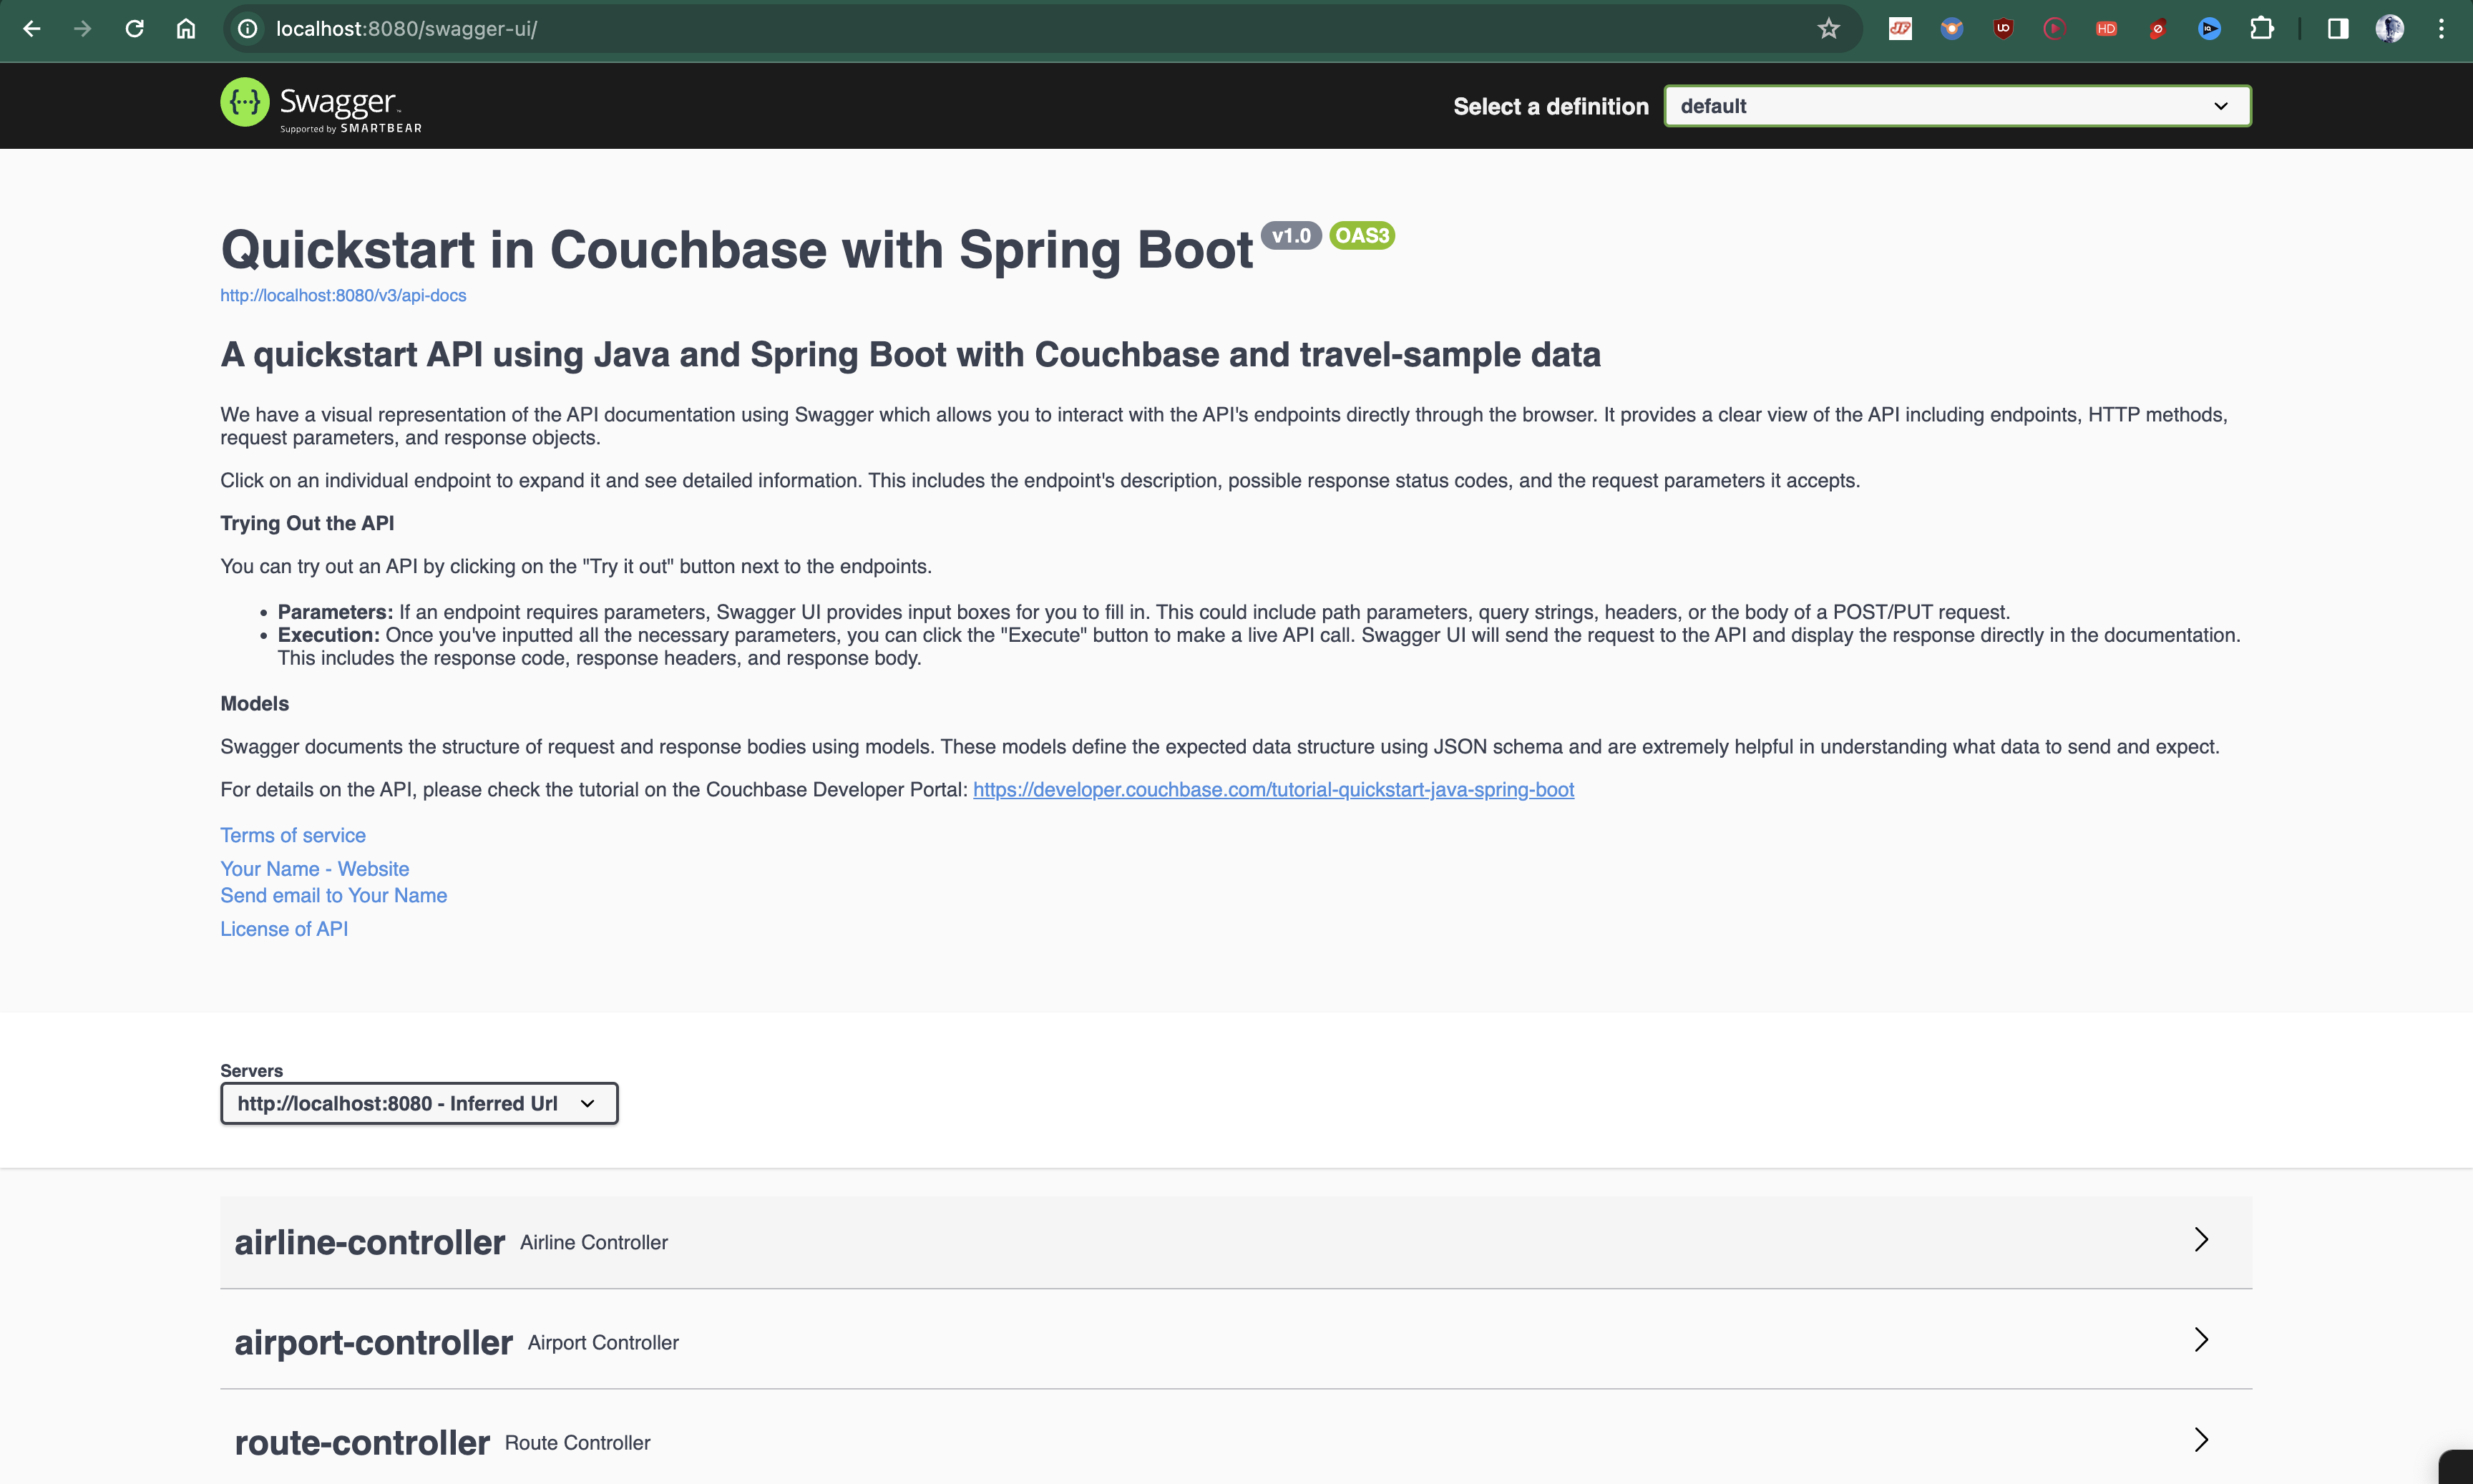
You will find the interactive Swagger documentation of the API if you go to the URL in your browser.
Swagger documentation is used in this demo to showcase the different API endpoints and how they can be invoked.
More details on the Swagger documentation can be found in the Swagger Documentation.
Running Tests
To test your application, you can use Maven (mvn) to run the test suite. Here are the steps to run the tests:
Run Individual Tests:
Additionally, you can run individual test classes or methods using the following commands:
To run the tests for the AirlineIntegrationTest class:
$ mvn test -Dtest=org.couchbase.quickstart.springboot.controllers.AirlineIntegrationTestTo run the tests for the AirportIntegrationTest class:
$ mvn test -Dtest=org.couchbase.quickstart.springboot.controllers.AirportIntegrationTestTo run the tests for the RouteIntegrationTest class:
$ mvn test -Dtest=org.couchbase.quickstart.springboot.controllers.RouteIntegrationTestAppendix
Data Model
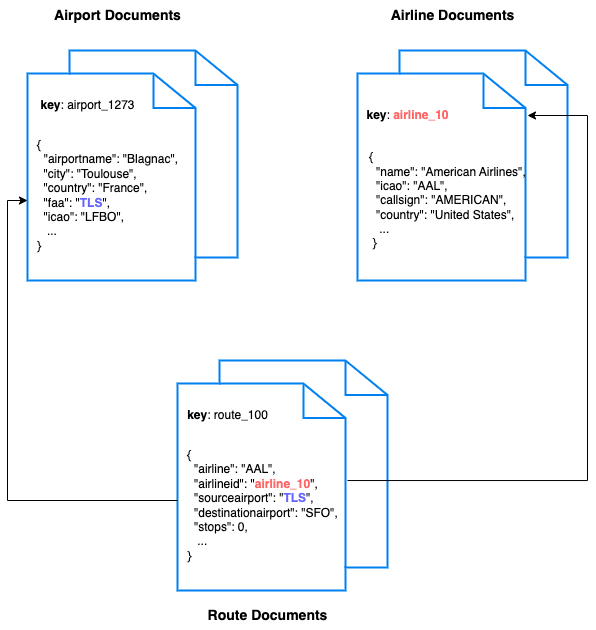
For this quickstart, we use three collections, airport, airline and routes that contain sample airports, airlines and airline routes respectively. The routes collection connects the airports and airlines as seen in the figure below. We use these connections in the quickstart to generate airports that are directly connected and airlines connecting to a destination airport. Note that these are just examples to highlight how you can use SQL++ queries to join the collections.
Extending API by Adding New Entity
If you would like to add another entity to the APIs, these are the steps to follow:
-
Create a new collection in the Couchbase scope. You can create new collections using the [SDK](https://docs.couchbase.com/java-sdk/current/howtos/provisioning-cluster-resources.html#collection-management) or via the [Couchbase Server interface](https://docs.couchbase.com/cloud/n1ql/n1ql-language-reference/createcollection.html).
-
Define the routes in a new class in the
controllerspackage similar to the existing routes likeAirportController.java. -
Define the service in a new class in the
servicespackage similar to the existing services likeAirportService.java. -
Define the repository in a new class in the
repositoriespackage similar to the existing repositories likeAirportRepository.java.
Running Self-Managed Couchbase Cluster
If you are running this quickstart with a self-managed Couchbase cluster, you need to [load](https://docs.couchbase.com/server/current/manage/manage-settings/install-sample-buckets.html) the travel-sample data bucket in your cluster and generate the credentials for the bucket.
You need to update the connection string and the credentials in the application.properties file in the src/main/resources folder.
Note: Couchbase Server version 7 or higher must be installed and running before running the Spring Boot Java app.
Swagger Documentation
Swagger documentation provides a clear view of the API including endpoints, HTTP methods, request parameters, and response objects.
Click on an individual endpoint to expand it and see detailed information. This includes the endpoint’s description, possible response status codes, and the request parameters it accepts.
Trying Out the API
You can try out an API by clicking on the "Try it out" button next to the endpoints.
-
Parameters: If an endpoint requires parameters, Swagger UI provides input boxes for you to fill in. This could include path parameters, query strings, headers, or the body of a POST/PUT request.
-
Execution: Once you’ve inputted all the necessary parameters, you can click the "Execute" button to make a live API call. Swagger UI will send the request to the API and display the response directly in the documentation. This includes the response code, response headers, and response body.