Install or provision the Couchbase server
A short tutorial that will guide the developer in downloading and installing Couchbase, then creating a database to store our student records.
Installation
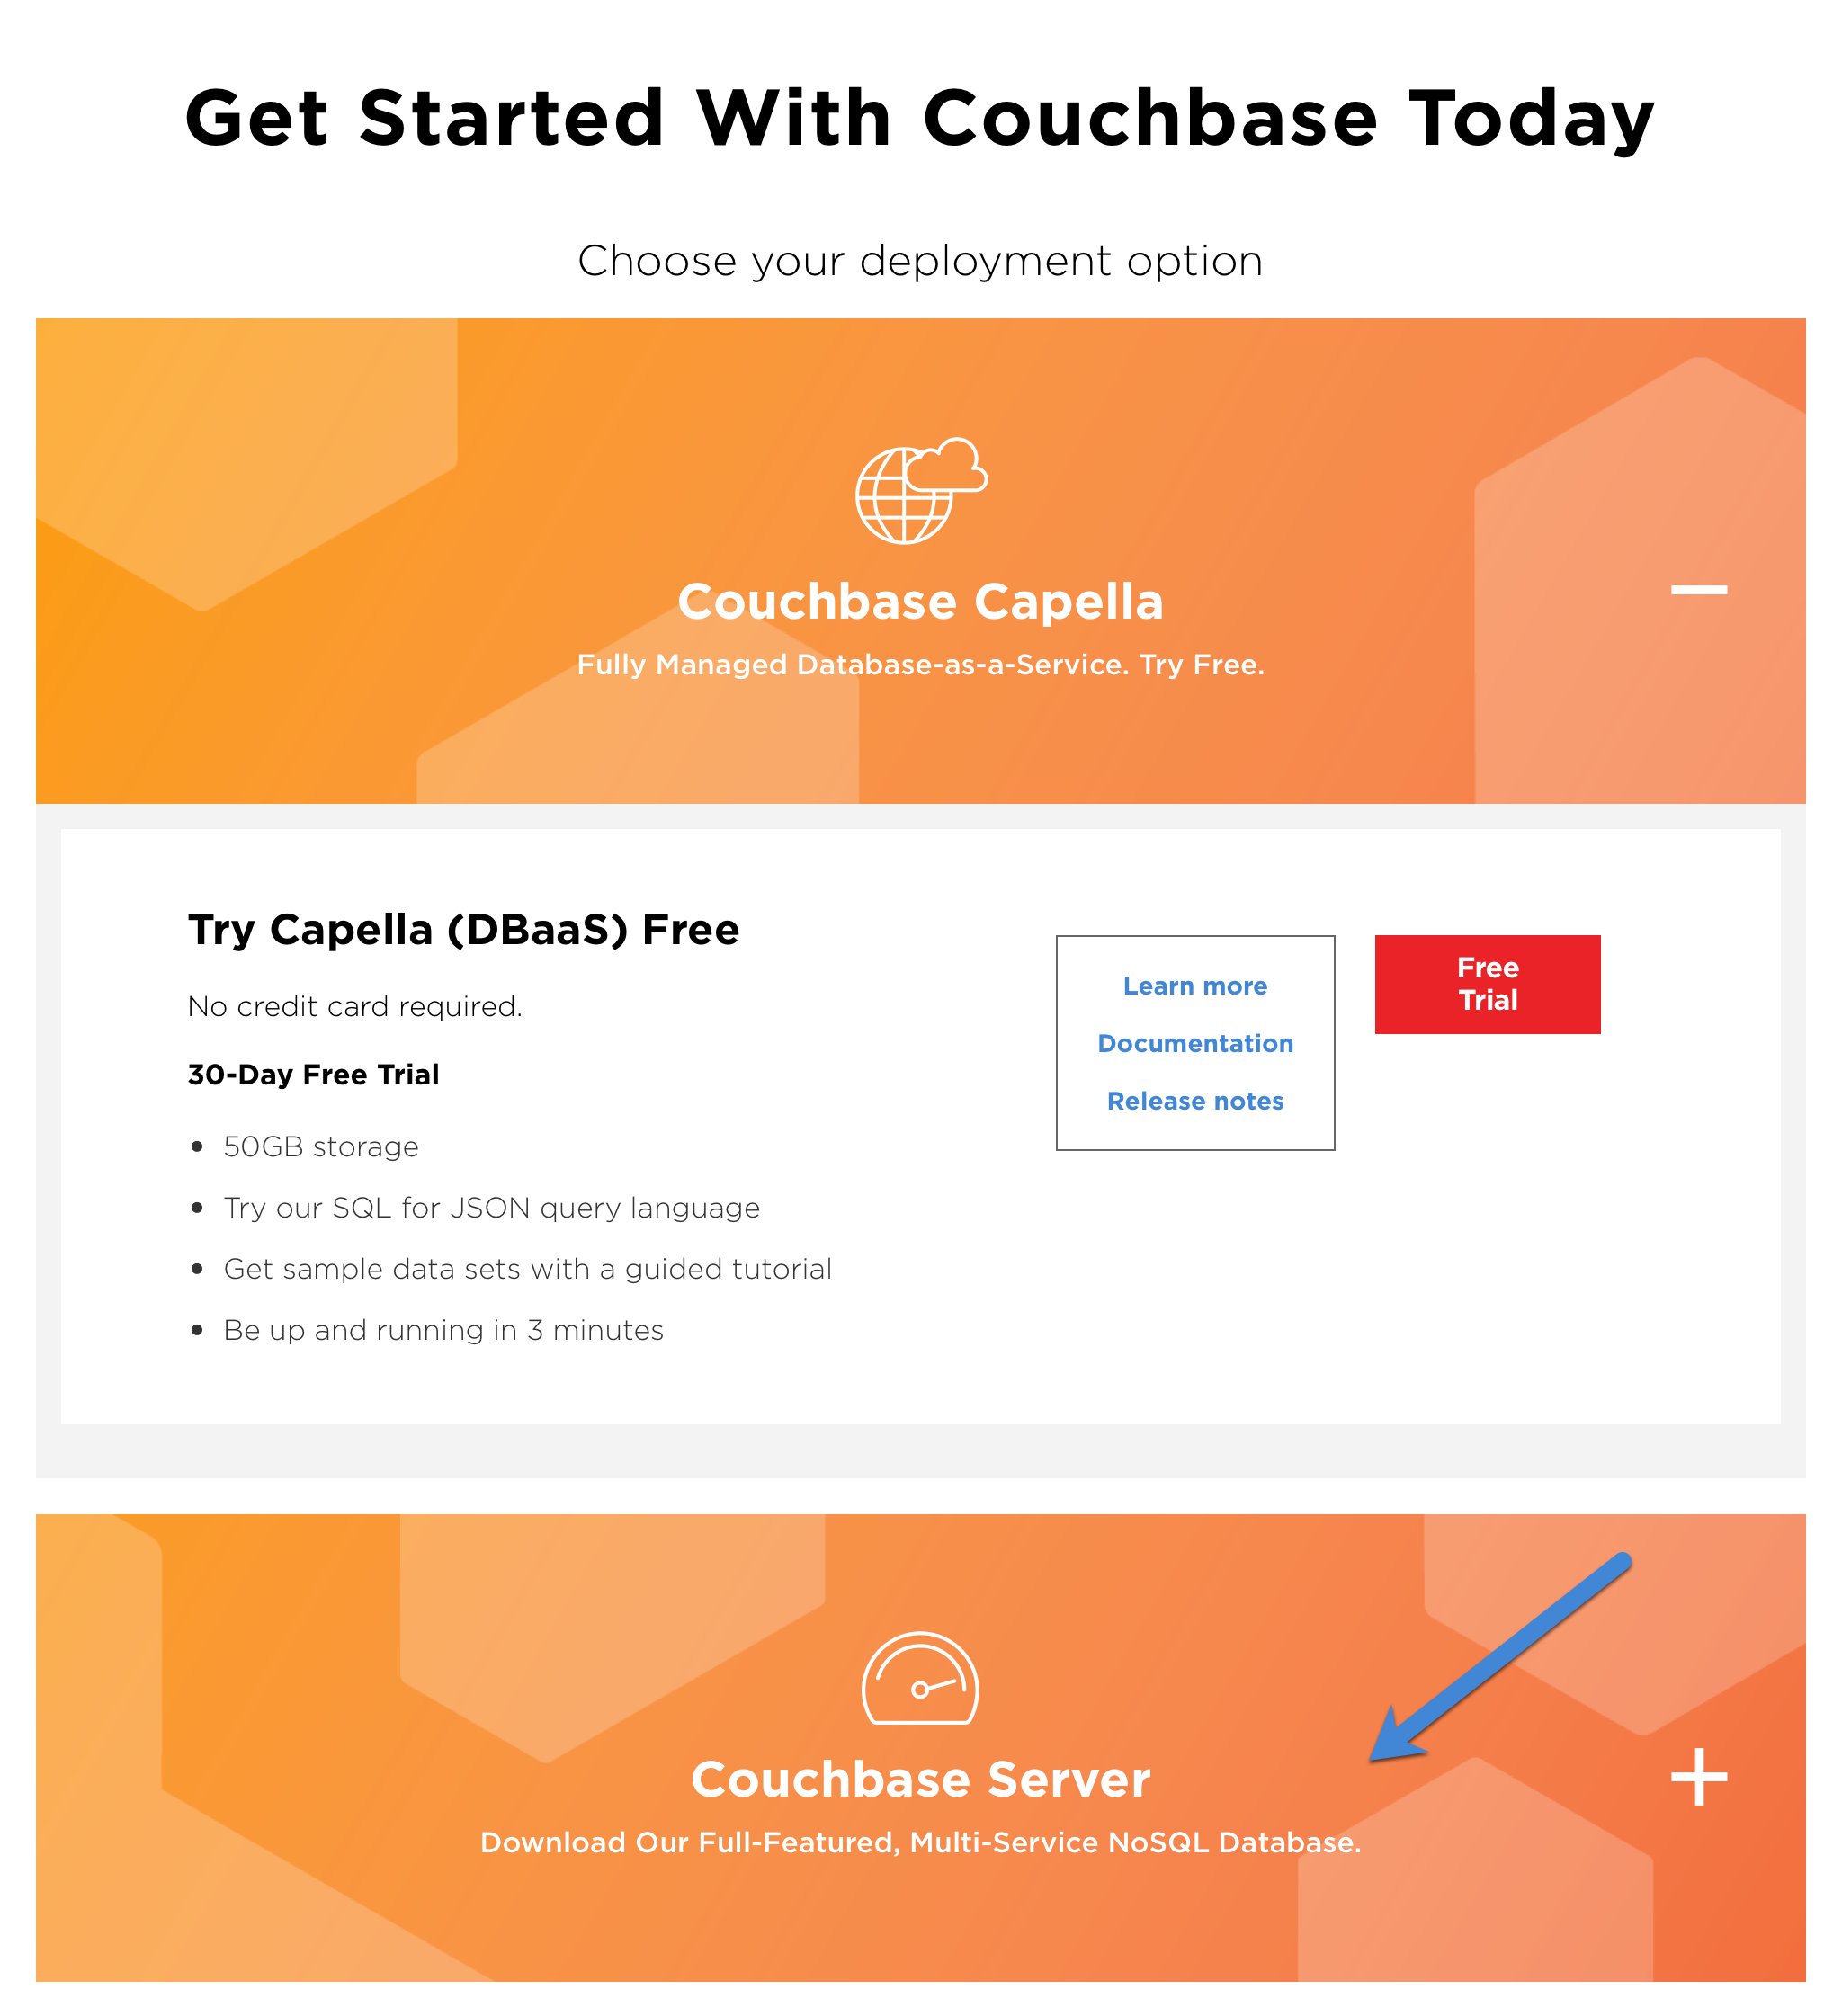
The easiest way to get started with Couchbase is to use Capella, which allows you to set up, administer and run Couchbase clusters as a cloud service.
This tutorial is designed for use with standalone or Docker installations of the Couchbase Server. If you wish to use the Couchbase Capella cloud service then you can run through the tutorials for Getting Started with Couchbase Capella.
This tutorial focuses on running Couchbase as a standalone application, or a Docker instance.
-
Standalone install
-
Docker install
-
Capella Installation
Using any browser, navigate to https://www.couchbase.com/downloads to download the server installation pack.
Pick the Couchbase server option for your free trial.

| You may need to fill out a brief web form before you can download the installation package. |
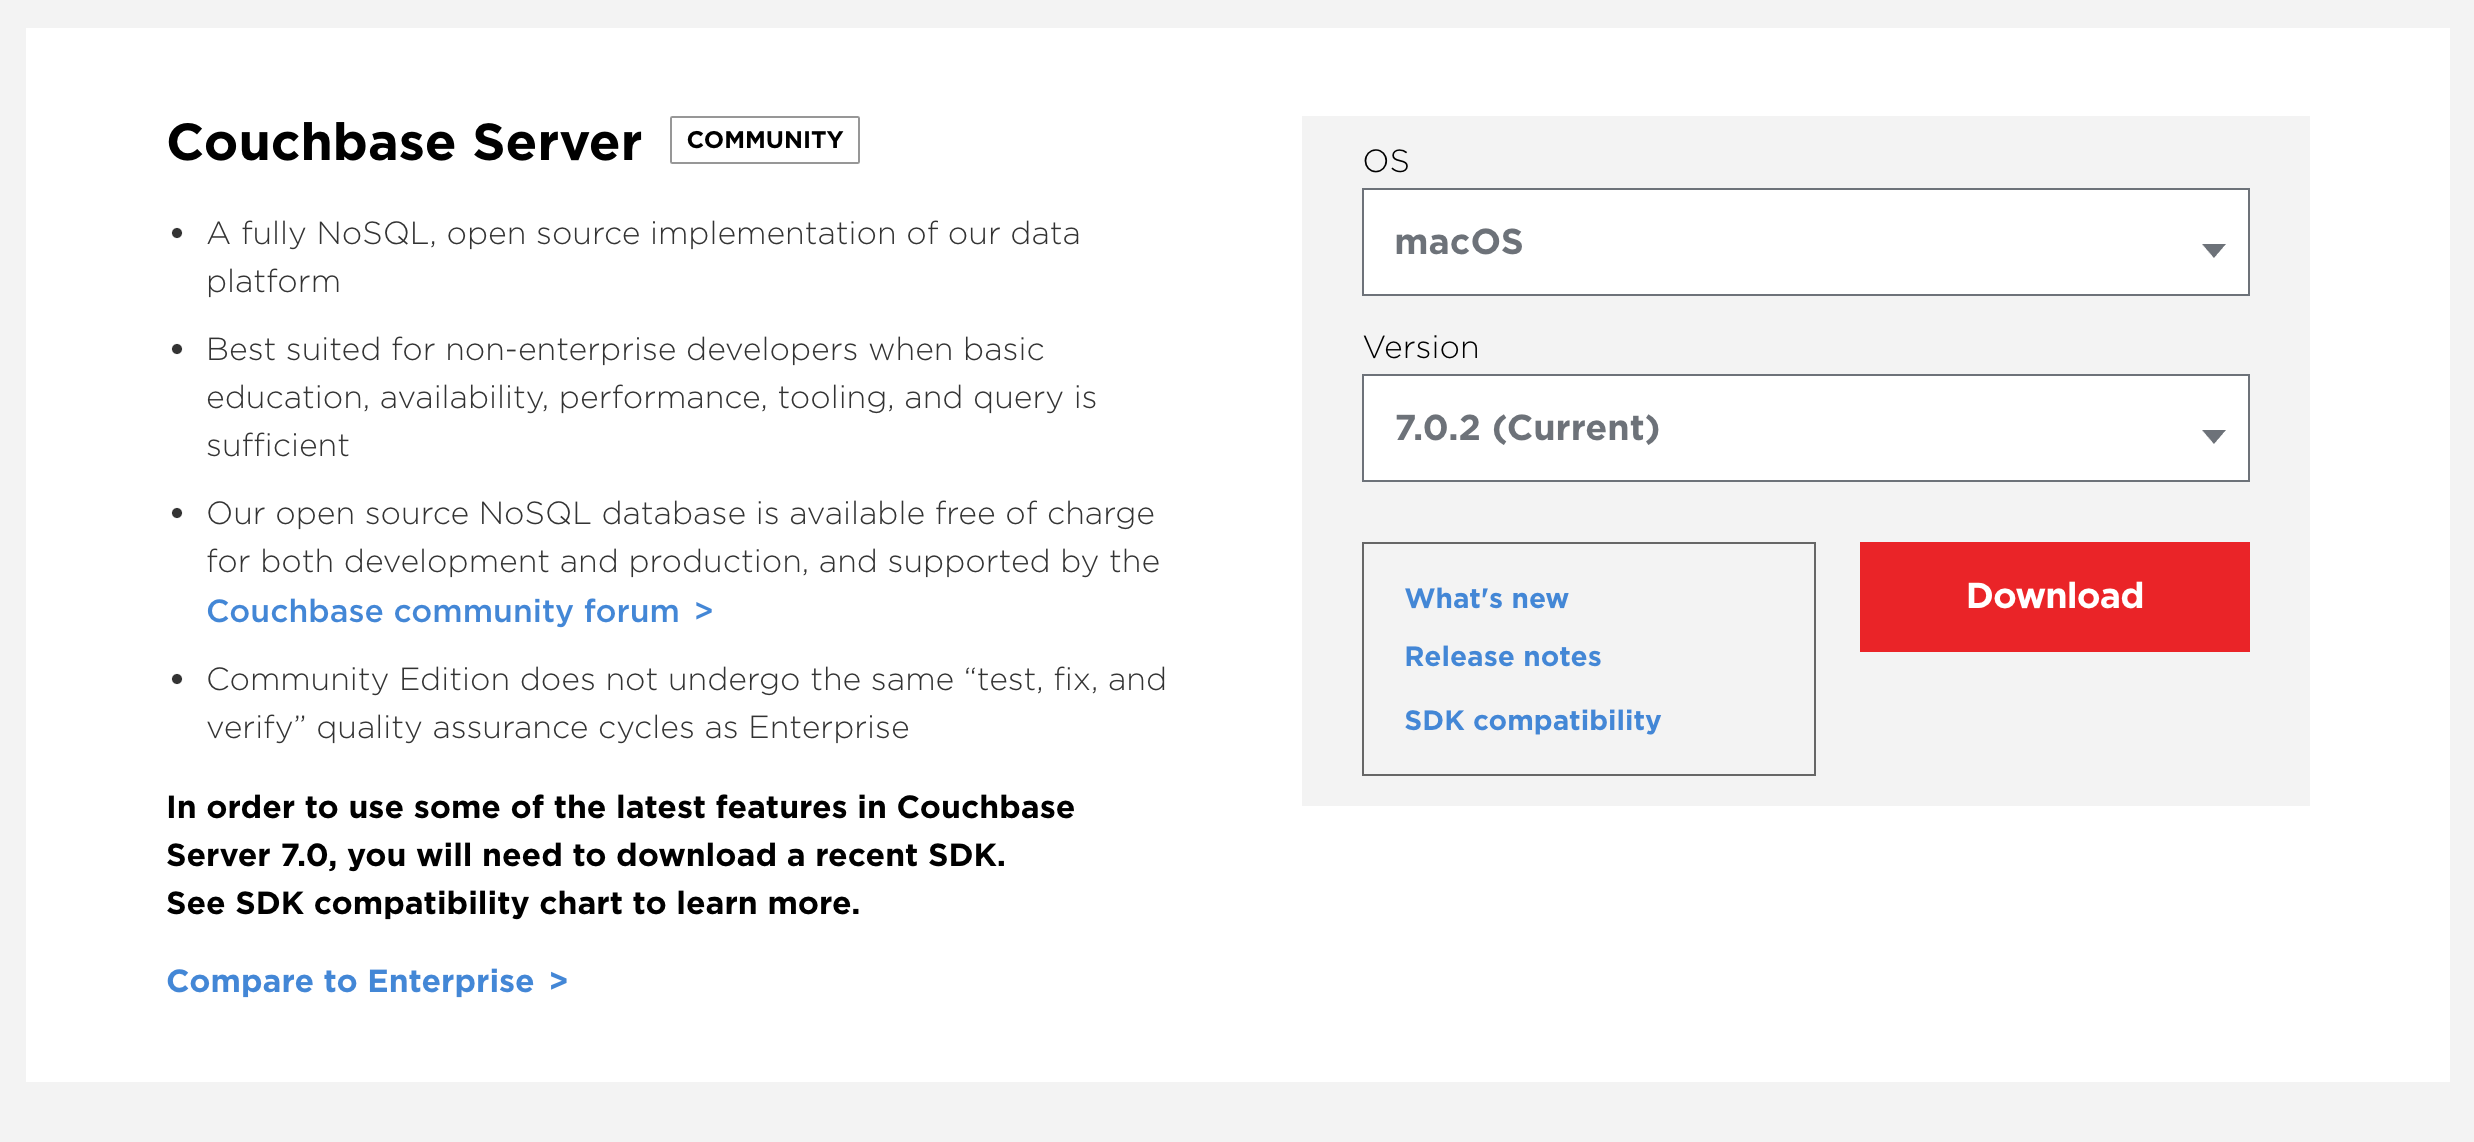
Select Couchbase Server, and from there, download the community edition of the server.

| Make sure you download the latest version of the server software. |
Once you’ve downloaded the software, install it on your machine. (The method for installation will depend on your operating system).
The method for running the application will, again, depend on your host operating system.
In our example, we’re using a Mac, so the installation will place then executable app in the standard Applications folder.
First, make sure that you have Docker installed and running on your system. (You can download it from here).
Open a terminal window and run the following command:
docker run -t --name db -p 8091-8096:8091-8096 -p 11210-11211:11210-11211 \
couchbase/server:enterprise-7.1
This will provision the server image, set up the storage location and run the server.
This tutorial is designed for use with standalone or Docker installations of the Couchbase Server. If you wish to use the Couchbase Capella cloud service then you can run through the tutorials for Getting Started with Couchbase Capella.
Set up a new cluster
Each Couchbase server can run as its own cluster, or join another cluster to form a multi-node system. For the purposes of this basic tutorial, we’re only going to concern ourselves with running as a single node.
You can always find the server’s configuration page by pointing your browser at: http://127.0.0.1:8091.
|

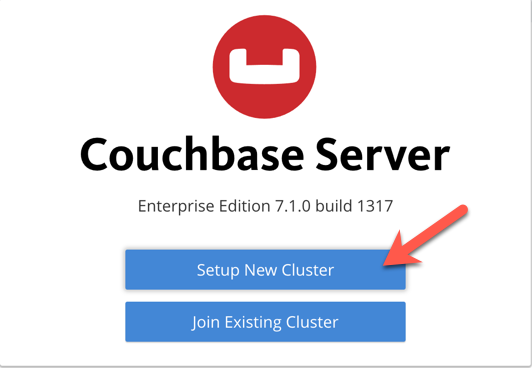
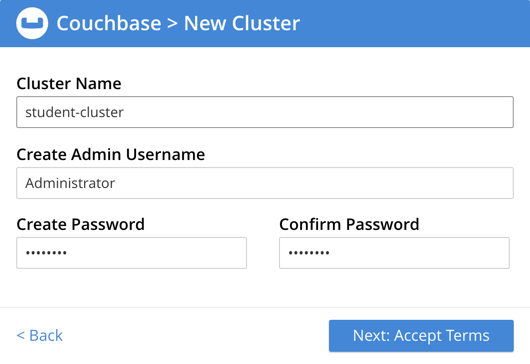
Press Setup New Cluster to create your new cluster. The next page will allow you to fill in details for the cluster:

Since we’re going to be housing student records, let’s call the cluster student-cluster.
You’ll also need an admin username and a strong yet memorable password.
Since this is just a demonstration, leave the administrator username as Administrator. After you’ve filled in the details, press Next: Accept Terms.
Since this is a tutorial, then feel free to use something like password for your password.
In a real system, of course, you’ll use something much stronger.
|
On the next page, you’ll find the terms and conditions for using Couchbase. If you’re happy with them, then check the box and press Finish with Defaults.
You’re now on the main dashboard page.
Next steps
Now you have installed the server and created a cluster, the next thing to do is create the database where you’re going to store your documents. In Buckets, Scopes and Collections you will also learn other ways in which Couchbase allows you to logically partition your data.