Connecting to Tableau Cloud using the Tableau Bridge
- how-to
This guide will walk you through the steps for connecting to Tableau Cloud via the Tableau Bridge. The Tableau Bridge is currently available for Windows and Linux, so the following guide will show you how to run the Linux version in a Docker instance.
(Instructions for running the bridge under Windows are available here).
Prerequisites
Before you run through this guide, make sure that you have installed Tableau Desktop and have set up a Couchbase Analytics datasource.
Download the Tableau Bridge package
-
Download the latest Bridge
.rpmpackage from the Tableau download page. -
Create a working directory and copy the
.rpmpackage to the new directory.cd ~ mkdir Docker cd Docker cp <download location>/TableauBridge-20243.24.1211.0901.x86_64.rpm .
Download the Couchbase Analytics Tableau Connector
-
Download the latest version of the Couchbase Analytics Tableau Connector from here.
-
Unzip the downloaded zip archive and copy the
.tacoand.jarfiles to the working directory you created in the Download the Tableau Bridge package section.cp <download location>/couchbase-tableau-connector-1/couchbase-analytics-1.1.3.taco . cp <download location>/couchbase-tableau-connector-1/couchbase-jdbc-driver-1.0.5.jar .
Create the Docker file
-
Create a new Docker file in the working directory.
touch Dockerfile -
Now edit
Dockerfile, adding the following contents.FROM registry.access.redhat.com/ubi8/ubi:latest RUN yum -y update COPY TableauBridge-20243.24.1211.0901.x86_64.rpm /opt RUN ACCEPT_EULA=y yum install -y /opt/TableauBridge-20243.24.1211.0901.x86_64.rpm COPY couchbase-jdbc-driver-1.0.5.jar /opt/tableau/tableau_driver/jdbc/ COPY couchbase-analytics-1.1.3.taco /root/Documents/My_Tableau_Bridge_Repository/Connectors/Make sure the name of the .rpmfile matches the file downloaded in the Download the Tableau Bridge package section.
Build the Docker image
-
Use the following command to build a new container image.
docker buildx build --platform=linux/amd64 -t bridge_base . -
When the
dockercommand completes, use the following command to ensure that the images have been installed properly.docker images | grep bridge
Start an instance of the Bridge Container
-
Start a second instance of the shell.
-
Use the following command to start the container with the
bride_baseimage in the new shell.docker run -it bridge_base /bin/bashThis will create and run the container and open a command shell in the new container instance. In the following section, you will create an access token and add it to the new container.
Create a Personal Access Token
|
Creating personal access tokens on Tableau Cloud
Before you can create a Personal Access Token, your Tableau Cloud service must be set up to allow you to do so. If you cannot create a PAT, ask your Tableau Cloud administrator to grant PAT permissions on your service instance |
-
Log in to your Tableau Cloud instance and select My Account Settings from the drop-down menu on the top-right.
-
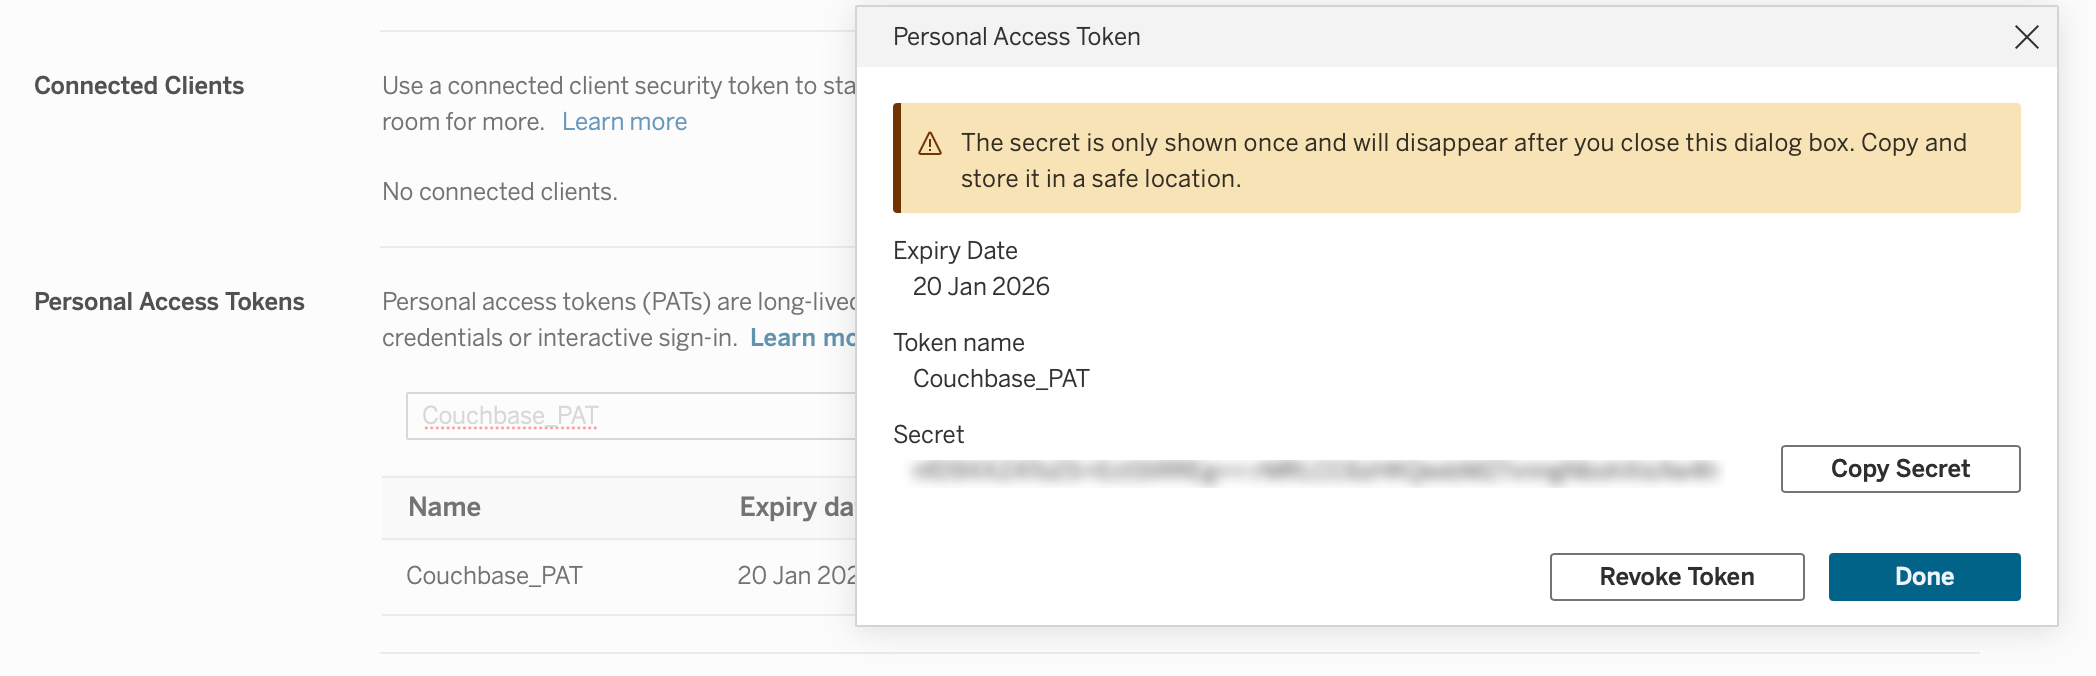
Scroll down to the section named Personal Access Tokens and enter a Token Name in the field.
-
Click the Create Token button.
-
Press Copy Secret to copy the PAT to the clipboard.
You should copy the PAT to a file immediately (as shown below).
Tableau Cloud will not allow you to view or copy the token again after you have pressed Done.
-
Create a new directory called
Documentsin yourbridge_basecontainer. -
Create a new
.txtfile in yourDocumentsdirectory. You can call itMyTokenFile.txt, for example. The file should be in JSON format and take the form:{ "MyToken": "<PAT_Token/>" }Where
PAT_tokenis the token you have copied here.
Run the Bridge
-
Execute the bridge by running the following command inside the container.
/opt/tableau/tableau_bridge/bin/run-bridge.sh -e --patTokenId="MyToken" \ --userEmail="admin@tableau.com" --client="myBridgeAgent" --site="couchbasetableaupartnerprogram" \ --patTokenFile="/Documents/MyTokenFile.txt"--patTokenId-
The name of the personal access token given in the JSON file.
--userEmail-
Your email address.
--client-
An arbitrary name that the bridge will assign to the agent.
--site-
The name of the Tableau Cloud site that the bridge will attach to. The name of the site can be found in the URL site string of your Tableau cloud instance.

--patTokenFile-
The location of the file where the PAT is stored.
Publish a DataSource to Tableau Cloud
-
Start the Tableau Desktop application and sign in to Tableau Cloud
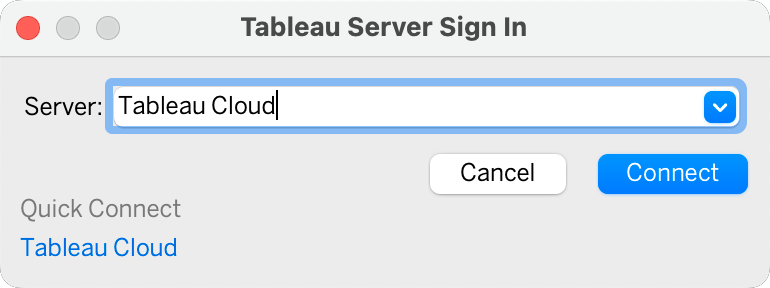
-
After providing your sign-in credentials, check the status on the menu bar to ensure you’re signed in correctly.
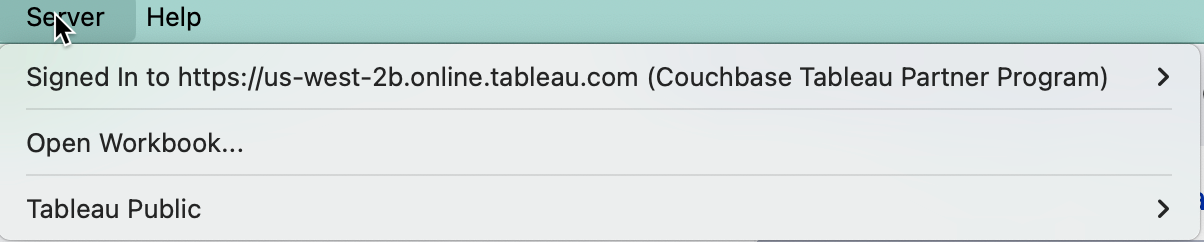
-
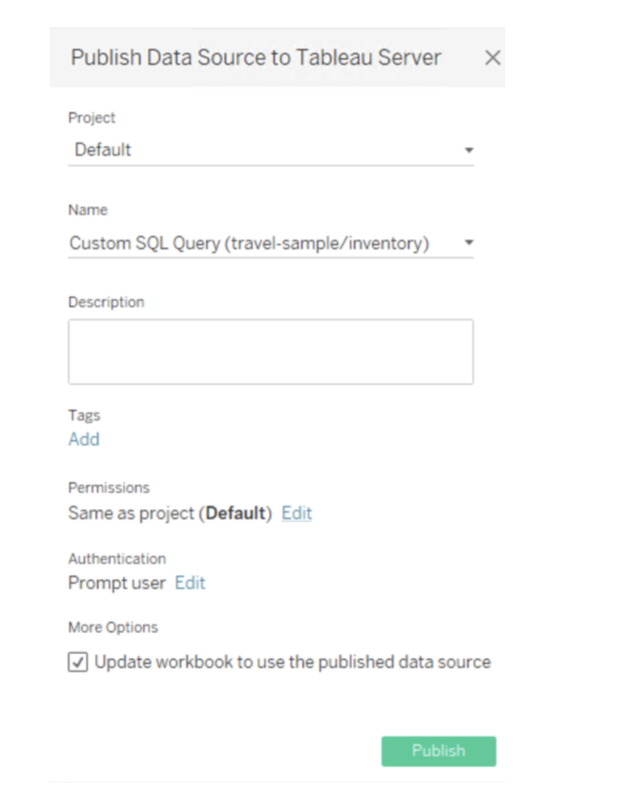
From the Tableau Desktop menu, click and select the pre-existing datasource you wish to publish to Tableau Cloud.
-
Change the
location, if required. -
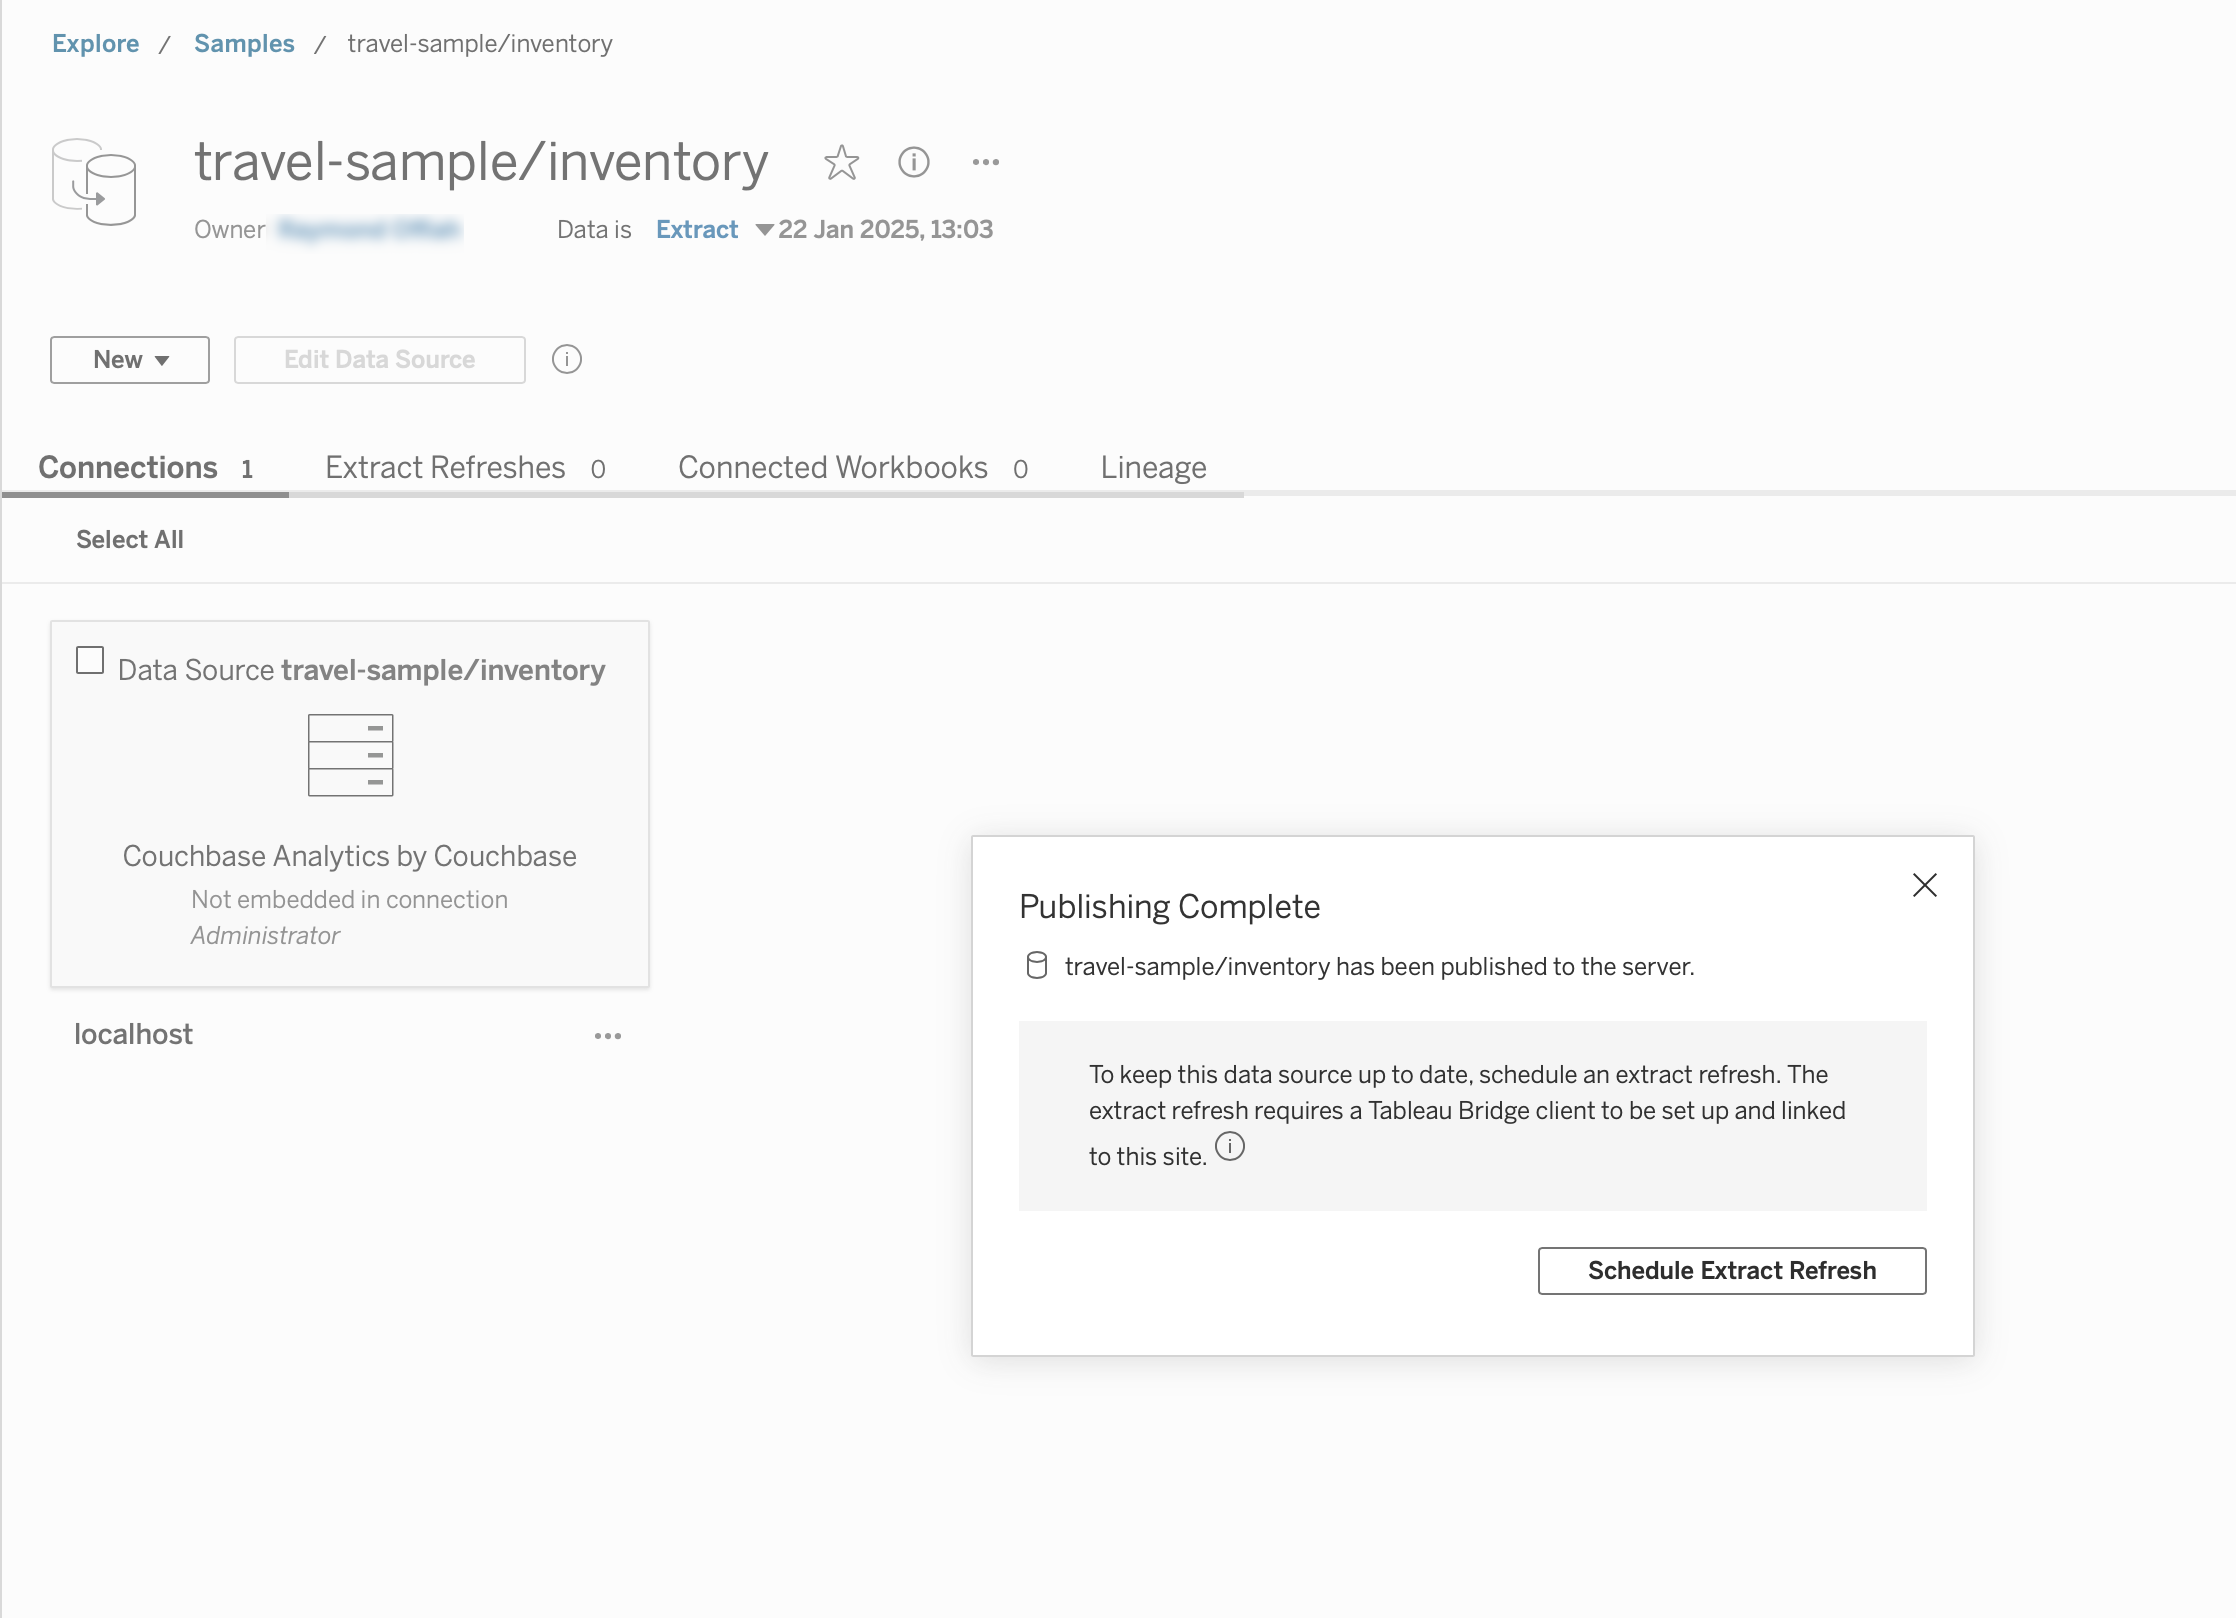
Click the Publish button.
Tableau Cloud should now load in your web browser, showing the newly published datasource.