Enable Couchbase Analytics Service
- how-to
To get started with the Couchbase Tableau connector, set up the Couchbase Analytics Service on Couchbase Server and add the Couchbase Tableau connector to Tableau Desktop.
Enabling Couchbase Analytics Service on an Existing Couchbase Server Instance
You can enable the Couchbase Analytics Service on an existing Couchbase Server instance using one of the two following options:
Option 1: Add a Node and Rebalance
The example below shows how to add a new node to an existing cluster to enable the Analytics service. You will add a new node from within the existing cluster and enable the Analytics service on the new node.
Ensure that the node to be added has been started, and that you know its IP address and port number.
Next login to the existing cluster and access the Servers tab, in the left-hand navigation bar. In the Servers panel for the cluster, left-click on the ADD SERVER button, at the upper right:

Specify the IP address of the node to be added. A placeholder password must be specified, even though the node has not yet been provisioned with one. Uncheck all the Services check-boxes except Data & Analytics. The dialog now appears as follows:
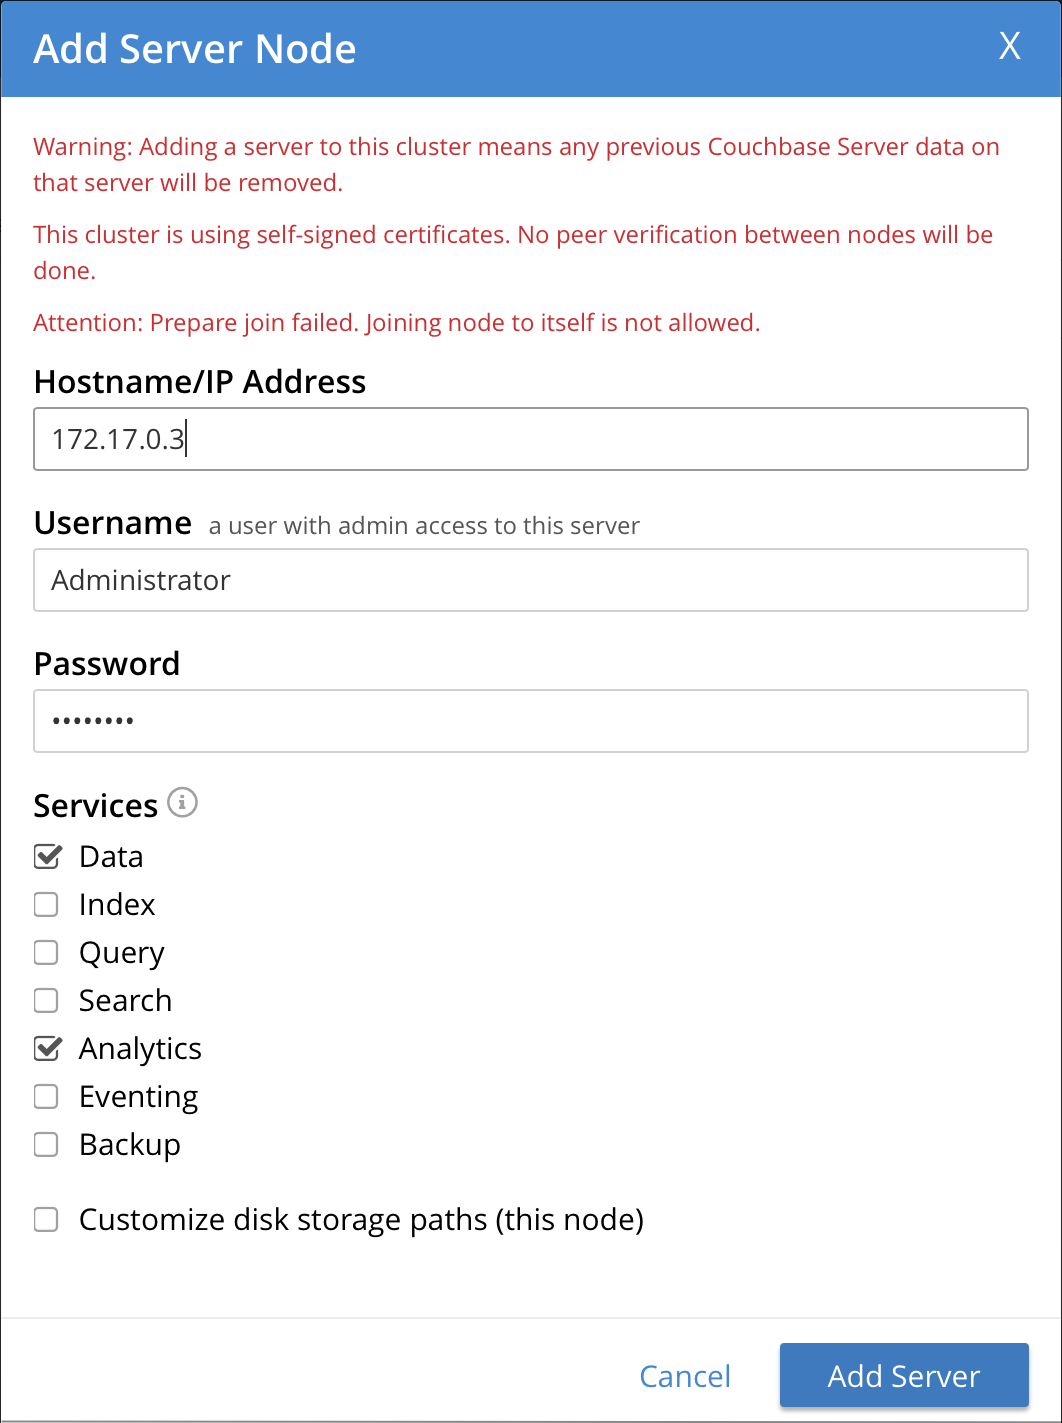
Next, click on the Add Server button to complete the process. You will return to the Server tab where you should now be able to see your new node listed.

Next you will have to perform a rebalance by left-clicking on the Rebalance button, at the upper right:

Once the servers have been rebalanced, you can verify that your cluster now has the Analytics service enabled by going to the Analytics page from the left-hand navigation bar.
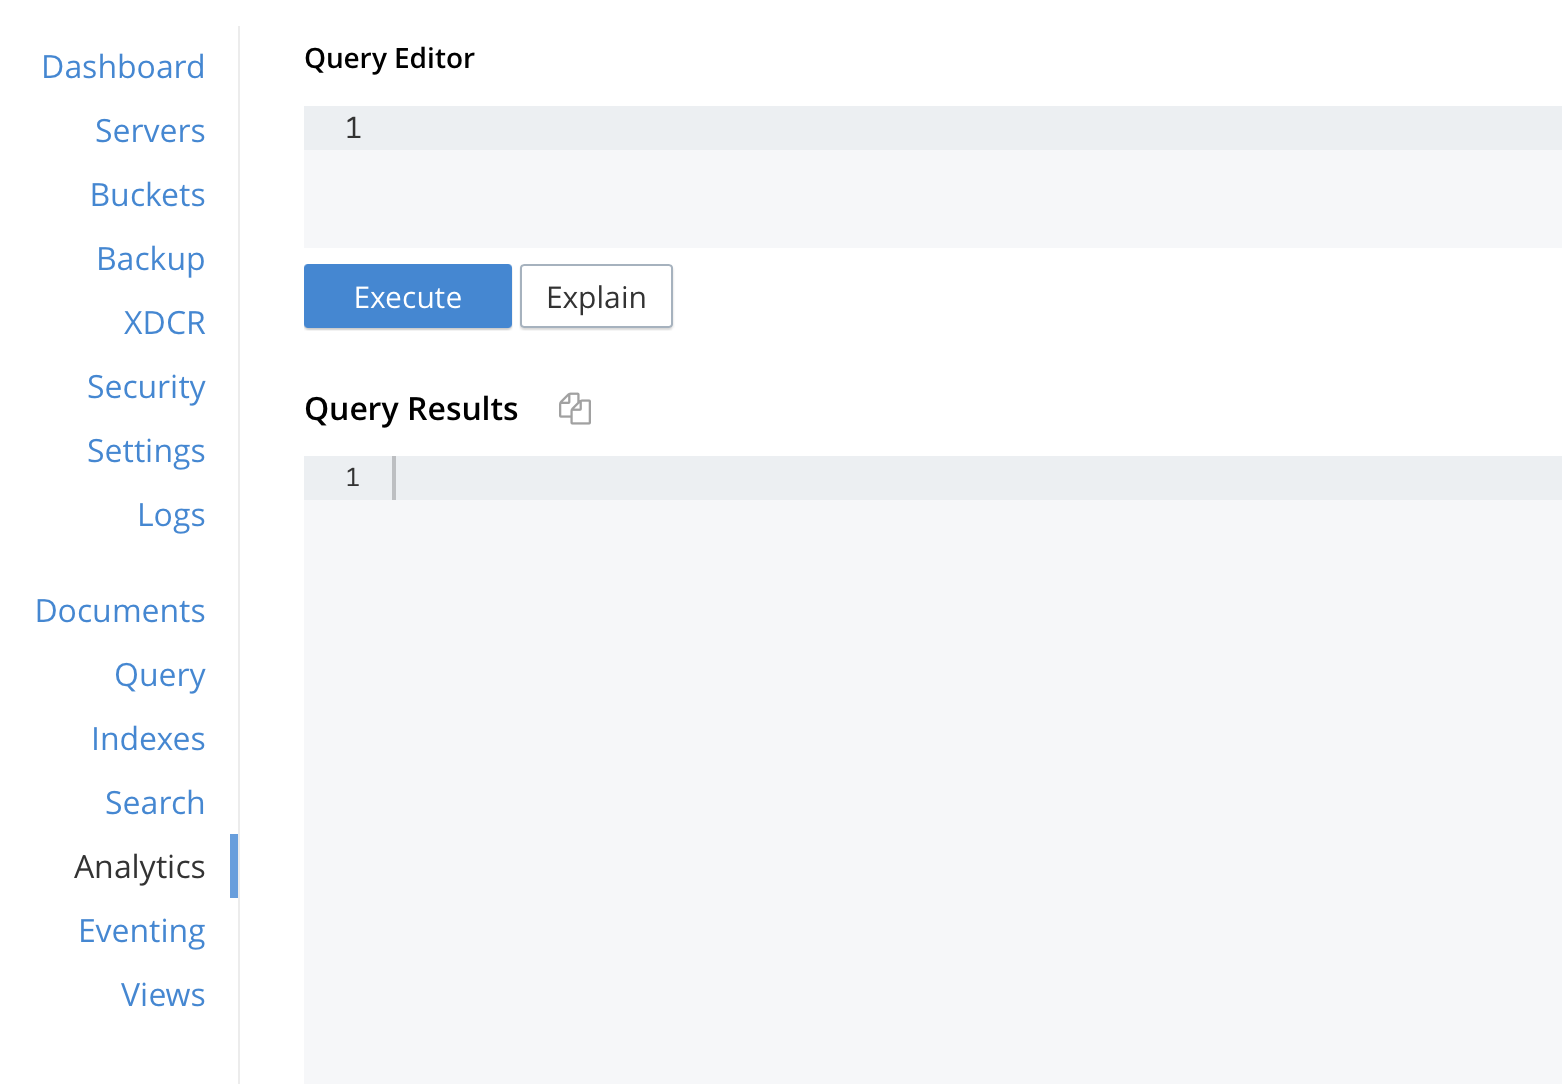
For more information on how to enable services by adding a node, follow the guide on the Add a Node page.
Option 2: Join a Cluster and Rebalance
The example below shows how an uninitialized and unprovisioned node joins itself to an existing cluster to enable the Analytics service. Use your browser to go to the new node’s Couchbase Web Console and left-click on the Join Existing Cluster button.
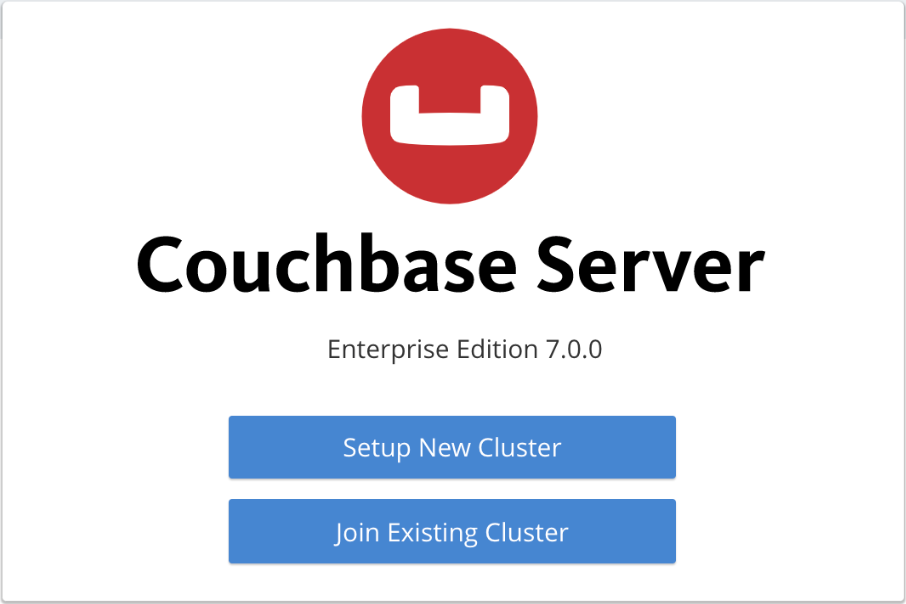
This brings up the Join Cluster dialog. Left-click on the Configure Services & Settings For This Node control. The expanded dialog allows specification of the services, the name and IP address, and the disk paths for the new node. It also requires the username and password of the Cluster Admin and the name or IP address of the cluster to be joined. Enter the cluster’s IP address and password, and uncheck all Services fields except Data and Analytics. Then, left-click on the Join Cluster button, at the lower right.
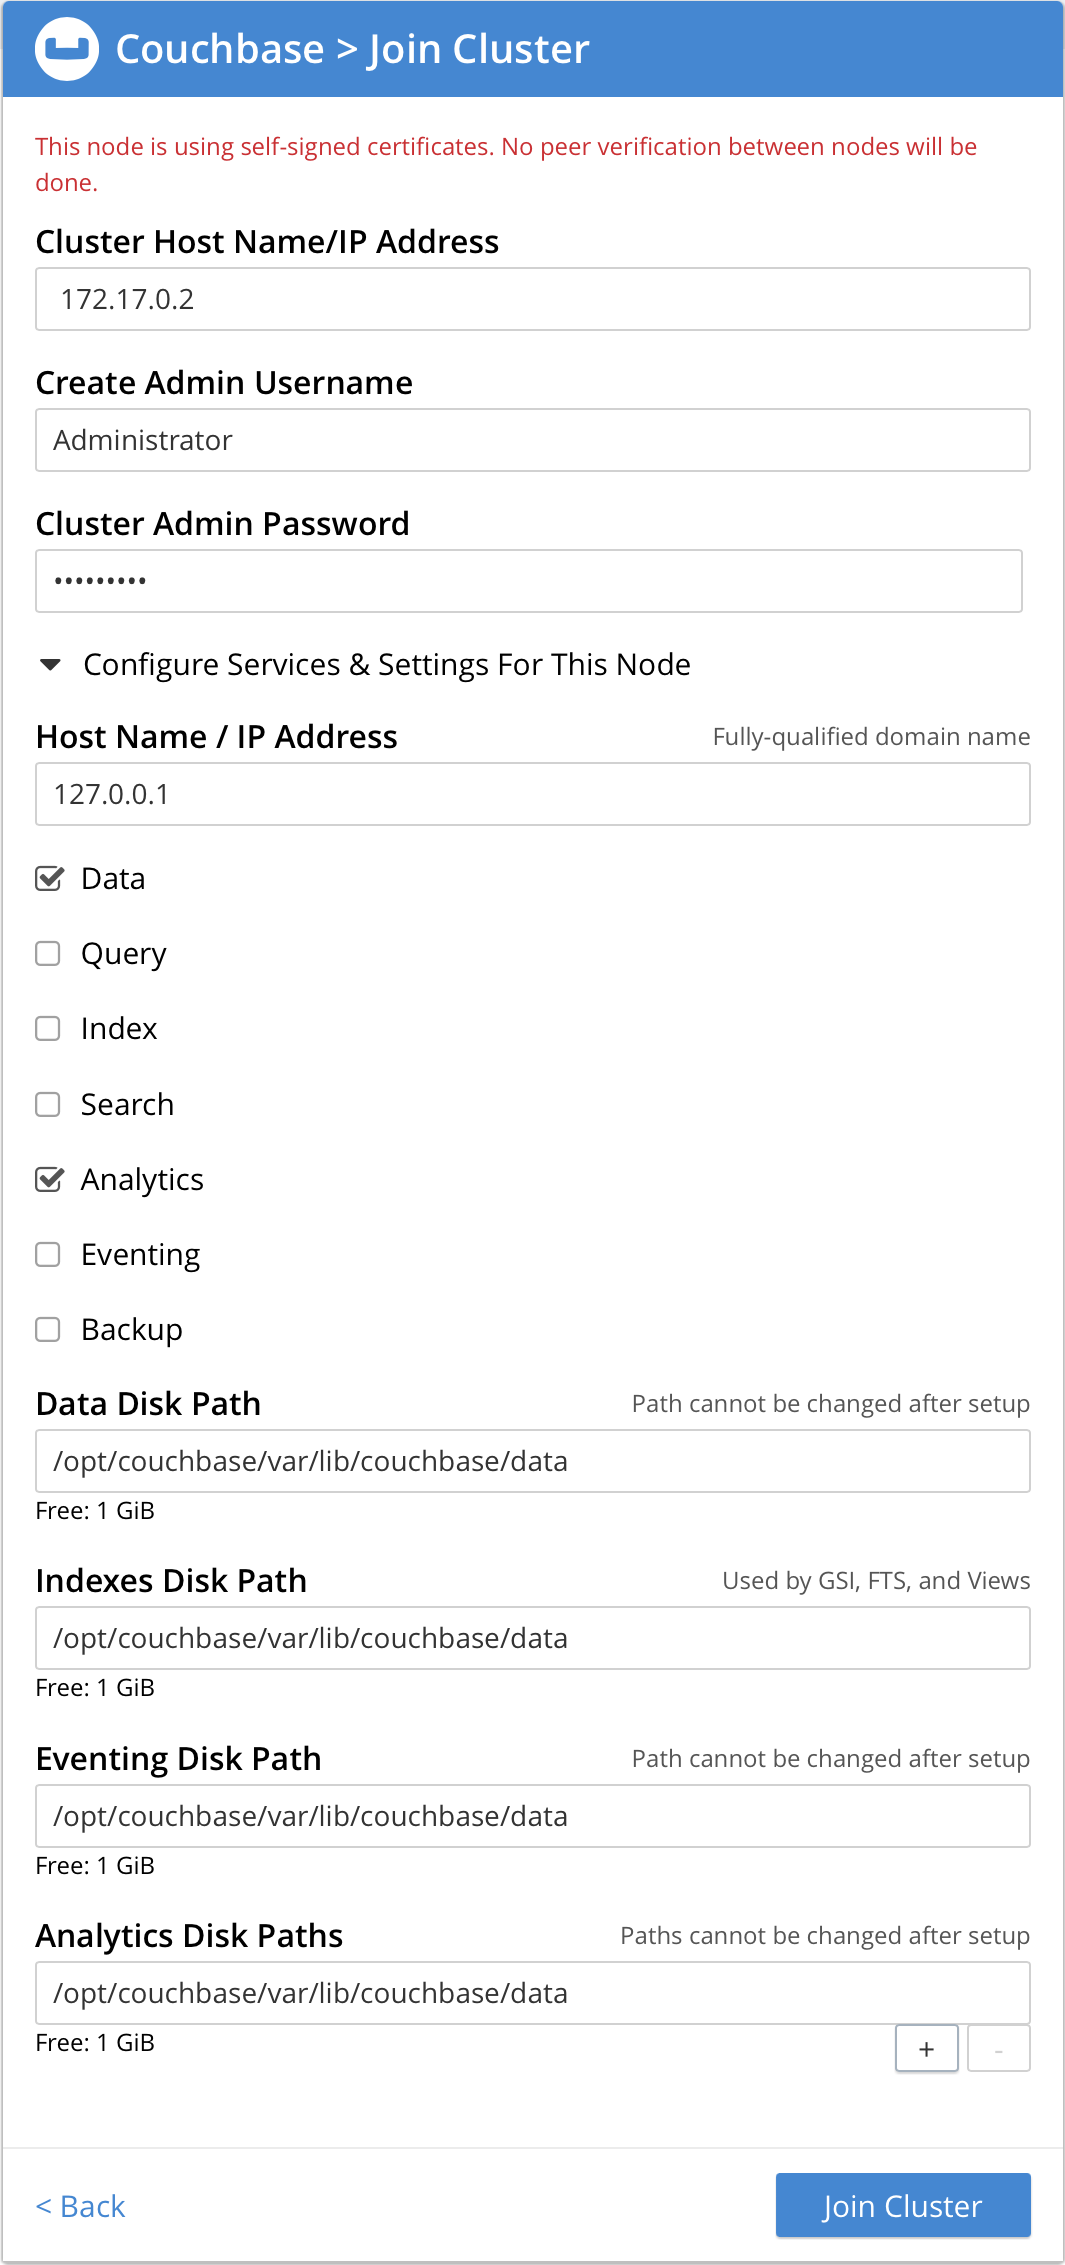
From Couchbase Web Console go to the Servers screen by left-clicking on the Servers tab, on the left-hand navigation bar where you should see the new node server listed.

Next, you will have to perform a rebalance by left-clicking on the Rebalance button, at the upper right:

Once the servers have been rebalanced, you can verify that your cluster now has the analytics service enabled by going to the Analytics page from the left-hand navigation bar.

For more information on how to enable services by joining a node to an existing cluster, follow the guide on the Join a Cluster page.
Enabling Couchbase Analytics Service on a New Couchbase Server Instance
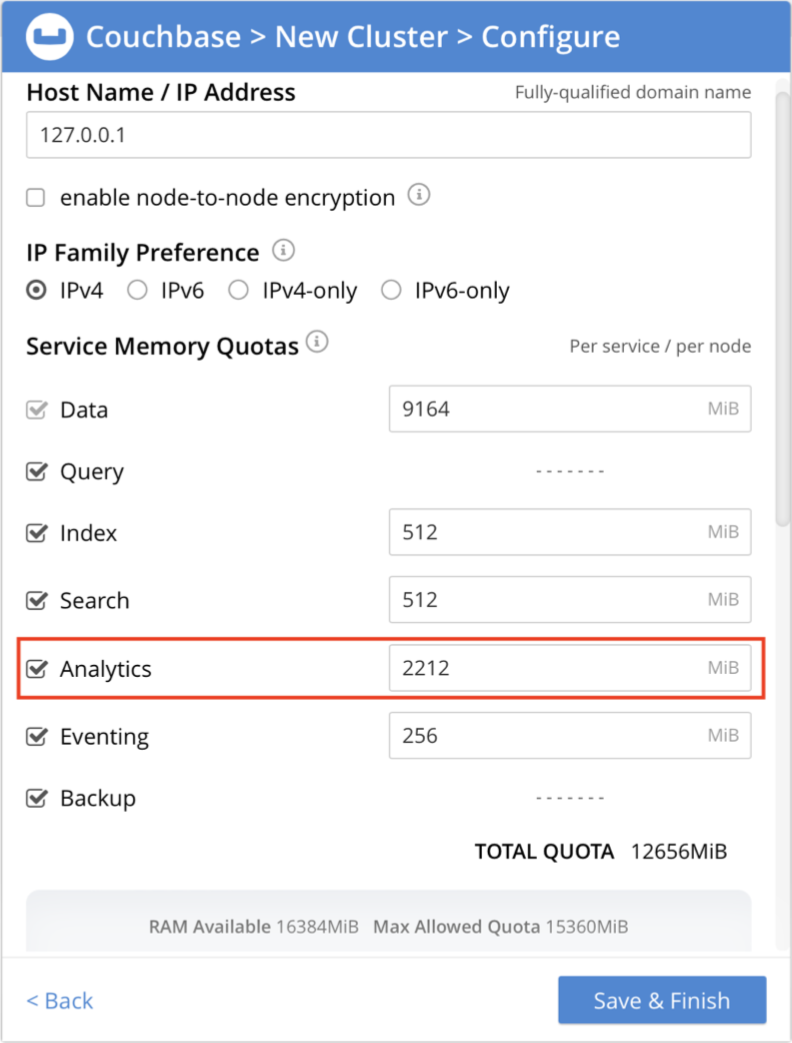
When setting up a new Couchbase Cluster, selecting the Finish With Defaults option will enable the Couchbase Analytics Service.
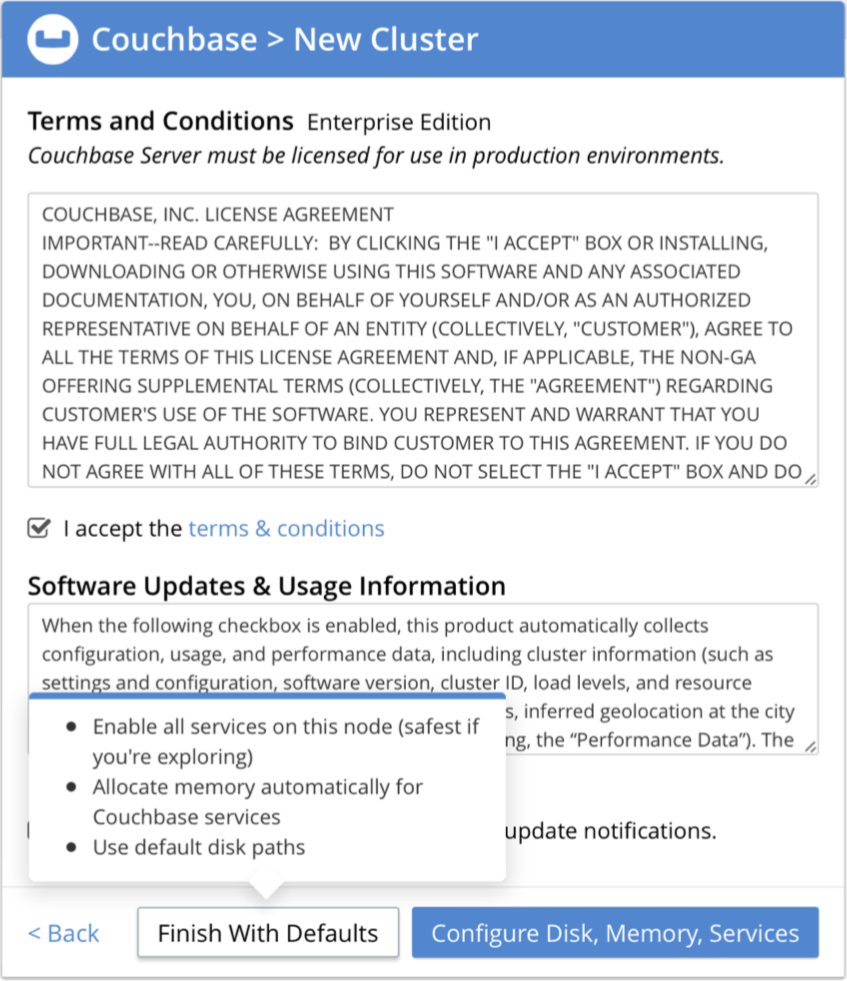
You can also configure the Service Memory Quota for the Analytics Service by selecting Configure Disk, Memory, Services.
