Set Up an Authentication Provider
- Capella App Services
Capella supports a number of authentication providers, which can be configured from the Capella UI.
Out of the box, Capella supports Basic, Anonymous, and OpenID Connect as methods for authentication.
-
Select your App Endpoint
-
Select the Security tab.
-
From the menu on the left, select Authentication Providers
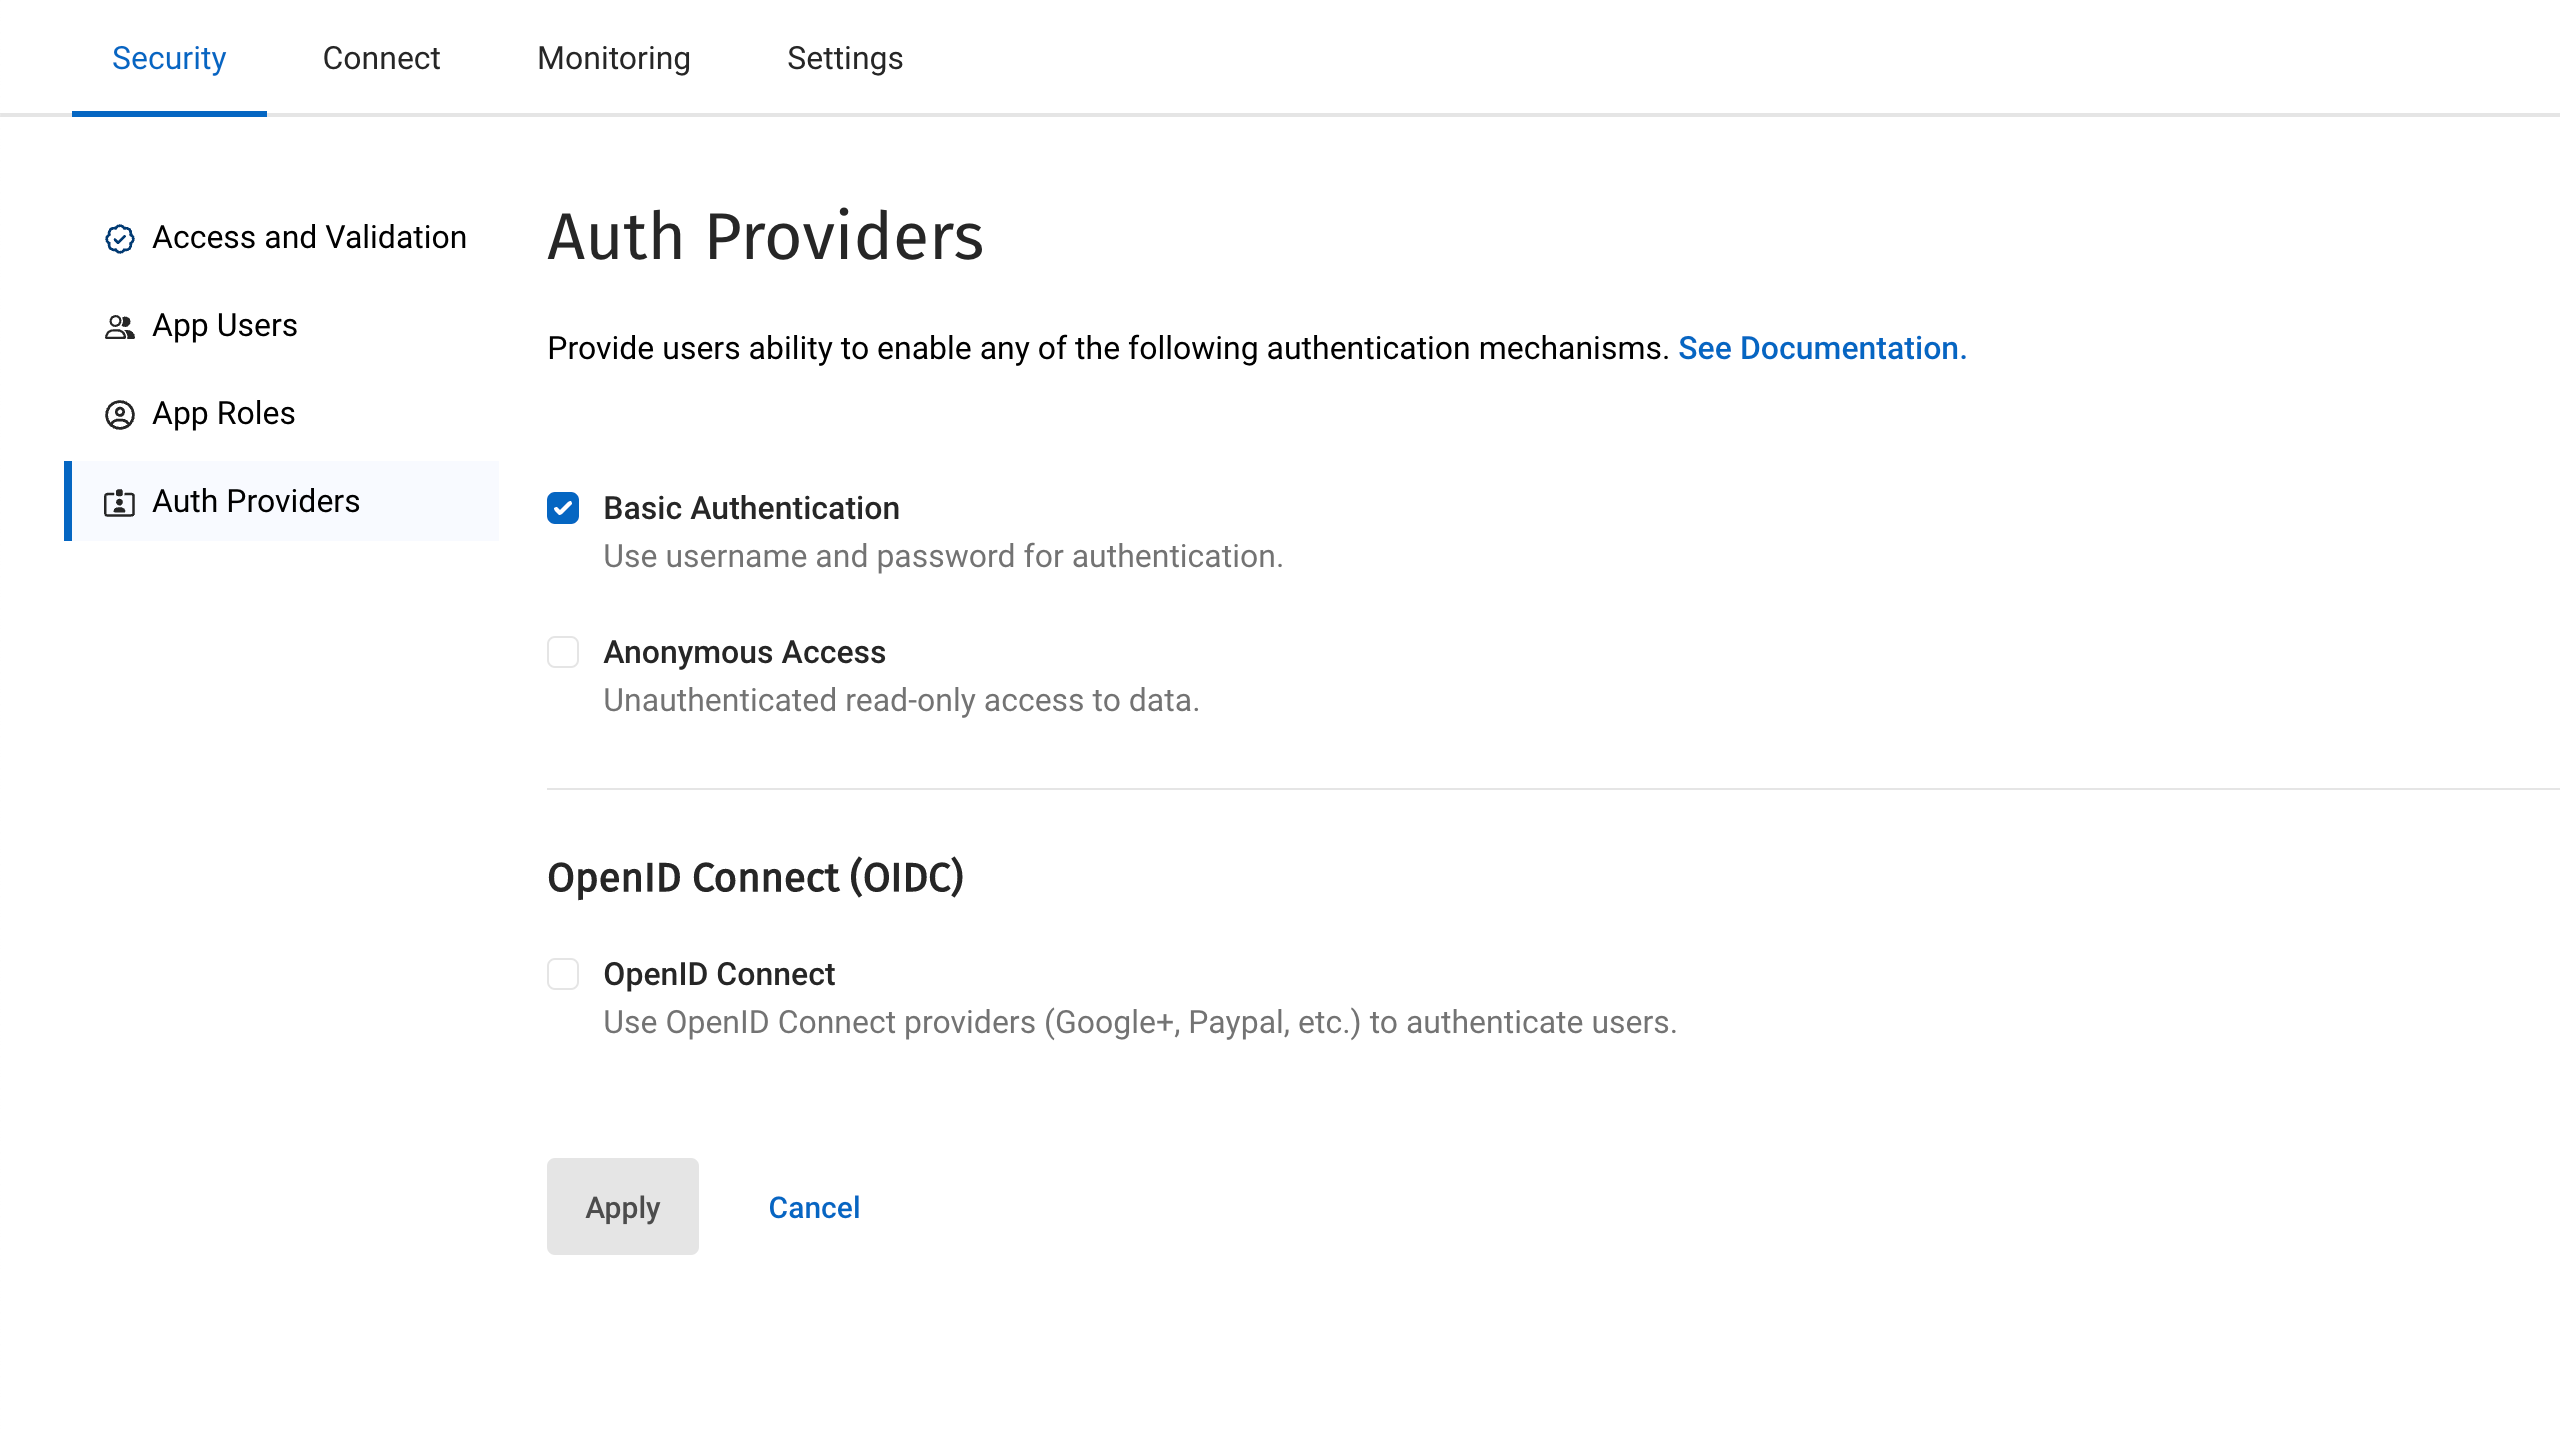
Basic Authentication
The authentication credentials are passed through the HTTPS headers of the calling client.
Your Couchbase Lite SDK will handle the details of this for you.
It will pass an HTTPS header like Authorization: Basic c3luY19nYXRld2F5OnBhc3N3b3Jk.
This random looking string is simply a Base64 encoded representation of the Username and Password that you have passed in.
|
Anonymous Authentication
Allowing anonymous authentication is useful for testing as it allows access to the endpoint without the need for authentication. It is also useful for endpoints that might synchronize static information such as information pages which anyone is allowed to access.
| It is recommended that either basic authentication or OIDC is used for production environments. |
OpenID Connect (OIDC)
Capella App Services supports OpenID Connect. This allows your application to use Couchbase for data synchronization and delegate the authentication to a third-party server (known as the Provider).
Capella’s implementation of OpenID Connect uses Implicit Flow. This means that the retrieval of the ID token takes place on the device. Capella handles the background set up for the app service, using the details provided in the settings:
- Issuer
-
This is the URL of the authentication provider. For example, if you are using Google’s authentication service, then the URL would be https://accounts.google.com. Details of the URL required should be available on your provider’s website.
- Client ID
-
When you register your App Service with your OIDC provider, you will be given a
Client IDunique to your application. The provider will use this ID to identify the application using the authentication service. - Discovery URL
-
Providers usually provide a configuration application for their users, which can be accessed through the URL given here. This setting is optional.
- Username prefix
-
The OIDC username is taken from the App Service user and a prefix is added. The prefix itself is derived from the name of the OIDC provider, or optionally, you can supply your own prefix here.
- Username claim
-
Specifies a claim other than the subject to use as the App Services username. By default, the
issueris used, but you can use anotherclaimfield, such as the email address. - Scope
-
Specifies what information to request from the authentication provider upon successful user authentication. The scope field is an array where each value references a group of "claims" on the OIDC provider. For example, a
profilescope could referencefirst_nameandlast_nameclaims. The authentication provider returns these claim properties on successful OIDC authentication. If no custom scopes are defined, App Services uses the scopesopenidandemailby default. When configuring OIDC providers in the Capella UI, this field is automatically populated with these default values. - Roles claim
-
Specifies a JWT claim to use for assigning a role to the OIDC user. This setting is optional.
- Auto register
-
The App Service service can be configured to create a new user if it receives a valid authorization from an unregistered user.

Configure Multiple OIDC Providers
You can add multiple OIDC providers in Capella App Services:
-
Go to the security tab in App Endpoint settings.
-
Click the OpenID Connect checkbox to enable OIDC.
-
Click the Add OIDC Provider button.
| After enabling OIDC authentication, you must create a user-defined OIDC provider. |
Once you have configured an OIDC provider, the Add OIDC Provider button is replaced by the OIDC Providers List table.
Set a Default OIDC Provider
When multiple OIDC providers are configured, the first OIDC provider is automatically designated as the default provider. After you enable OIDC, all client requests will use the default OIDC provider, unless the OIDC provider for the request is explicitly specified. You can then choose which among them is the default provider via selecting the relevant radio button from the Default OIDC Provider column in the OIDC Providers List table.
Using non-default OIDC providers in Capella App Services requires requests to /db/_oidc/ to specify the provider parameter.
|
Editing a Configured OIDC Provider
You can edit configured OIDC providers via the OIDC providers table in the Auth Providers tab in the App Endpoint configuration settings.
Delete a Configured OIDC Provider
To delete a configured OIDC provider:
-
In the OIDC Providers List table, find the OIDC provider you want to delete.
-
Go to .
-
Confirm that you want to delete the selected OIDC provider.
To delete a configured OIDC provider, the provider must meet the following conditions:
-
It must not be the only configured provider.
-
It must not be the default provider.
| If you want to delete the current default provider, you must select a new default provider first from the OIDC Providers List table. |