Do a Quick Install
First-time users can get Couchbase Server running simply and rapidly by using Docker. Once you install Docker, you can use a single command to download and install a pre-configured version of Couchbase Server Enterprise Edition on your computer.
| The Docker container image that is used in this topic is meant to set up a 'sandbox' version of Couchbase Server. It’s based on the Enterprise Edition and contains scripts that automatically configure several Couchbase components during installation. Although this particular image works great for a demo, it is not meant for production. For information about installing Couchbase Server in production, see Couchbase Server Deployment Options. |
Install Couchbase Server
- Prerequisite
-
Ensure that you have Docker set up on your computer before proceeding to install Couchbase Server. Refer to the Docker documentation for instructions to set up Docker.
| You may need administrative or root privileges on your computer to complete the installation. |
Open a console window on your computer and enter the following command:
docker run -t --name db -p 8091-8096:8091-8096 -p 11210-11211:11210-11211 \
  couchbase/server:enterprise
When you run the command, Docker downloads and installs Couchbase Server. You should see the following message once Couchbase Server is started in a Docker virtual environment:
Starting Couchbase Server -- Web UI available at http://<ip>:8091
and logs available in /opt/couchbase/var/lib/couchbase/logs
From this point onward, don’t close the console while you’re using Couchbase Server; this terminates both Docker and Couchbase Server.
You must now configure the server and load the travel-sample dataset.
Configure Couchbase Server
For simplicity when getting started, we will provision a single node cluster from the Web Console. The Web console can be accessed over the network at http://<machine-ip-address>:8091/ or http://<machine-hostname>:8091/. It can be accessed from the machine on which Couchbase Server was installed at http://localhost:8091.
Once you have connected, the Welcome screen appears:
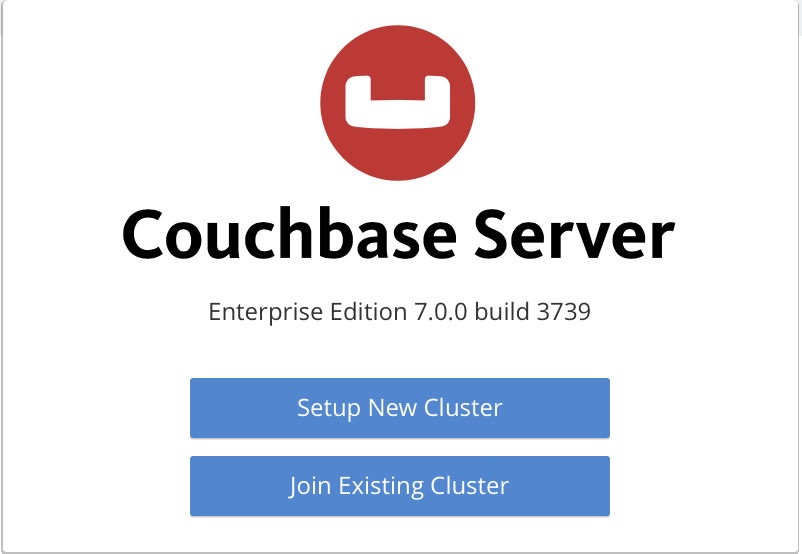
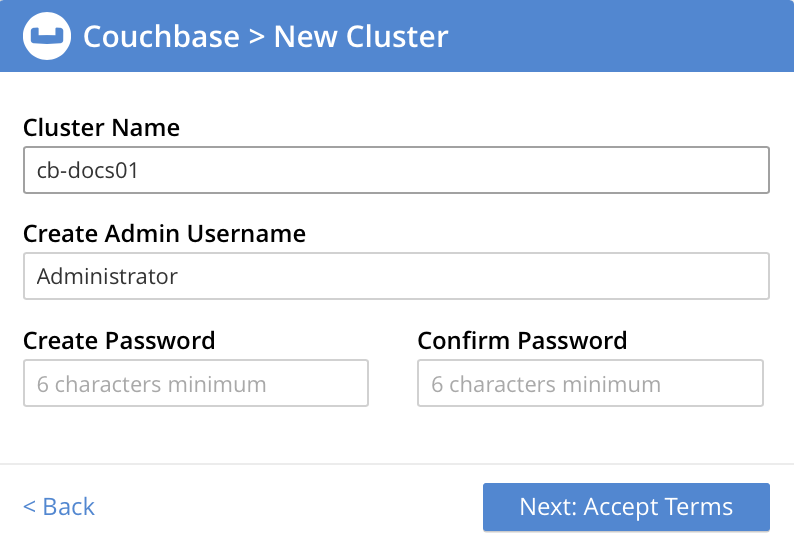
Click Setup New Cluster and provide a name for your cluster.
For the purpose of getting started, set the full administrator credentials to Administrator and password.
Accept the Terms and Conditions and click Finish with Defaults to complete configuration with default values. You can also choose to Configure Disk, Memory, Services to select only a subset of services for the purpose of this getting started.
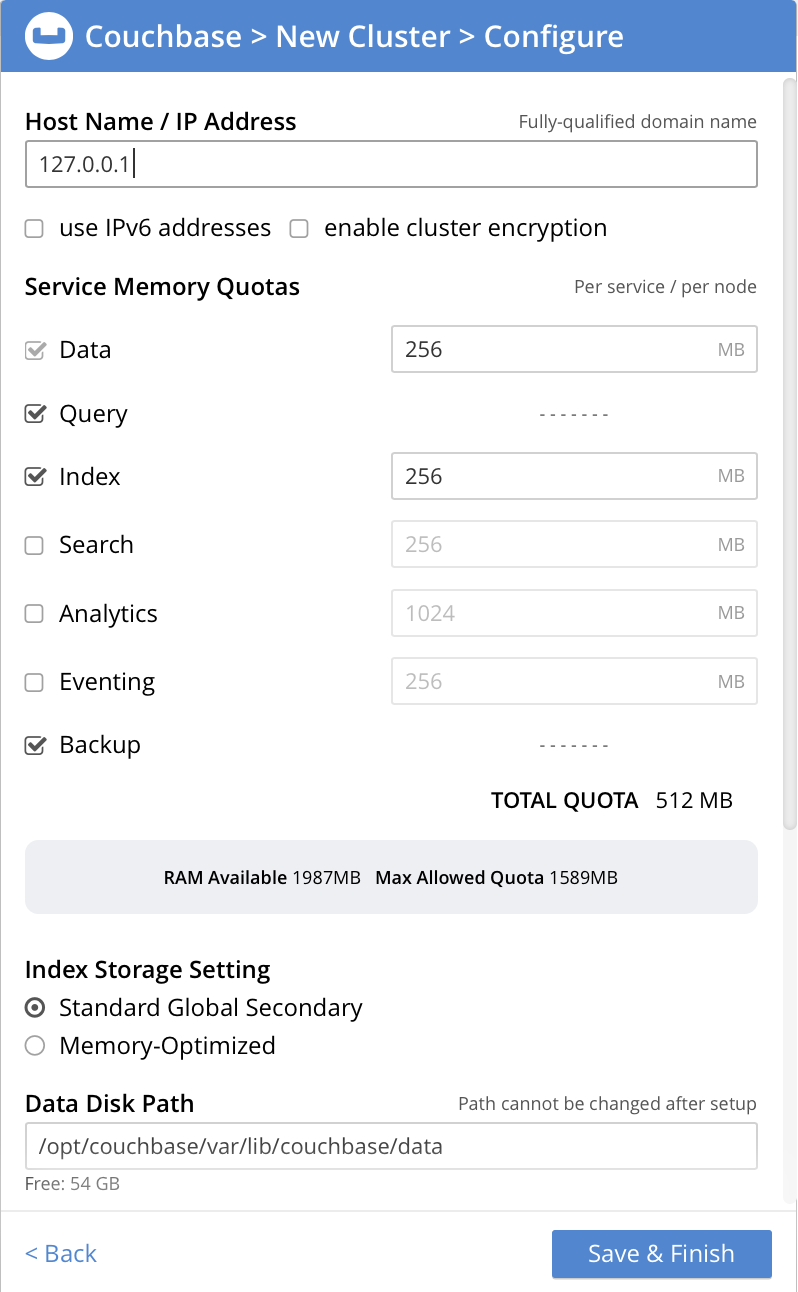
When you have finished entering your configuration-details, click the Save & Finish button, at the lower right. This configures the server accordingly, and brings up the Couchbase Web Console Dashboard, for the first time.

Load the Sample Dataset
You must load the sample travel-sample dataset to work through the rest of the Getting Started topics.
On the initial screen of the Web Console Dashboard, click the link Sample Buckets.
On the Sample Buckets screen, select the checkbox for travel-sample and then click Load Sample. The travel-sample dataset is now displayed under Installed Samples.
Other Destinations
-
Installing the Couchbase Server Cluster: Explains how to install Couchbase Server directly onto your host, without the use of Docker or any other virtual environment. This kind of direct install is very common for production-deployments, as well as development and testing activities.
-
Create a Cluster: Provides a detailed explanation of how to provision a Couchbase Server-node, and thereby create a one-node Couchbase cluster. This is the procedure you will certainly use in production; as well as for testing different configurations. The available options include use of the Couchbase Server Web Console, the Couchbase REST API, and the Couchbase Command Line Interface.
-
Couchbase Server Startup and Shutdown: Explains how to start and stop the server using the commands that are specific to your underlying platform.