Create a Cluster
A new Couchbase Server node can be provisioned, to establish its Full Administrator credentials, its service-assignments, and its memory quotas. At this point, it becomes a cluster of one node.
Understanding Provisioning
Provisioning establishes the Full Administrator credentials for the server, and specifies its service-assignments and memory-quota allocations. Provisioning can occur as part of establishing the node as either:
-
The first in a new cluster. Credentials will apply to all other nodes subsequently added, as will memory allocations. Service-assignments are for this node only.
-
A new member of an existing cluster. Credentials and memory allocations are inherited. Service-assignments are made independently for this node.
Provision a Node with the UI
Couchbase Web Console is, by default, available on port 8091.
Therefore, once Couchbase Server has been installed on a machine, the console can be accessed over the network at http://<machine-ip-address>:8091/ or http://<machine-hostname>:8091/.
It can be accessed from the machine on which Couchbase Server was installed at http://localhost:8091.
If you have chosen to run Couchbase Server on a port other than 8091, connect on that specific port.
For additional, detailed information on using hostnames and IP addresses, see Naming Clusters and Nodes.
Once you have connected, the Welcome screen appears:
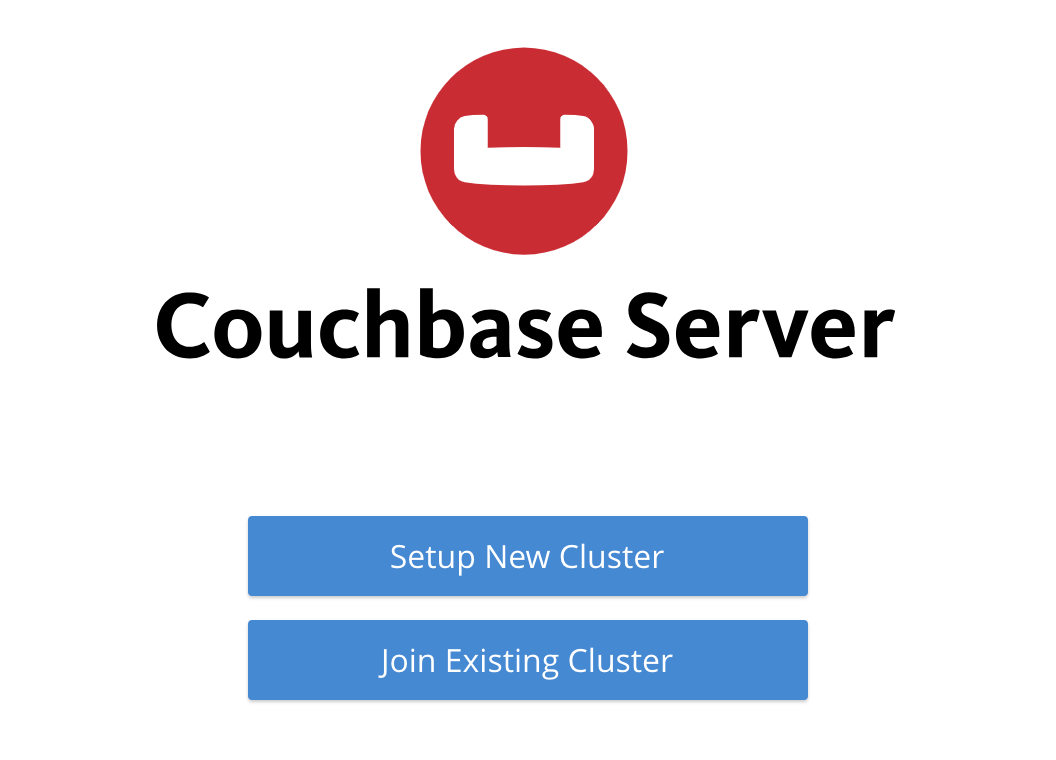
The Welcome screen lets you either Setup New Cluster, or Join Existing Cluster. Information on joining an existing cluster is provided in Join a Cluster and Rebalance. To set up a new cluster, left-click on Setup New Cluster.
Set Up a New Cluster
The New Cluster screen now appears, as follows:
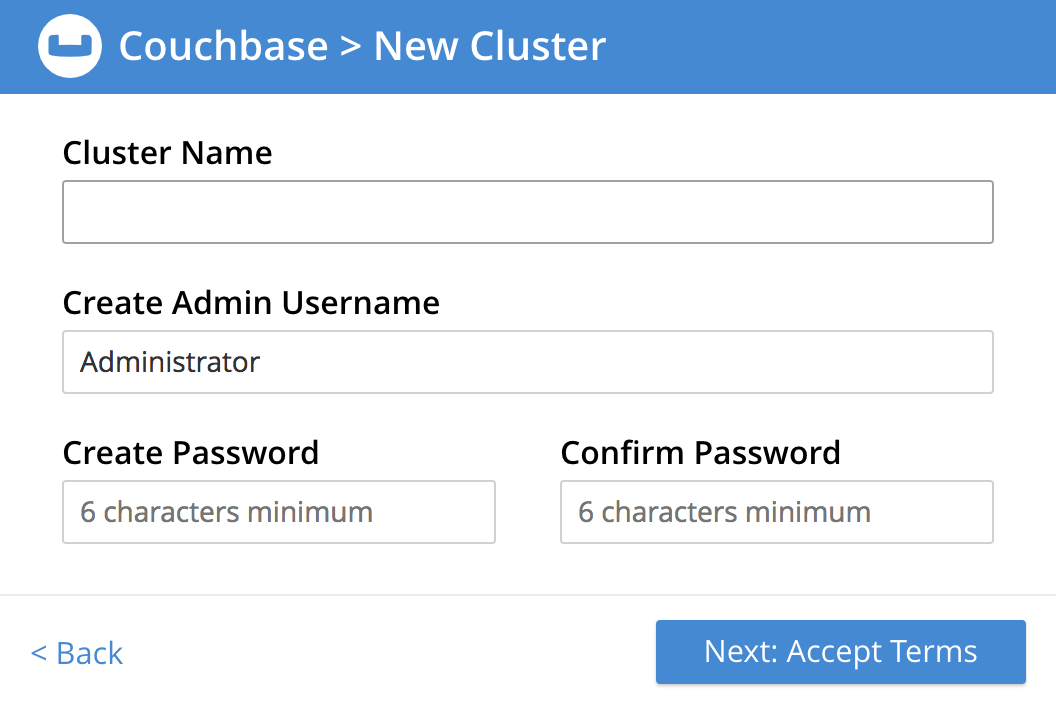
The fields displayed on the screen are:
-
Cluster Name: Your choice of name for the cluster to be created. For information on cluster-naming, see Naming Clusters and Nodes.
-
Create Admin Username: Your choice of username, for yourself: the Full Administrator for this cluster. You will have read-write access to all Couchbase Server resources; including the ability to create new users with defined roles and corresponding privileges.
Note that Couchbase Server prohibits use of the following characters in usernames:
( ) < > @ , ; : \ " / [ ] ? = { }. Usernames may not be more than 128 UTF-8 characters in length; and it is recommended that they be no more than 64 UTF-8 characters in length, in order to ensure successful onscreen display. For more information, see Usernames and Passwords. -
Create Password: Your choice of password, for yourself: the Full Administrator for this cluster. The only default format-requirement is that the password be at least 6 characters in length. However, following cluster-initialization, you can modify (and indeed strengthen) the default password-policy, by means of the Couchbase CLI setting-password-policy command.
For more information, see Usernames and Passwords.
When you have entered appropriate data into each field, left-click on the Next: Accept Terms button, at the lower right.
Accept Terms and Register for Updates
The New Cluster screen now changes, to show the Terms and Conditions for the Enterprise Edition of Couchbase Server:
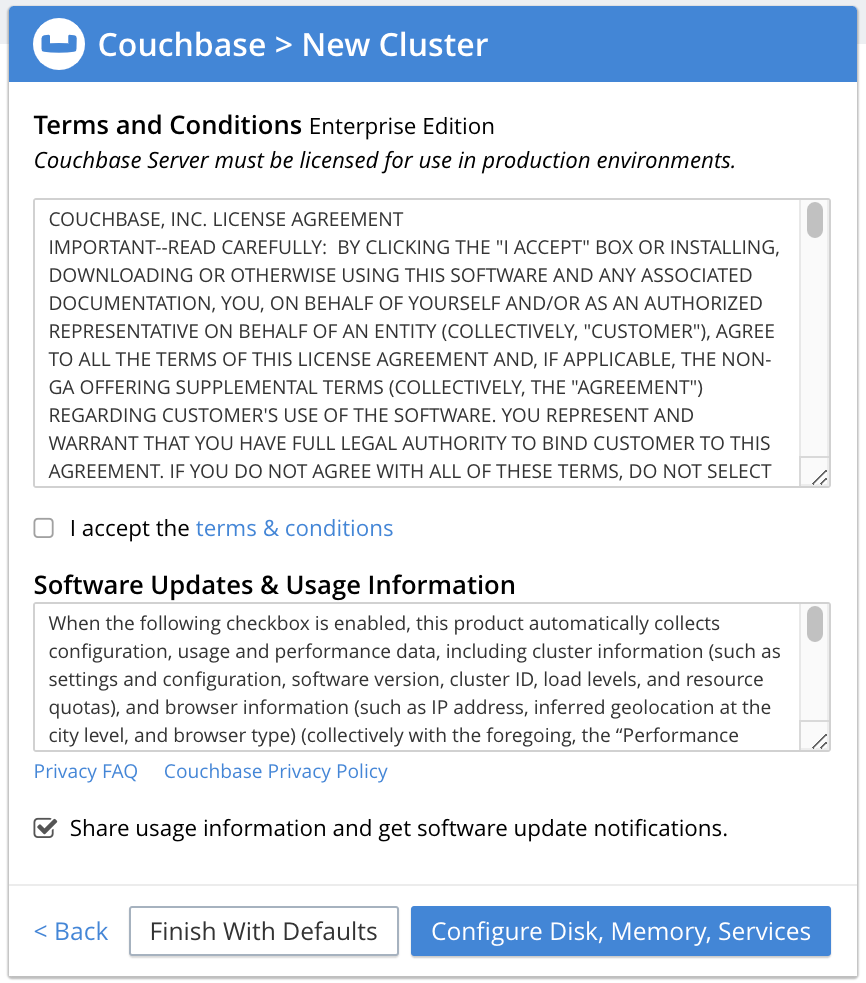
The terms and conditions for use of the product are displayed in the panel immediately below the Terms and Conditions banner. Check the I accept the terms & conditions checkbox, which is immediately below the panel. (Note that if you wish, you may left-click on the terms and conditions link, in order to access a web-based document, containing the text.)
Next, determine whether you wish to share usage information with Couchbase: a full account of this process is provided in the panel beneath the header Software Updates & Sharing Usage Information With Couchbase. You are strongly recommended to share information, and thereby benefit from regular software update notifications: the checkbox marked Share usage information with Couchbase and get software update notifications is checked by default. (Note that if you wish, you may left-click on the Privacy FAQ and Couchbase Privacy Policy links, in order to read web-based versions of those documents.)
You now have two options for proceeding. If you left-click on the Finish With Defaults button, cluster-initialization is performed with default settings, provided by Couchbase; the Couchbase Web Console Dashboard appears, and your configuration is complete. All Couchbase services will have been deployed.
However, if you wish to customize those settings, left-click on the Configure Disk, Memory, Services button, and proceed as follows.
Configure Couchbase Server
The Configure screen now appears, as follows:

The displayed fields are:
-
Host Name / IP Address: The data in this field determines the name that will be used for this node. The field has been populated with the loopback address,
127.0.0.1, which can be used until a second node is added to the cluster, at which point the name will automatically be changed to the IP address of the underlying host. If you wish, you can substitute the IP address of the underlying host now, or you can substitute the fully qualified hostname of the underlying host, if one exists. If you do wish to use a fully qualified hostname, you must specify it now, since a node’s name cannot be changed from an IP address to a hostname once the cluster has become a multi-node cluster. For information on naming, see Naming Clusters and Nodes. -
enable node encryption: Check the checkbox to enable node-to-node encryption for the cluster. Use of IP address families and node-to-node encryption is described in Node-to-Node Encryption.
-
IP Family Preference: Select the appropriate radio-button. If IPv4 or IPv6 is selected, the corresponding address family is required, but the other supported address family can also be used. (This is the default setting, with the IPv4 address family being required.) If IPv4-only or IPv6-only is selected, only the corresponding address family can be used. (Note that the IPv4-only and IPv6-only options are available only with Couchbase Server Version 7.0.2 and later.)
-
Service Memory Quotas: A series of fields that allows you to specify how much memory should be allocated to each service you select for both the current node and for each node you may subsequently add to the cluster. Each service can be selected by checking a checkbox, and then specifying the total number of megabytes to be assigned to the service. In each case, a memory quota is suggested, and a minimum quota is required. The sum of all quotas must be within the total amount of available RAM for the current node.
-
Data Service: Since you are starting a new cluster, the Data Service (which is essential for the cluster) has been allocated with its checkbox disabled. The default, minimum quota of 256 MiB is provided: this can be increased, if appropriate. (Note that to use the
travel-samplebucket for experimentation, a minimum of 512 MiB should be allocated: see Sample Buckets). -
Index Service: Selection and RAM-allocation to support Global Secondary Indexes. This should be 256 MiB or more. If this service is selected, a default quota is provided.
-
Query Service: No RAM-allocation is required for this service.
-
Search Service: Selection and RAM-allocation for the Full Text Search Service. This should be 256 MiB or more. If this service is selected, a default quota is provided.
-
Analytics Service: Selection and RAM-allocation for the Analytics Service. The memory quota should be 1024 MiB or more. If this service is selected, a default quota is provided.
-
Eventing Service: Selection and RAM-allocation for the Eventing Service. The memory quota should be 256 MiB or more. If this service is selected, a default quota is provided.
-
Backup Service: No RAM-allocation is required for this service.
The total memory quota you have allocated is displayed below these fields, towards the right. The total RAM available is displayed below this figure, at the center. If your memory allocation is excessive, a notification warns you, and you must lessen your allocation.
-
-
Data Disk Path: Enter the location on the current node where the database files will be stored. An OS-specific default is provided. The read-only Free field shows the current amount of free space for this location.
-
Index Storage Setting: If the Index Service has been selected, either Standard Global Secondary Indexes or Memory-Optimized Global Secondary Indexes can be chosen here, by means of radio buttons. See Primary and Secondary Index Reference for details.
-
Indexes Disk Path: Enter the location on the current node where indexes will be stored. An OS-specific default is provided. The read-only Free field shows the current amount of free space for this location.
Note that for a production environment, it is recommended that data and indexes should not share the same location.
-
Eventing Disk Path: Enter the location on the current node where Eventing data will be stored. An OS-specific default is provided. The read-only Free field shows the current amount of free space for this location.
-
Analytics Disk Paths: Enter the location on the current node where indexes will be stored. An OS-specific default is provided. The read-only Free field shows the current amount of free space for this location.
You can enter more than one location to store Analytics data. Click + to specify an additional location for Analytics data, or click - to remove a location.
-
Java Runtime Path: If desired, enter the location for an alternative Java Runtime Environment (JRE) on the current node that you want to use for the Analytics Service.
Couchbase Server is supplied with an OpenJDK-based JRE. If no location is specified, the supplied JRE is used. For a list of compatible Java Runtime Environments, refer to Additional Requirements.
When you have finished entering your configuration-details, left-click on the Save & Finish button, at the lower right. This configures the server accordingly, and brings up the Couchbase Web Console Dashboard, for the first time.
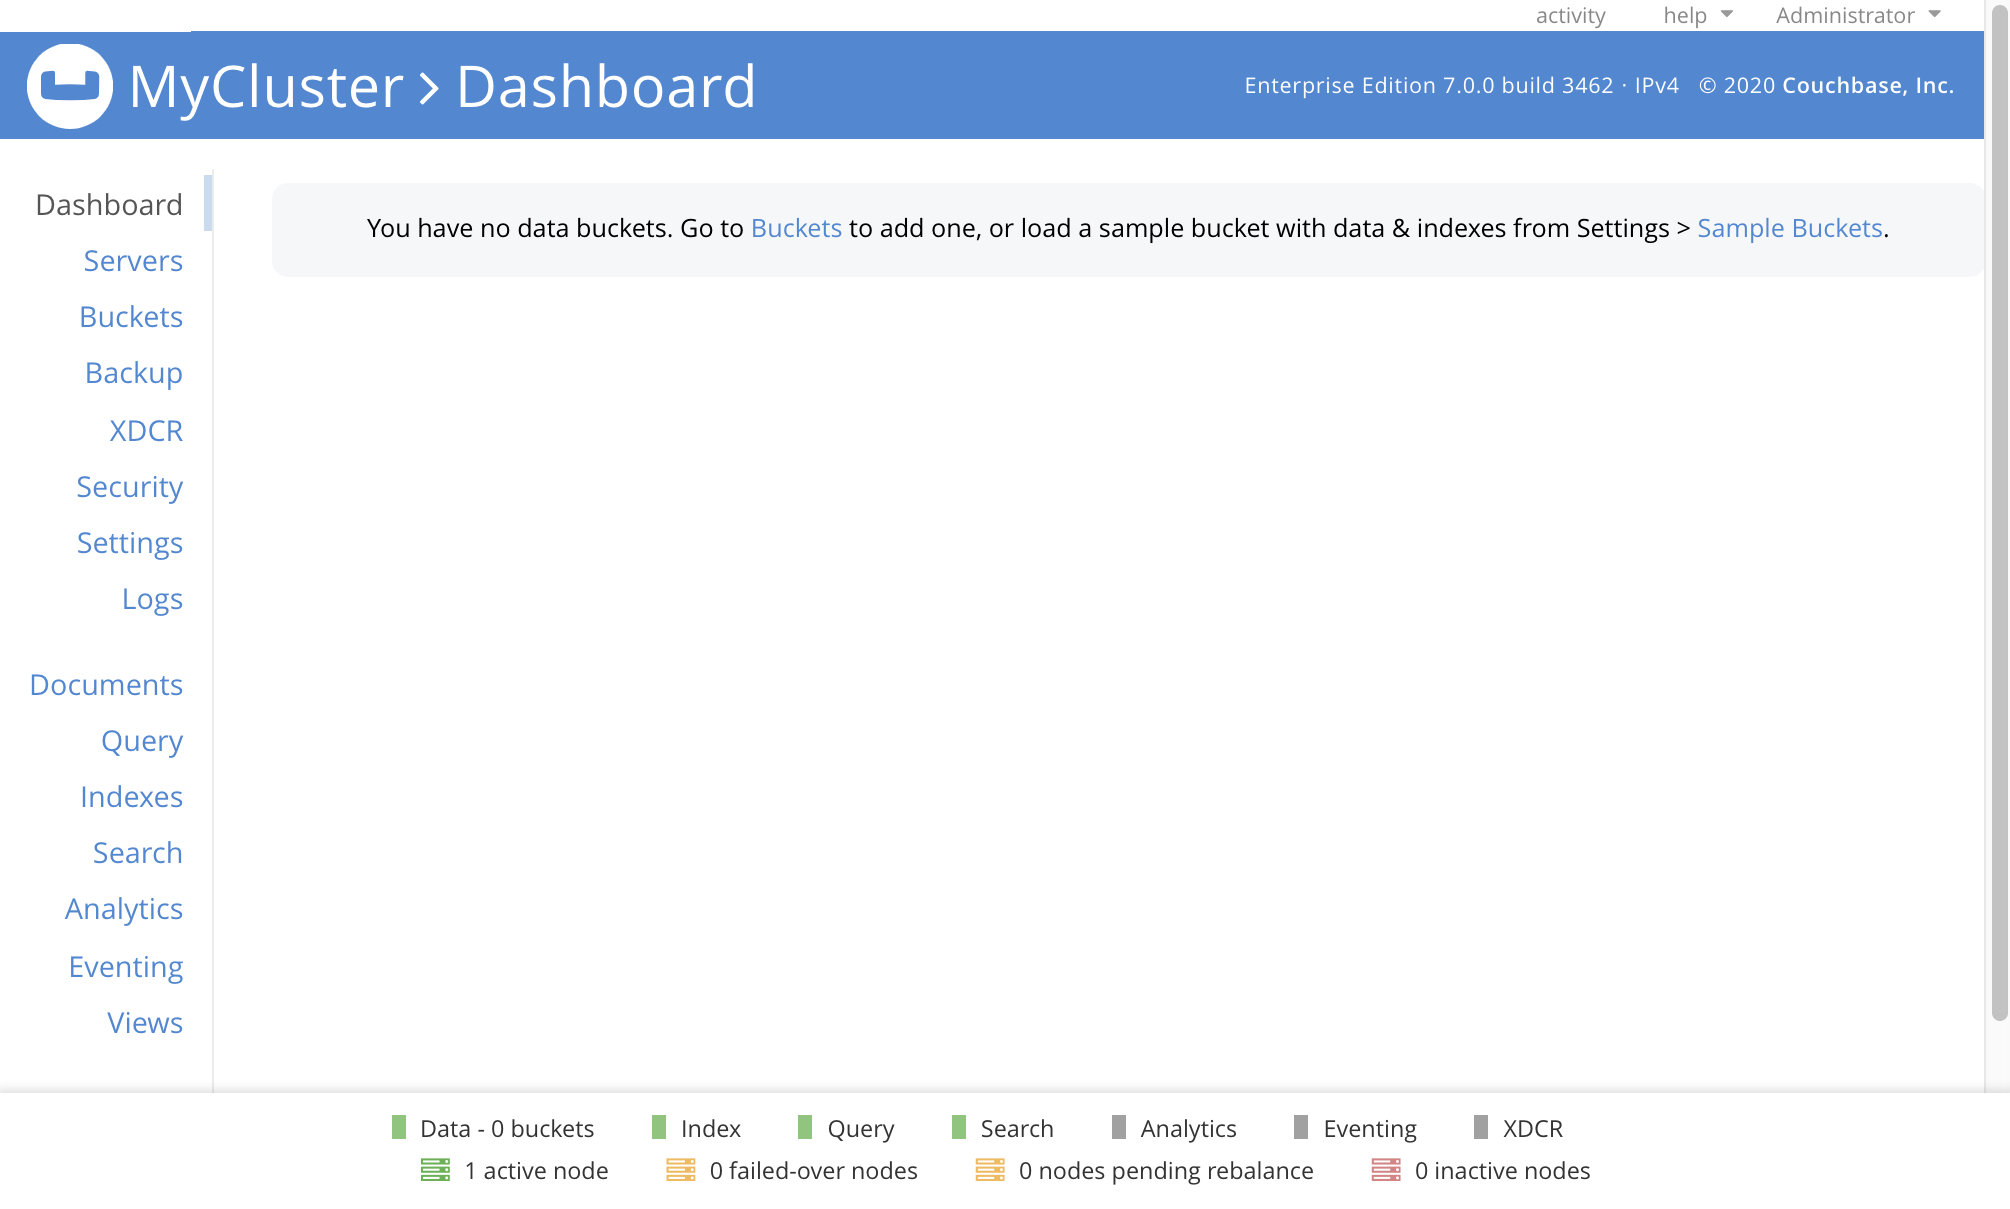
The display thus consists of a banner with interactive controls; a main panel, which allows display of data and configuration fields (and which, on initial appearance, is unpopulated); a left-hand navigation bar, which allows the main panel’s content to be determined; and a lower panel, which displays current status on the cluster. These are described in Understanding the Dashboard, which is part of the page that introduces all features of Couchbase Web Console.
Establishing Arbiter Nodes
In Couchbase Server 7.6 and later versions, you can deploy one or more arbiter nodes. An arbiter node does not run any services. An arbiter node helps your cluster in two ways:
-
It provides fast failover which helps decrease the cluster’s latency when reacting to a failover.
-
It provides quorum arbitration that helps avoid contention issues if the nodes in the cluster become partitioned.
However, the initial node in a cluster must always run at least the Data Service. You can add one or more arbiter nodes to the cluster after you create it.
New-Cluster Set-Up: Next Steps
If this is the first server in the cluster, a notification appears, stating that no buckets are currently defined. A bucket is the principal unit of data-storage used by Couchbase Server. In order to save and subsequently access documents and other objects, you must create one or more buckets.
As specified by the notification, you can go to Buckets, and begin bucket-creation; or add a sample bucket: left-click on the links provided. A description of how to create, edit, flush, and delete buckets can be found in the section Manage Buckets. An architectural description of buckets can be found in the section Buckets. (There are three different kinds of bucket, so you may wish to familiarize yourself with their properties, before you start bucket-creation.) Note that sample buckets already contain data, and so are ready for your immediate experimentation and testing.
The buckets that you create must be accessed securely: therefore, Couchbase Server provides a system of Role-Based Access Control (RBAC), which must be used by administrators and applications that wish to access buckets. Each administrator and application is considered to be a user, and must perform bucket-access by passing a username and password. For information on how to set up RBAC users so that they can access the buckets you create, see Authorization.
To continue building your cluster by means of node-addition, proceed to Add a Node and Rebalance.
Provision a Node with the CLI
To provision a node with the CLI, use the cluster-init command, as follows:
couchbase-cli cluster-init -c 10.142.181.101 \
--cluster-username Administrator \
--cluster-password password \
--services data,index,query \
--cluster-ramsize 512 \
--cluster-index-ramsize 256
This provisions node 10.142.181.101 with the Full Administrator username and password, and establishes three services. It also specifies memory quotas for Data and Index services.
If the node is successfully provisioned, it is thereby initialized as a cluster. The following output is displayed:
SUCCESS: Cluster initialized
Note that the IP-address family and the disk-paths for data, indexes, and analytics are, by this use of cluster-init, either left as the defaults, or as the values already specified by prior use of the node-init command: see
Initialize a Node with the CLI.
For more information on the cluster-init command, including additional flags that can be specified, see the command reference for cluster-init.
Provision a Node with the REST API
The following REST API examples set up a single-node Couchbase-Server cluster with three services, administrative credentials, and a RAM quota. The following methods are used:
-
/node/controller/setupServices: Allows services to be assigned, by means of theservicesflag. Values can bekv(Data Service),index(Index Service),n1ql(Query Service),fts(Search Service),eventing(Eventing Service), andcbas(Analytics Service). -
/pools/default: Allows memory quotas to be specified. -
/settings/web: Allows Full Administrator username and password to be specified. Requires the REST API port to be specified also, withSAMEaccepted as the default.
For complete references, see Creating a New Cluster.
Enter the following, to provision a node with Data, Query, and Index services; to establish quotas for Data Service and Index Service, and to establish Full Administrator credentials.
curl  -v -X POST http://10.142.181.101:8091/node/controller/setupServices \
-d 'services=kv%2Cn1ql%2Cindex'

curl  -v -X POST http://10.142.181.101:8091/pools/default \
-d 'memoryQuota=256' \
-d 'indexMemoryQuota=256'

curl  -u Administrator:password -v -X POST \
http://10.142.181.101:8091/settings/web \
-d 'password=password&username=Administrator&port=SAME'
The last command, which establishes credentials, completes provisioning. The following output is provided:
{"newBaseUri":"http://10.142.181.101:8091/"}
The provisioned node has thus been initialized as a cluster, and is available at the given IP address and port number.
Note that the default disk-paths for data, indexes, and analytics will be used, since no custom paths were specified by means of /nodes/self/controller/settings (see Initialize a Node with the REST API.)
Next Steps
Following provisioning, a Couchbase Server node constitutes a Couchbase Cluster of one node. From this point, more nodes can be added to the cluster. See Add a Node and Rebalance, for details.