Set Up and Connect the Couchbase Java SDK
- tutorial
Set up the Couchbase Java SDK to connect and interact with your student cluster.
Prerequisites
Before continuing this tutorial, you must first:
-
Install the Java Software Development Kit (version 8, 11, 17, or 21)
-
Install Apache Maven (version 3+)
|
The easiest way to install and manage Java SDKs and Maven on your machine is through SDKMan. After following the instructions to install SDKMan, open a terminal window and run the commands |
For more information about the Java SDK installation, see the full installation page.
Set Up the Java SDK
To set up the Java SDK:
-
Create the following directory structure on your computer:
📂 ~ (your home directory) 📂 student 📂 src 📂 main 📂 java -
In the
studentdirectory, create a new file calledpom.xml.📂 ~ (your home directory) 📂 student 📃 pom.xml ⬅ here! 📂 src 📂 main 📂 java -
Paste the following code block into your
pom.xmlfile:<?xml version="1.0" encoding="UTF-8"?> <project xmlns="http://maven.apache.org/POM/4.0.0" xmlns:xsi="http://www.w3.org/2001/XMLSchema-instance" xsi:schemaLocation="http://maven.apache.org/POM/4.0.0 http://maven.apache.org/xsd/maven-4.0.0.xsd"> <modelVersion>4.0.0</modelVersion> <groupId>org.example</groupId> <artifactId>couchbase-java</artifactId> <version>1.0-SNAPSHOT</version> <properties> <maven.compiler.source>16</maven.compiler.source> <maven.compiler.target>16</maven.compiler.target> <encoding>UTF-8</encoding> <project.build.sourceEncoding>${encoding}</project.build.sourceEncoding> <project.reporting.outputEncoding>${encoding}</project.reporting.outputEncoding> <project.resources.sourceEncoding>${encoding}</project.resources.sourceEncoding> <archetype.encoding>${encoding}</archetype.encoding> </properties> <!-- The `<dependencies>` section of the code block lists all the libraries required to build your application. In the case of the student record tutorial, you only need the Couchbase client SDK. --> <dependencies> <dependency> <groupId>com.couchbase.client</groupId> <artifactId>java-client</artifactId> <version>3.6.0</version> </dependency> </dependencies> </project> -
Open a terminal window and navigate to your
studentdirectory. -
Run the command
mvn installto pull in all the dependencies and finish your SDK setup.
You can now connect your Java SDK to your cluster.
Connect the SDK to Your Cluster
To connect to the cluster:
-
In your
javadirectory, create a new file calledConnectStudent.java.📂 ~ (your home directory) 📂 student 📃 pom.xml 📂 src 📂 main 📂 java 📃 ConnectStudent.java ⬅ here! -
Paste the following code block into your
ConnectStudent.javafile:import com.couchbase.client.java.Bucket; import com.couchbase.client.java.Cluster; import com.couchbase.client.java.Collection; import com.couchbase.client.java.Scope; import java.time.Duration; public class ConnectStudent { public static void main(String[] args) { // Calls `Cluster.connect` to create a channel to the named server // (in this case, `localhost` is running on your local machine) // and supplies your username and password to authenticate the connection. Cluster cluster = Cluster.connect("localhost", "username", "password"); // The `cluster.bucket` retrieves the bucket you set up when you installed Couchbase Server. Bucket bucket = cluster.bucket("student-bucket"); // Most of the Couchbase APIs are non-blocking. // When you call one of them, your application carries on and continues to perform other actions while the function you called executes. // When the function has finished executing, it sends a notification to the caller and the output of the call is processed. // While this usually works, in this code sample the application carries on without waiting for the bucket retrieval to complete after you make the call to `cluster.bucket`. // This means that you now have to try to retrieve the scope from a bucket object that has not been fully initialized yet. // To fix this, you can use the `waitUntilReady` call. // This call forces the application to wait until the bucket object is ready. bucket.waitUntilReady(Duration.ofSeconds(10)); // The `bucket.scope` retrieves the `art-school-scope` from the bucket. Scope scope = bucket.scope("art-school-scope"); // The `scope.collection` retrieves the student collection from the scope. Collection student_records = scope.collection("student-record-collection"); // A check to make sure the collection is connected and retrieved when you run the application. // You can see the output using maven. System.out.println("The name of this collection is " + student_records.name()); // Like with all database systems, it's good practice to disconnect from the Couchbase cluster after you have finished working with it. cluster.disconnect(); } }You must re-run
mvn installin yourstudentdirectory whenever you make a change to a java file to rebuild your application. -
Open a terminal window and navigate to your
studentdirectory. -
Run the command
mvn installto pull in all the dependencies and rebuild your application. -
Run the following command to check that the connection works:
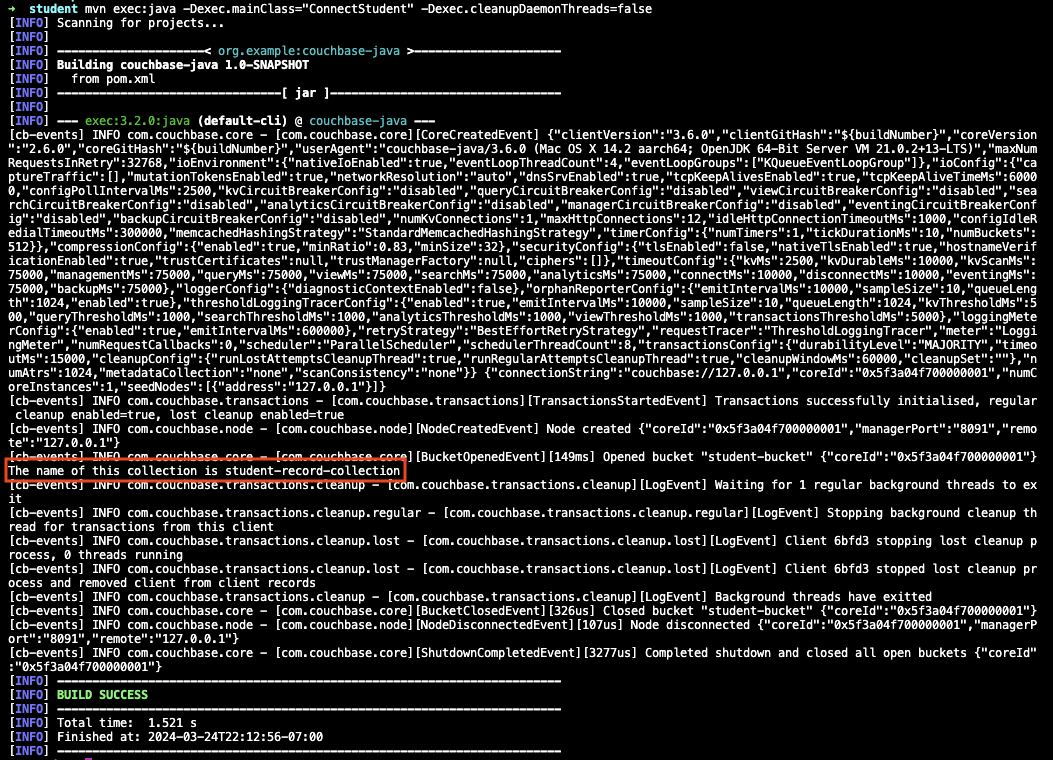
mvn exec:java -Dexec.mainClass="ConnectStudent" -Dexec.cleanupDaemonThreads=falseIf the connection is successful, the collection name outputs in the console log.
If you come across errors in your console, see the troubleshooting page.
Next Steps
After setting up and connecting the Java SDK, you can add student and course records to your cluster.